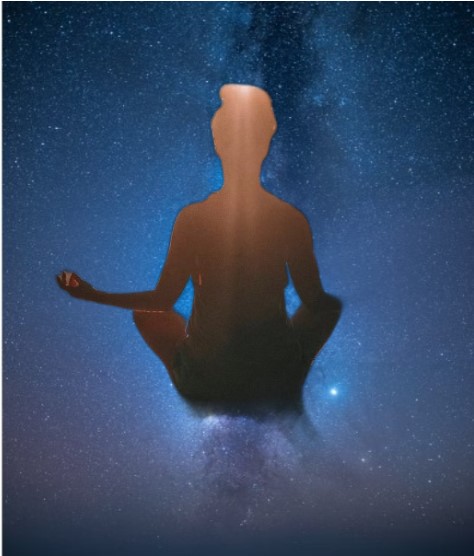
While an aesthetic night sky background can truly be amazing for your images, its use has to be delicate without complicating the image. Truthfully, not many people know how to properly use a night sky background without creating a distraction from the subject. It can even be daunting for professionals to reduce the noise that is usually associated with these backgrounds.
Hence, the article will introduce image denoiser as a tool to remove the noise from your aesthetic night sky background.
Table of contents
Image Denoiser: Eliminate night sky noise with VanceAI
VanceAI Image Denoiser is a powerful AI tool that can be used to remove noise from images. This online tool runs on an advanced algorithm that is trained to identify every grain of noise from images and remove them.

With this tool, you are guaranteed to focus on the objects in the image rather than the noise that could’ve caused distractions. It removes noise automatically. Hence, you don’t need any professional experience to use this tool.
Since there is too much noise present in night sky background images, image denoiser is the perfect tool to use for mouse removal.
It saves more time and effort, unlike other manual tools that require extensive professional experience before using them. Whether you are a professional or just a random user, it is perfect for you.
While you can use this tool for free to create a night sky background, the full suite pricing starts at $9.99 per month. The other packages are pay as you go and annual subscriptions which cost $24.99 and $59.88 respectively.
Step by step guide on how to use Denoise AI
Step1: Navigate to the site via the provided link above and click to upload an image.
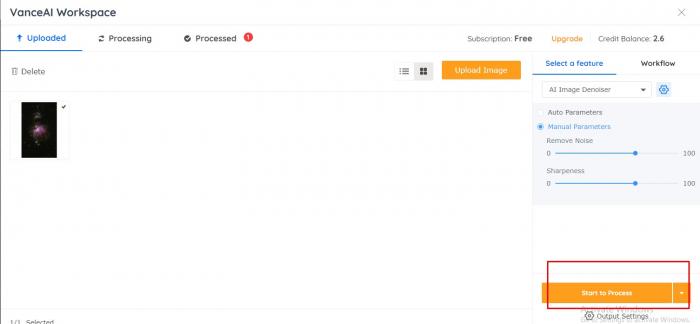
Step2: Upload your image by clicking on upload image or using the drag and drop option.
Step3: After image upload, click Start to Process. Before clicking on this, you can edit the parameters.
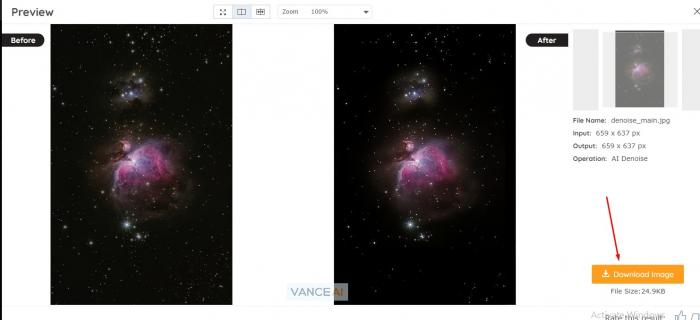
Step4: Select the preview icon and check the image comparison before proceeding to download the image from the website.
How to get night sky background images?
Every image has a background to it. However, to successfully get an image with a night sky background, you will need to use an image background remover. One of the best tools for this is the VanceAI Background Remover.

With VanceAI Background Remover, you can change the background from your images to whatever you wish within a few clicks. This tool is powered by an advanced algorithm that ensures images are removed from the background smoothly with no lags or cutting deficiencies.
To remove background with this tool, simply upload your image and click to start the process. Then within 5 seconds, your background is removed. Then, you can replace the background by changing it to a night sky background. To check the quality of this tool, let’s check the before and after comparison below.
Before Vs. After comparison
Looking at the two images above, it is glaring that the VanceAI Background Remover has smoothly cut out the object of the before image. The quality of the cut-out is great and the image’s background has been changed to the starry night sky background. Also, the object's background has been changed without hassles and in a few clicks.
The experience is fast and easy unlike the long process involved in using other manual cutting tools. Within 10secinds after photo upload, the process was over. Also, maybe you are interested in fix grainy night photos.
10 Best tips for taking Night sky photos
Below are the most essential tips that can make or Mar your night sky photography journey. Adhere to them and you are well on the way to successful night sky photos.
1. Identify your goal
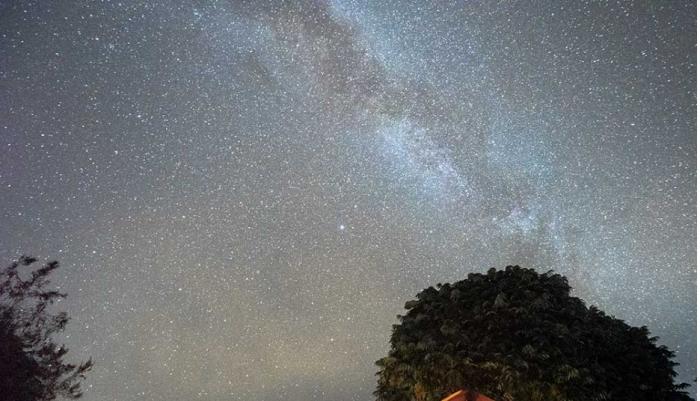
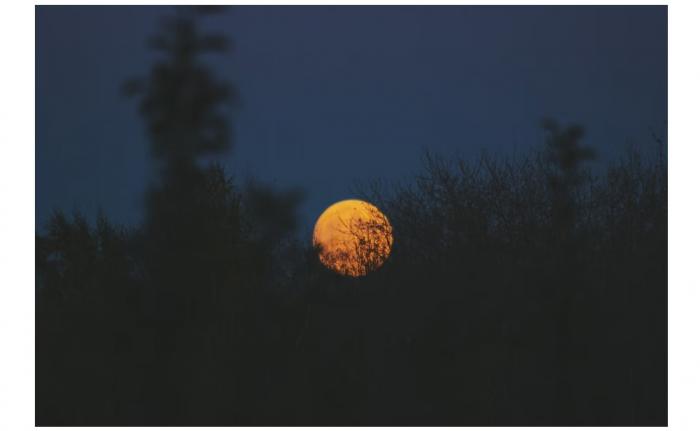
As simple as this may seem, identifying the goal of your night sky background photo will help you a lot. Know if you are planning to shoot the stars, the planetary views, or simply the moon. By identifying this, you’ll know the period to schedule your session and also pick the right location to capture that special shot. Once the goal is established, everything becomes easier.
2. Find the right location
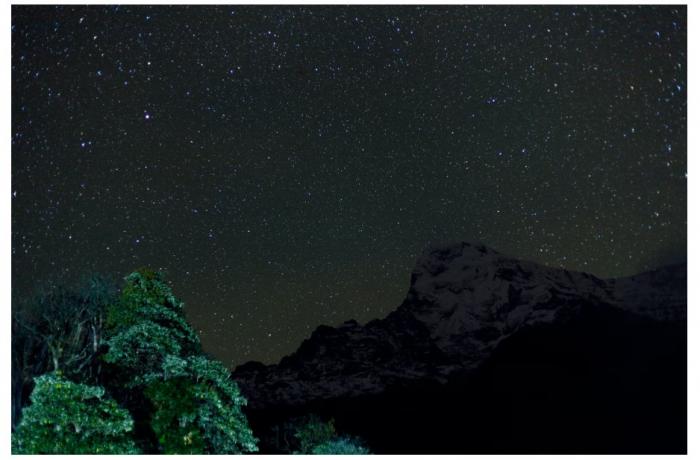
Scour the site of your night sky background photo site enough times until you get the best location to achieve the shoot. The hint is to locate dark skies and a sturdy place to set up your camp. Since night sky photo requires a lot of patience, getting the location right might just save you unnecessary stress. Also, the location will help determine how the light reflects on your camera, which may affect the overall photo.
3. Aim for planetary views
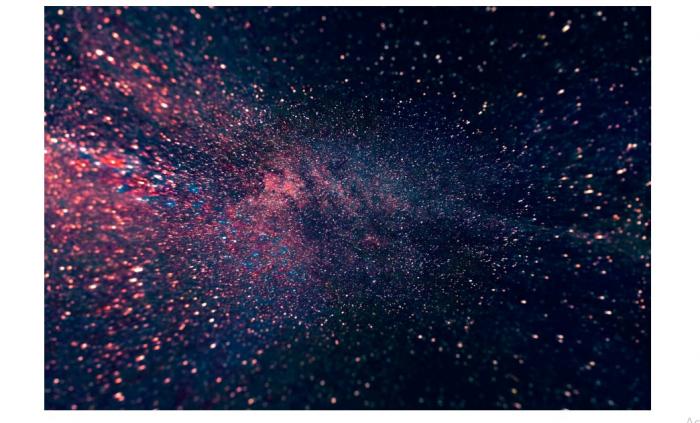
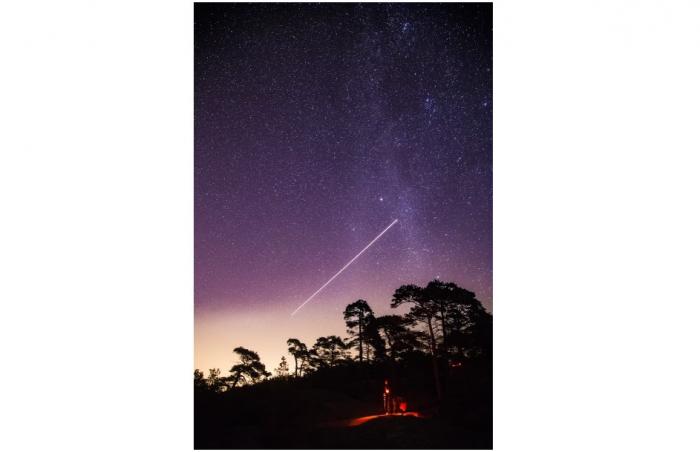
The planetary views make the most but it takes quite the time to capture them. While there are many celestial bodies that reflect on the sky, each has its seasons and time. Hence, making the right research ahead will improve your chances of stumbling upon an aesthetic night sky background photo.
4. Choose the right gears
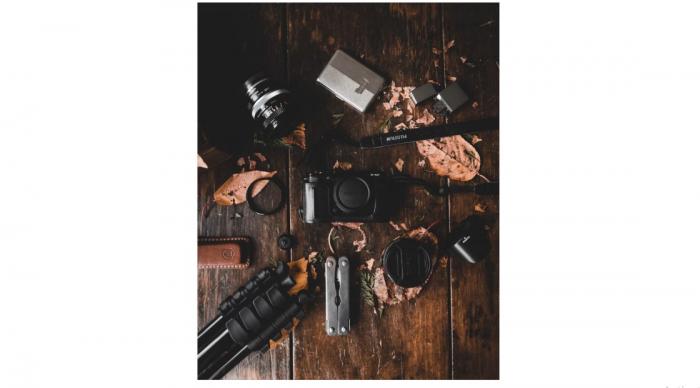
Choosing the right gears can improve the chances of capturing that timeless night sky background photo. The major gears needed are a sturdy tripod and a high ISO camera with a wide aperture. Cable release with a built-in timer will be helpful, headlamp, flashlight, and extra batteries for your gadgets.
5. Shoot manually
You are shooting at night with nothing really in focus. So, it is better to use manual shooting mode. By doing this, you’ll keep the shutter open for a long time. It may be important to use torchlight to illuminate the stars. While this can be hard, a few test shots can help adjust the camera setting.
6. Use higher ISOs
This is essential to capture a bright image for the night sky background images. While this may make the final output noisy, it can improve the quality of the shots and make photo hd. Also, the shutter speed has to be slower up to like 10-30 seconds to ensure the proper lighting needed for the shots.
7. RAW mode is better at night
Since there will be post edit period, shooting the images in RAW mode will help ensure the preservation of the quality. While this may be challenging, it is better to follow through than have a lackluster night sky night clouds background.
8. Get exposure timing right

Timing is everything with night sky background photography. Hence, widen the aperture without placing focus on anything. So, the longer the widespread aperture, the higher chance a night sky background photo has to be brighter.
9. Be adaptive and flexible
Sometimes, everything goes wrong and it may be challenging to keep up. However, understanding that it takes a lot of patience before you can get the shots right can be good. Also, situations may not always pan out as planned, so be willing to tweak a few things.
10. Stabilize your camera
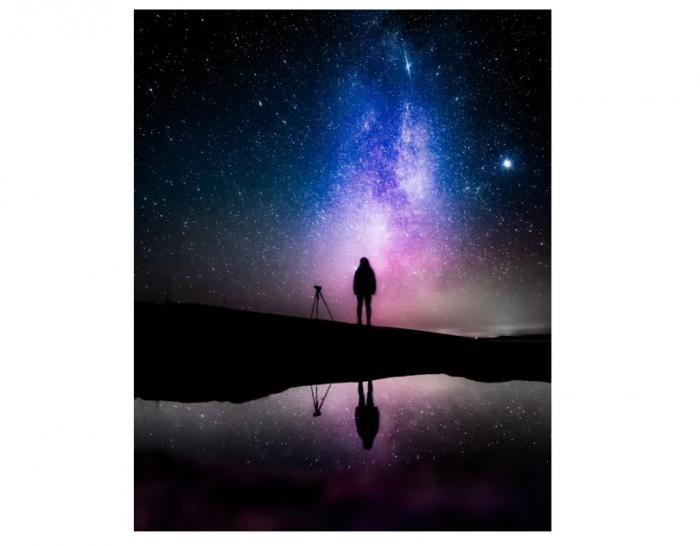
It takes time and patience to get a great photo of the night sky background. Hence, it may be unwise not to set up a tripod for it. Set a tripod and you’ll be good.
FAQs
What lens to use for night sky photography?
It is advisable to make use of a fast lens that can open up to f/2.8 or wider and has an aperture that can reach up to f/4.0 is great. The angle zoom should be between 14-and 24mm in width. If it can have a 10-20mm crop sensor, that’s even better.
Conclusion
This guide has provided a basic overview of how to create night sky background images. Depending on various factors, night sky background photos always include noises that may affect the overall quality when used. Tools provided by VanceAI can give you multiple choices to edit your night photos, give it a try!
If you want additional information on how to get high-quality image, you can read this article: 10 Tips to Make Your Flash Photography Outstanding.