Having a good graphic design helps your presentation. It gives your business an easy way of communicating with potential customers and it captures the image of what your whole business is about. No other person can know this better than you. Hence, you should get yourself acquainted with how to create these graphics designs from the comfort of your home.
It can be hard to create graphics designs on your own but with the help of this guide; you'll have a clear understanding of what it is about and how to maximize the appeal of your works.
How to get high-quality graphic with image enlarger?
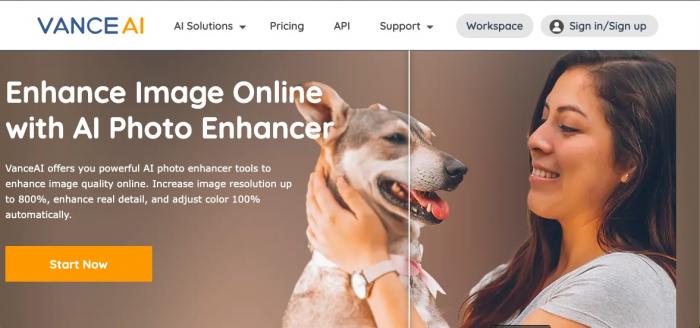
Image enlarger helps to enlarge images and make the resolution increase a great deal. There are several details to an image, the colors for example make the overall beauty of an image. So, using the image enlarger enlarges your image and makes the colors pop up with a high resolution.
Image enlarger makes use of an AI-powered image upscaler to upscale image resolution by 800% and this automatically increases the quality of the image. It is important to have good image quality as it will make the beauty of the graphic image more appealing to the sight. Image enlarger guarantees increment in the resolution of the image from a low to a higher one.
For someone trying to bring an old image back to life and wants to improve the image quality and color texture, for example, a 70s graphic design, this is a perfect tool to use.
Step by step guide on how to use an image enlarger
- By clicking the link above, you will be redirected to the site, then click the ‘start now button.
- Click the upload image button on the screen or use the drag and drop option to drop an image into the provided space.
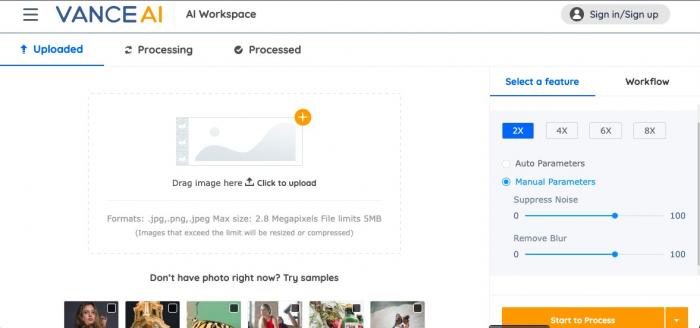
- Wait while the image upscales automatically
- After the preview page has popped up, you can then click the download button to save the image to your device.
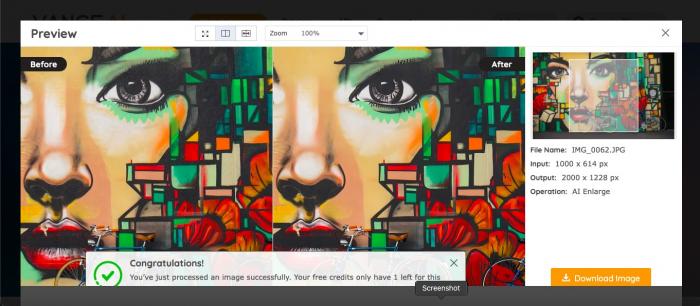
Before Vs. After Comparison

Looking at the images above, it is obvious there are changes in the quality of the two images. While the one on the left represents the before image, there is a sharp contrast in the processed image on the right. The quality of the color is more evident and also, the image resolution looked bolder. Further, the objects in the image looked more enlarged, thereby creating considerable increase in the details of the image which might have been neglected before.
Another very important contrast in these images above is the amount of details that have been upscaled. The image on the right, which is the after contains more details and definitely offers a lot more information in the image quality. This is what image enlarger helps achieve when used.
These are some other graphic design tools that are recommended for more quality output:
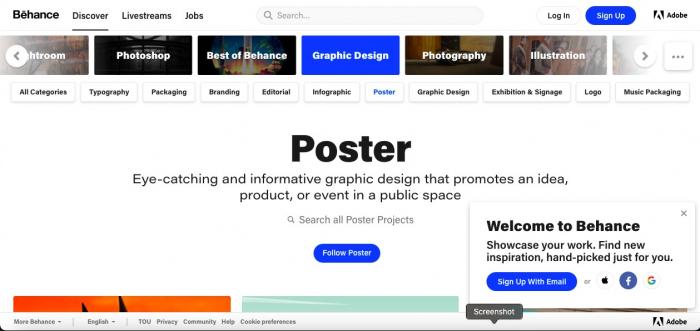
This platform is created by Adobe and it has been around for a while. It is a form of a freelance platform where artistic people can get their works out and be noticed. Behance serves as a branding and graphic design portfolio website for some artists. It is accessible and simple to navigate for professionals and newbies. It is a free website that allows artists to explore more into the artistic world and get to meet creative directors or collectors with possible interests in their work. One of the best parts of the platform is its simplicity. This makes it easy for artists to use.
Designcap is an amazing tool for graphic designing. It offers professional editing tools that help with customizing and designing banners, posters, and flyers. This platform has a lot of templates you can always choose from to use for your designs. Having lots of templates available makes it easier for graphic designers to find the appropriate ones for specific businesses. The drag and drop option in the editing process makes it faster to get work done instead of browsing through a lot of files before getting what to use. Designcap is easy to use and it offers quality support to its users.
Krita is a free graphic design software with a pro-working atmosphere. It is a free painting and sketching platform where you can bring your creativity to the top. With the availability of a lot of cool features like different brush presets and drag and drop, creating your designs is more fun and professional. The platform allows artists to customize the layouts and digital workspace to their tastes and requirements.
Canva is an advanced graphic design tool with millions of users all around the world. It has a lot of features to enhance your graphic designing skill and it is accessible for professional artists and newbies starting from scratch. The simplicity of the platform makes it a good one. It has a lot of sophisticated tools that are simplified for the convenience of its users. It is free and also has paid plans starting from $19, this is a very considerate price for a software with a lot of good features like this. It helps improve image quality and has a lot of free templates.
Conclusion
Creating graphic designs is a simple task when you know how the right tool to use. This article should serve as a good guide and help you make the right decisions about what kind of tools and software to employ in your graphic designing task like the VanceAI Image Upscaler earlier recommended in this article.


