How to blur photos? To blur the edges of an image is pretty much basic and is a common practice in the photo editing space. This is done to centralize the focus on the main subject in the photo and to reduce or subside the unnecessary noise on the sides. The results also turn out to be fascinating. Hence, for commercial or personal use, editors blur edges on a regular basis to alleviate the vibe of the photograph. Only the edges of the image are affected and there is no loss of detail otherwise. There are noteworthy applications and types of software out there in the market that help to blur edges with utmost precision and ease. Blur edges photoshop is gaining a lot of popularity in recent times due to its grand results and easy useability.
How To Blur Photos With & Without Photoshop 2024
Table of contents
What is Feather Edge?
In image editing, a feather edge describes a gradual softening effect applied to the edges of objects or selections. Imagine a picture with a sharply cut-out object pasted on a background. Feathering would take the hard edge and slowly blend the object's colors with the background over a chosen distance. This creates a smoother, more natural-looking transition, like the soft blending you see in real life between objects and their surroundings. Feathering is useful for making added elements look like they belong in the image, softening transitions between colors or textures, and even reducing some visual imperfections. By adjusting the feathering strength, you control how soft the blend is, allowing for creative control over the final look.
Why is it required to blur the edges of an image?
Blurring the edges of an image can uplift the quality of the image also make photo hd and gives a whimsical look to your work. It instantaneously adds a kind of depth and maturity to your images. Many times, the lighting used at the time of capturing the image projects an extremely rough look to the edges of your photograph. Even extracting or removal of a person or an object leads to jagged and harsh edges. All of this can be fixed and smoothened up with the help of Photoshop or other applications. Photoshop is one of the top applications to blur edges but in this review, we will take you through some other impressive types of software that help do the trick, to unblur image online and transform your images into pieces of artwork. In the next part, we will explain how to blur the edges of a photo in photoshop.
Feather Edges in Photoshop
What are feather edges in Photoshop?
Feather in Photoshop softens edges to blend images, add adjustments, and improve cutouts. Use brush or selection tools to achieve feathering. Selections cover more area, while feathered brushes offer precision for small areas or softening effects.
How to blur photo in Photoshop?

- 1. Launch the Photoshop Application on your computer by starting the process to blur edges. You can then proceed to select Open from the main screen and choose the image. You can even select the image and drag it to the Photoshop icon to get started.
- 2. Once the photo is loaded, select the Elliptical Marquee Tool from the toolbar on the left-hand side on Photoshop. You can choose any selection tool from the Magic Wand, the Lasso Tool, Rectangular Marquee, and a few others. This tool will be used to select a part of the image that we want to keep intact. To be more direct, the part selected with this tool will not be blurred in the later stages.
- 3. Once your selection is done, it will look something like the image down below. The selected part is also termed as “marching ants” because of the way it appears to be.
- 4. Once you are satisfied enough with the selection, we can then move on to the next step. From the top menu bar, you can click on Select then Modify, and finally Feather. As soon as you tap on Feather, you will see a dialogue box that will ask you for a radius. Go on and type your desired feather pixel. Then click Ok.
We would recommend a radius of 5 to 10 for optimal results with a resolution of around 70. Please note that the higher the resolution of the image, the higher the feather radius allowed so it’s best to use high-quality PNG files if possible.
- 5. Proceed to search and click on the Quick mask mode from the toolbar on the left-hand side. Photoshop denotes the Quick mask mode in the form of a rectangle, with a circle in the middle of it.
After entering this mode, the rest of the image i.e. the part which you want to blur, will turn into red. Click on the Quick Mask option from the toolbar again to return to the normal viewing mode.
- 6. We are almost there. The next step involved in the process to photoshop blur edges is to hover on Select and choose the option of Inverse. This will lead to the inversion of the selected part of the image. You will start to notice that the marching ants (selection) is now at the outside of the photo. This means that the inversion of the selection has been done successfully.
- 7. It is time now to select the background of your choice. You can go ahead and select a white background, a patterned background, or even any other photo too, the choice is in your hands.
- 8. Once you are finally happy with the choice of the background, you can follow up by removing the selection by pressing the CTRL+D simultaneously.
You now have your final product and are ready to photoshop blur edges in full swing. Photoshop is one of the most feature-packed software that editors all over the globe use to fulfill their image editing needs. It supports mostly all image formats is comprehensively built and has multiple numbers of plugins.
While Photoshop is a powerful tool for blurring an image, there are many other easy-to-use tools that can help you blur edges too! Let’s take a look at some of the best ones as of now. You can use the image quality enhancer to level up your photos.
Best 6 Alternatives to Blur Edges without Photoshop
Products | Price | Quality | Features Options | Support Device | User Friendly |
VanceAI | Free 3 credits/month | ★★★★ | ★★★★ 4 accurate models | Online/Software | ★★★★ |
Canva | Free version has a few limitations Pro is priced at $12.99 | ★★★★ | ★★☆☆ pretty massive | App for Android and Apple devices/ Software for PC | ★★★☆ |
GIMP | Free | ★★★★ extremely sophisticated | ★★★★ | GNU/Linux, macOS, Windows/ App Store/Play Store. | ★★☆☆ Doesn’t work as well on handheld devices. |
FaceTune 2 | Free (with in-app purchases) | ★★★★ | ★★★☆ Versatile features for selfies and image editing | iOs and Android mobile phones and tablets | Easy to use |
AfterFocus | $0.99 (premium version) | ★★★★ | ★★★☆ Specializes in blurring with impressive bokeh effects, several blur options | iOs and Android mobile phones and tablets | Simple and quick |
Tuxpi | Free | ★★★★ | ★★★☆ Vignette Editor for blurring, choose the color of the blurred edges, wide range of frames and FX | Web browser on mobile devices and computers | Easy to use, only for blur |
1. VanceAI Image Sharpener
Methods of making images blurry mentioned above certainly can help you a lot. AI sharpen image recommended here is still available for your convenience. If you accidentally are troubled with blurry images, you may try this image sharpener.
If you are interested, you can try to sharpen your image now or download it directly from the pop-up window on the right without leaving this article.
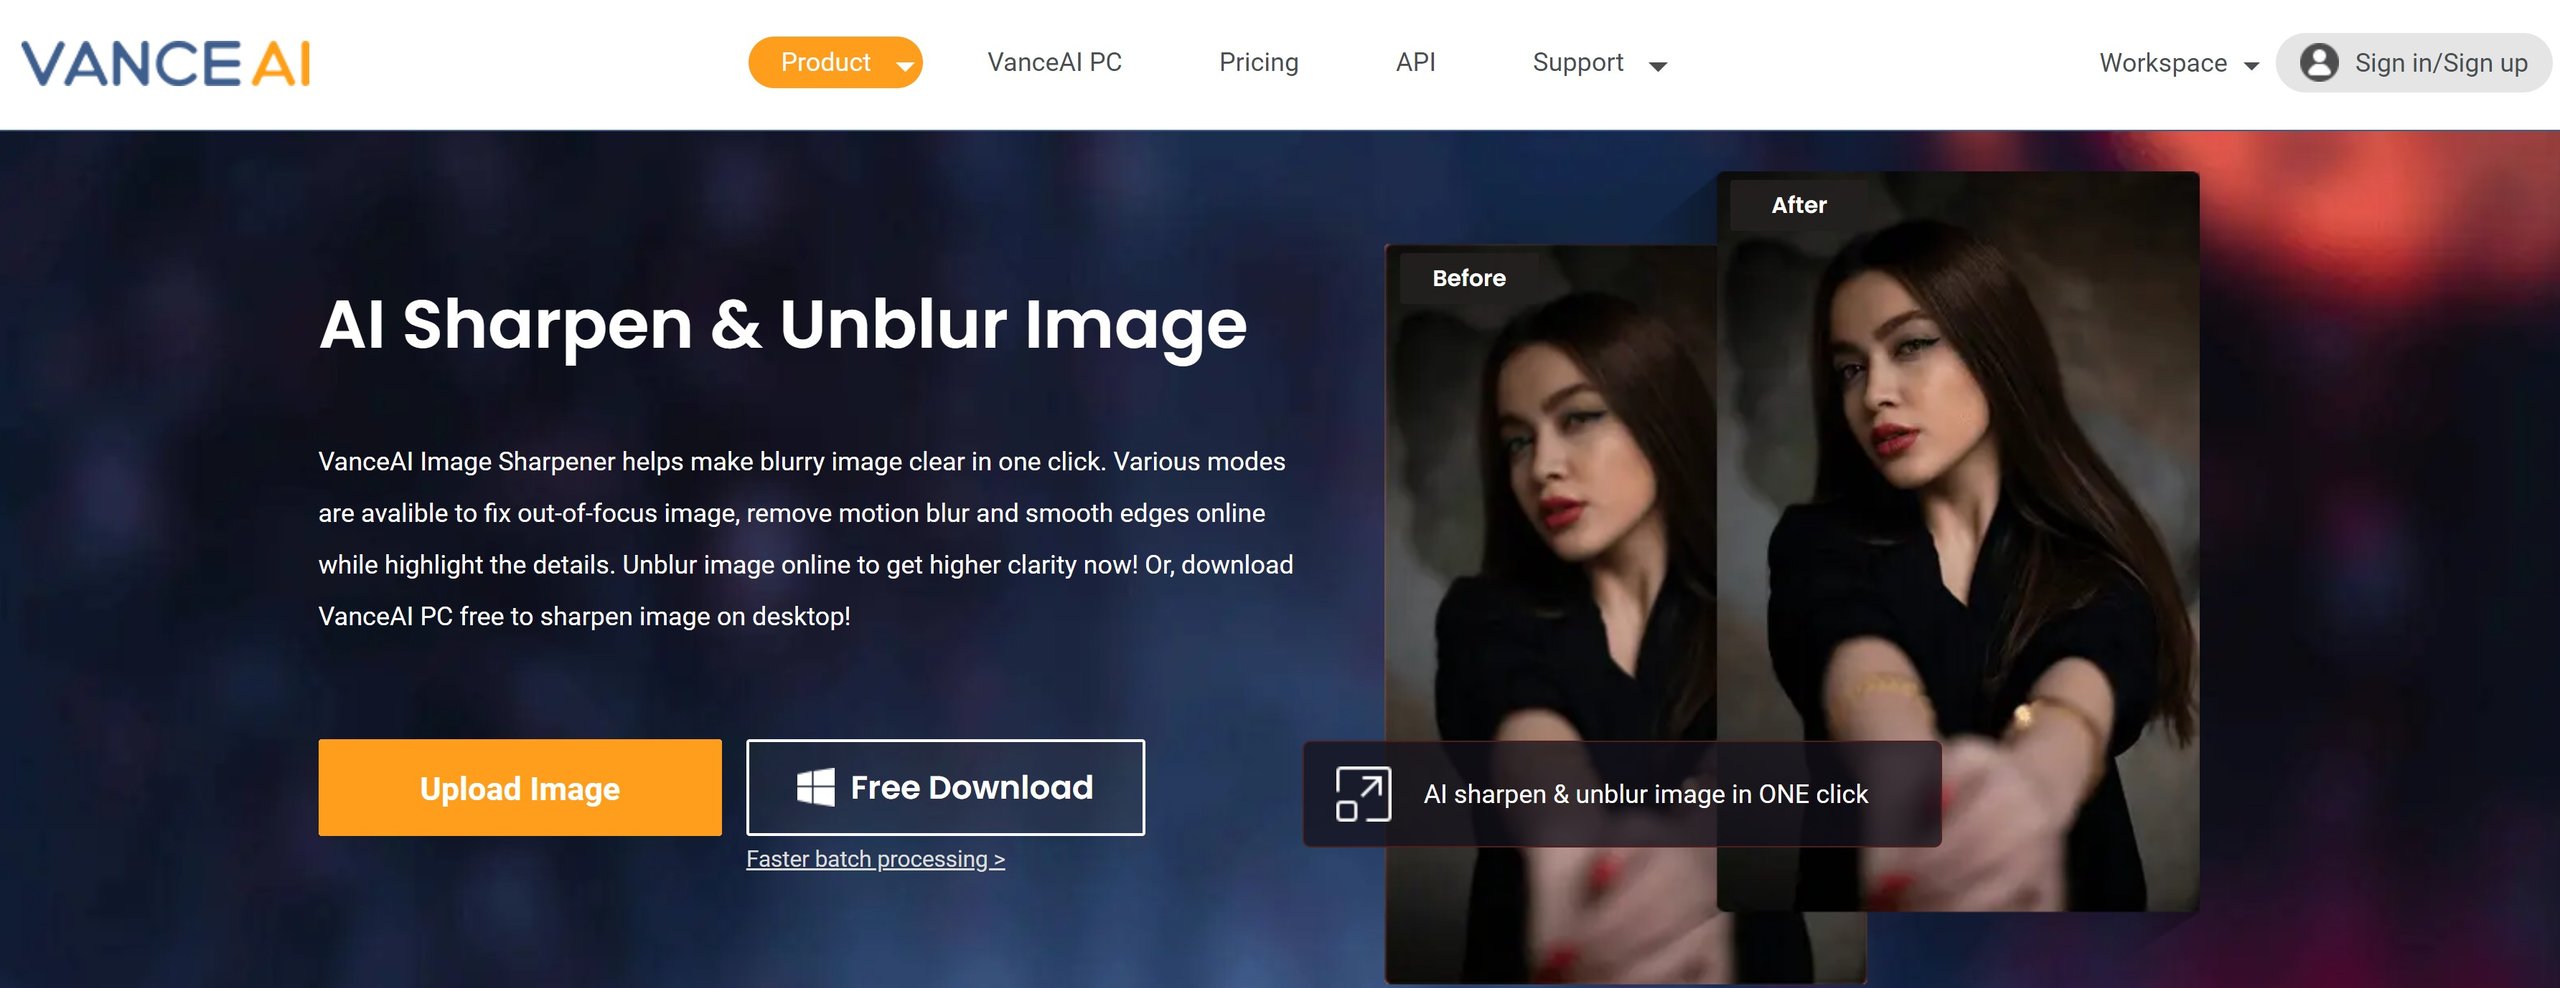
- 1. Find AI Image Sharpener from the drop-down menu of VanceAI
- 2. Click Upload Image to unblur image
- 3. Preview and download your image
2. Canva
Price: Canva can be used for free but it has some limitations. Canva Pro is priced at a competitive $12.99. There is a plan called Enterprise which is for corporate, teams for business purposes.
Compatibility: Canva is available for use on its website for PC Users while the application is available for both, Android and Apple devices.
Features:
- This easy-to-use software is great for blurring edges but it also has a lot of other features and tools to offer.
- The application has a library of more than a 75million photos, videos, etc which is pretty massive.
- You can make the background disappear with a click of a button on Canva.
- Even the Free version of this app provides 5GB of cloud storage to back up processed images
- Several businesses and brands use Canva for fabricating content for their social media platforms.
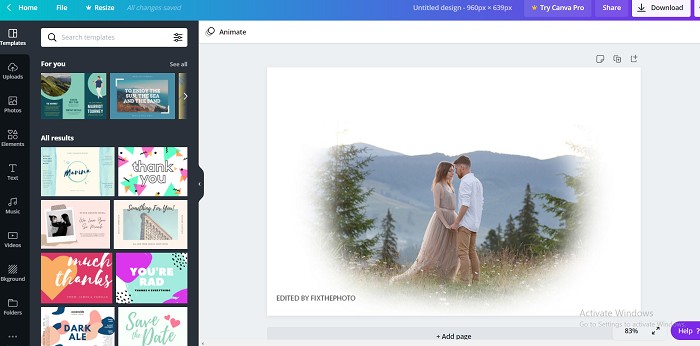
How to blur photo in Canva?
- 1.After signing up and logging in, click on the blue button on the right-hand corner that says Create a design.
- 2.Proceed by selecting - Start with an image and then choose the image of your liking.
- 3.Once the uploading is done, find the vignette effect from the toolbar.
- 4.Make use of the vignette tool and its slider to soften and make AI unblur image.
- 5.Once the process is completed, click on download on the top right corner and save it to your preferred destination.
Pros:
- It is a very comprehensive app with a range of different tools and features to choose from.
Cons:
- You have to sign up and log in for making use of this software.
- The blur tool is only available in Canva Pro.
3. GIMP
Price: GIMP doesn’t require you to pay, it is free of cost.
Compatibility: GIMP is available to download for GNU/Linux, macOS, Windows plus more operating systems. It is also on the App Store and the Play Store.
Features:
- GIMP blur edges in quite an uncomplicated manner.
- They are 25 years old but are still rolling out updates every now and then.
- The software also has a feature to automate editing.
- Run-on C, C++, Python, etc, the software is extremely sophisticated.
- GIMP take reviews and feedbacks seriously and always try to work and improve to eradicate any and all bugs.
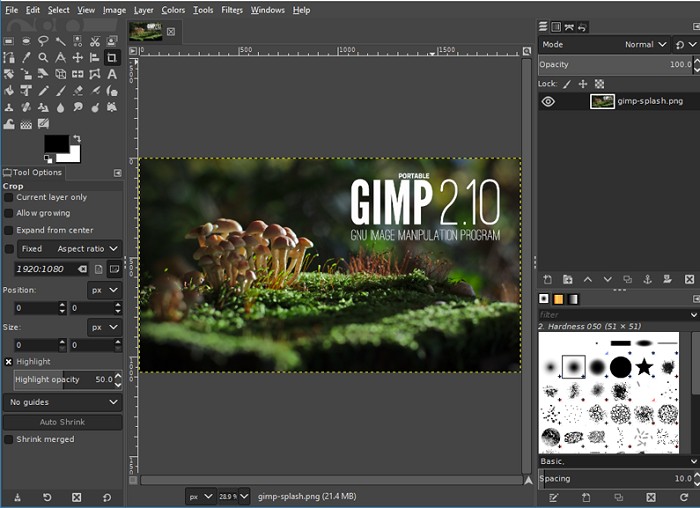
How to blur photo in GIMP?
- 1. Download and launch the application and select the image that you want to work with.
- 2. Select the sharpen or the blur tool from the toolbox. You even have the option to choose the size of the brush. Use the size which is appropriate for your image.
- 3. Hold the left mouse button and hover over the parts of the image that you would like to blur, leaving out the area you want to retain.
- 4. Finally, save/download the processed image.
Pros:
- GIMP software has tutorials on their website on how to blur edges and other features too.
- It is free to use and download.
Cons:
- The software doesn’t work as well on handheld devices.
4. FaceTune 2
Price: FaceTune 2 is free to download on the Play Store and the App store but includes in-app purchases.
Compatibility: This application is only available for iOs and Android mobile phones and tablets.
Features:
- FaceTune is a widely popular image editing application with over 100 million downloads.
- This software is mainly used for selfies and editing them to revamp your social media posts.
- Works great to blur edges and blur other parts of your image.
- You can automatically blur the background with the help of the Defocus tool. If the results are not satisfactory, you can manually use a brush to blur eges or even other parts.
How to blur photo in FaceTune 2?
- 1. Launch the app on your smartphone or tablet and sign in either with your email, Facebook or Google account.
- 2. Allow Access and continue to choose the image.
- 3. Swipe on the toolbar below to search the Defocus tool.
- 4. Select the part of the image that you want as the subject. The rest of the image will automatically be blurred out.
- 5. Choose the level of blur from 1-100 as per your preference. Download or take a screenshot of the processed image thereafter.
Pros:
- Perfect to blur edges and different parts of your image only with a few clicks.
Cons:
- The software is not available to use for computer systems.
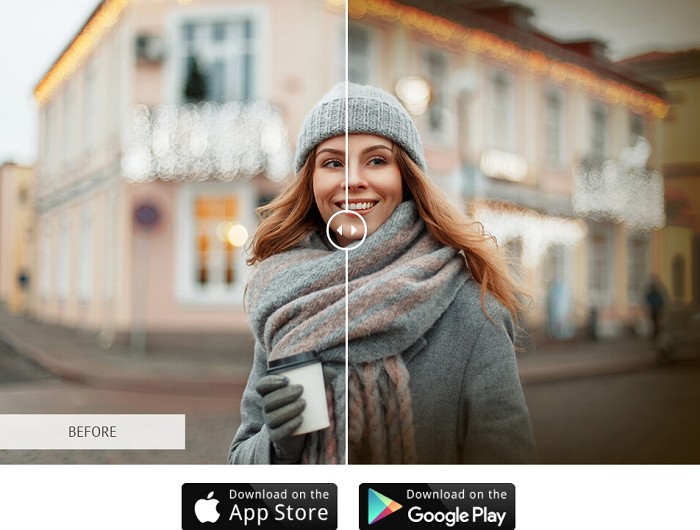
5. AfterFocus
Price: The premium version of AfterFocus costs only $0.99.
Compatibility: AfterFocus is available to download on the Android Play Store and the Apple App Store.
Features:
- To blur edges and other different parts of the image is what the application specializes in.
- You can also make use of the impressive bokeh effects in this software.
- Formulates realistic results after blurring due to its close precision.
- You have several options of blurring to choose from.
- Get blur edges in a simple yet quick manner.
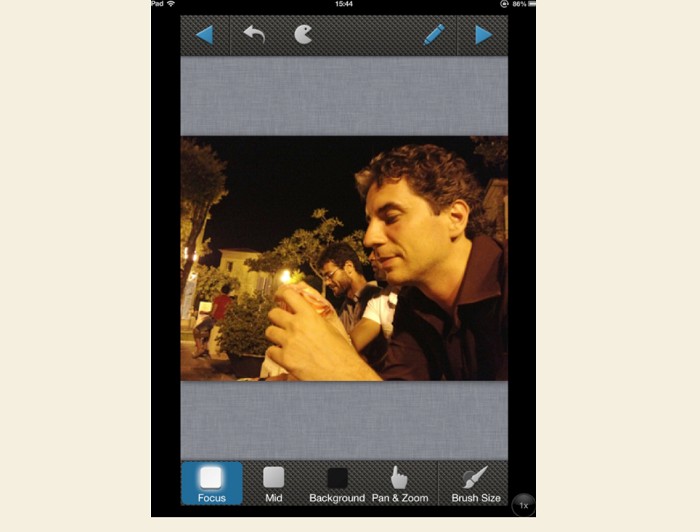
How to blur photo in AfterFocus?
- 1. After launching the application, select the image from your gallery or any other file.
- 2. You will see the Focus, Mid, and the Background option below. After selecting a focus, choose your preferred brush size and select the focus area.
- 3. After using the brush to select the main focus, use the Background tool to erase the background.
- 4. Use the next option on the top right corner and you will see additional options to edit.
- 5. Once you are satisfied with the edited image then you can proceed to save/download the image.
Pros:
- It is a dedicated tool used for blurring.
- The premium version is quite inexpensive too.
Cons:
- It may be possible that the features are too limited.
- The application is not available for PC users.
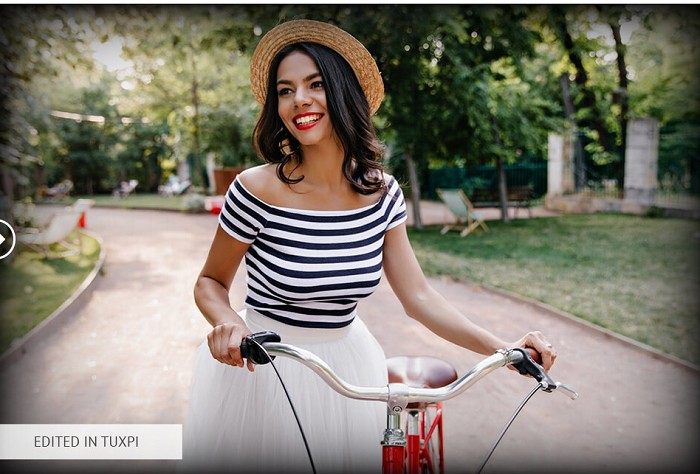
6. Tuxpi
Price: Tuxpi is completely free of cost.
Compatibility: Tuxpi photo editing software is only available on any modern web browser on mobile devices and on computers.
Features:
- Tuxpi has a dedicated tool to blur edges called the Vignette Editor.
- You can even choose the color of the edges of the blurred out part of the picture.
- You have a wide range of frames, photomontages, and FX at your disposal.
How to blur photo in Tuxpi?
- 1. All you need to do is click here and proceed to select the image.
- 2. You can then select the preferred color which will appear at the edges.
- 3. You can play around with the percentage of Opacity and Fade in.
- 4. Once finished, you can either share or save the processed image.
Pros:
- The Vignette Editor is perfect for those who only want to blur edges.
Cons:
- It is not yet available for use on mobile and tablets.
Conclusion
All of these kinds of software are great when it comes to blurring edges and retain the subject of the photo as the main focus. The backend of the software has complex coding which helps us to achieve great results. On choosing any of the above-mentioned applications, you just cannot go wrong. It all boils down to what are your requirements. If you want to only blur edges and not anything further, you can fall back on any of the free apps like Tuxpi, FaceTune 2, and GIMP. If you want to dabble in slightly more complicated techniques to photoshop blur edges, Photoshop and Canva are the applications for you. Using BGremover is a another way to remove background from image to ensure prominent objects.
Though we do have a handy guide to help you blur edges in Photoshop.
Was this article helpful?

Having started writing for a year now, I have written articles, guides, and reviews about various topics that deal with gaming, Linux, science, literature, and now, AI-based image processing technology such as Vance AI. I enjoy writing about technology in-depth because there's so much to know.


