When you're working on a short-term project, like a flyer for an event or a small newsletter, there's no need to download and install Microsoft Word. Google Docs has all the tools you need for creating, editing, and sharing your documents online. Google Docs makes it easy to create a flyer for your company.
This article is about how to make a flyer on Google Docs. It's a good idea to have an online document that you can edit and update, which saves time and money when designing your flyers. You can design any type of flyer in the simplest way. Let's start learning something new.
How to Make a Flyer on Google Docs?
Google flyers are an excellent way to quickly convey your message to a wide range of people. Whether you’re promoting an event, providing information about your products or services, or just trying to bring attention to something important, there are plenty of reasons to create and distribute google flyers to the public. Designing google flyers can be super easy, with the right design template (and some basic photo editing).
Let’s go over how to make a flyer on google docs in just a few steps!
Using a Template
Click the Template Title Bar
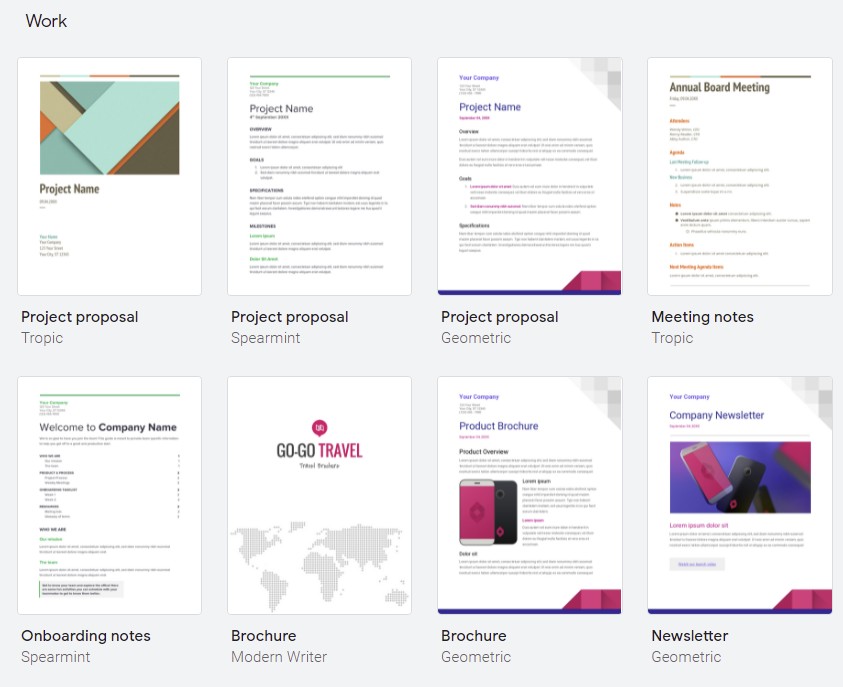
If you hover over the red title bar where it says Google Documents, click that and you’ll see that there are dozens of pre-set templates. Look through these and see if there’s anything that grabs your attention.
When you find one that does, click on Create new (you don’t need to worry about formatting for now; just select a template with decent dimensions for printing). Type out all of your relevant contact information (because people will inevitably want to contact you with questions), then start playing around with different formats until something catches your eye.
Choose the Template
Once you’ve found a template that meets your needs, it’s time to move on to designing. There are many basic templates that provide standard flyer sizes in PDF format; however, if you want to get creative with your design (and have access to more resources), it might be worth creating one from scratch. These templates allow for more flexibility and detail when it comes to design, but aren’t as user-friendly.
Insert Images (and Links!) into Your Document
Open your document and click on Insert. Under Images, select Insert from File. Locate an image you want to use, then hit open. Repeat with as many images as you like. Once inserted, highlight them all by holding down Shift (for selecting multiple rows) or Control (for selecting multiple columns).
From there, right-click one of them and select Linked Image... then paste your link into the dialogue box that appears. You can repeat these steps for both links in text boxes or links in shapes.
Download as a PDF
You can download your document from Google Docs as a PDF. This will open up your current document in Acrobat or Adobe Reader. Once there, select File > Save As and change the Save as type to PDF. Then hit OK. Your file should now be in PDF format and ready for printing!
VanceAI Can be a Helpful Assistant on How to Make a Flyer on Google Docs
VanceAI can help you enhance images for free online. This is a great tool if you are looking to do this at home, as it is one of the easiest ways to enhance your photos without spending too much time or money.
By using VanceAI's image enlarger tool, you can enhance image resolution by 800%, enhance detail by 100%, and automatically adjust the color by 100%. AI enlarge image is a free, cloud-based image enlarger. It is a web app that enables anyone to easily access and improve their images using a computer or smartphone. Using our tools, you are able to produce higher-quality images for printing, banners, eCommerce, presentations, and more.
VanceAI now also launches its software version. VanceAI PC is full-featured desktop software developed by VanceAI that lets you instantly process local photos in bulk with more customization options, which will significantly simplify your workflow and boost your productivity.
Free Download
Start With Blank Document
Here is how you can make a flyer in google docs with a blank document.
Step 1 - Open Your Document
The first step is opening up your document. You can do so by going to File > New. When prompted with New Document enter 500 pixels by 400 pixels, and at 72 dpi. This will create an 8.5 x 11 area for you to fill out with text or images later on. Now hit OK!
Step 2 - Select Your Text Tool
The process for creating your flyer will be exactly as described below, except you’ll also want to select your text tool at some point during it. To do so, navigate over to Insert > Text and then choose your desired font. A rule of thumb is that if you are just doing one page, use Arial or Times New Roman (there’s no difference between these two).
Step 3 - Select Color, Size, etc.
Now that you’ve created your flyer, it’s time to customize it. Selecting a color is easy. The templates provide predefined colors so you can either choose one or enter your own hex code (using format #RRGGBB). To enter a new size, hover over one of three dots on each corner and pull down until you get to where you want it.
Step 4 - Preview/Save as PDF
You can preview your work here and also save it as a PDF. You will lose all of your changes if you leave without saving. Save as PDF and then close.
Tips For Creating a Flyer in Google Docs
Learning how to make a flyer in google docs doesn’t have to be hard, even if you’re not great at design. Just open up Google Docs and follow these tips to create a professionally designed flyer in no time at all!
Making a Pull-Tab Flyer in Google Docs
If you need flyers for your kids’ school fundraiser or want a cheap and simple way to promote an event at your church, business, or nonprofit, pull-tab flyers are a great choice. Determine how big you want your flyer: You will be printing two pages (front and back) per sheet of 8 1⁄2 x 11-inch paper.
To determine how large to make your flyers, divide 8.5 by 2, then add 3/4 inches around each page for space between them when they are folded into boxes: 5 1⁄4 x 9 7/8 inches is a good size for pull-tab flyers. If you are making a lot of these or do not have access to a printer that prints borderless, try printing at home on card stock or heavy paper; I find it easier to work with thicker material.
Making a Half-Page Flyer In Google Docs
If you’re using just one or two colors, Google Docs is great for creating an eye-catching, half-page flyer. Choose a color and apply it consistently throughout your design. To make things easier, we suggest duplicating your background layer and editing it; if you do change something on that layer, all instances of that color will update as well!
You’ll save yourself loads of time not having to recolor large portions of your document. When using photos, place them against your new colored background rather than on top of it. This way they won’t be transparent when printed but will instead be placed overtop whatever new color you choose.
Give everything room to breathe by leaving at least a 1/4 inch border around each edge—this can vary depending on what size paper you print your finished piece out on, but keep borders wide until you know exactly how much space each element needs to look best.


