A new cutomizable photo editing wrokflow is released by VanceAI to simplify your photo editing steps and increase processing efficiency. This new workflow adopts advanced AI algorithms that allow you to customize the workflow and create a simple photo editing workflow with multiple AI features, such as retouching and denoising photos in one step to get stunning images of night view.
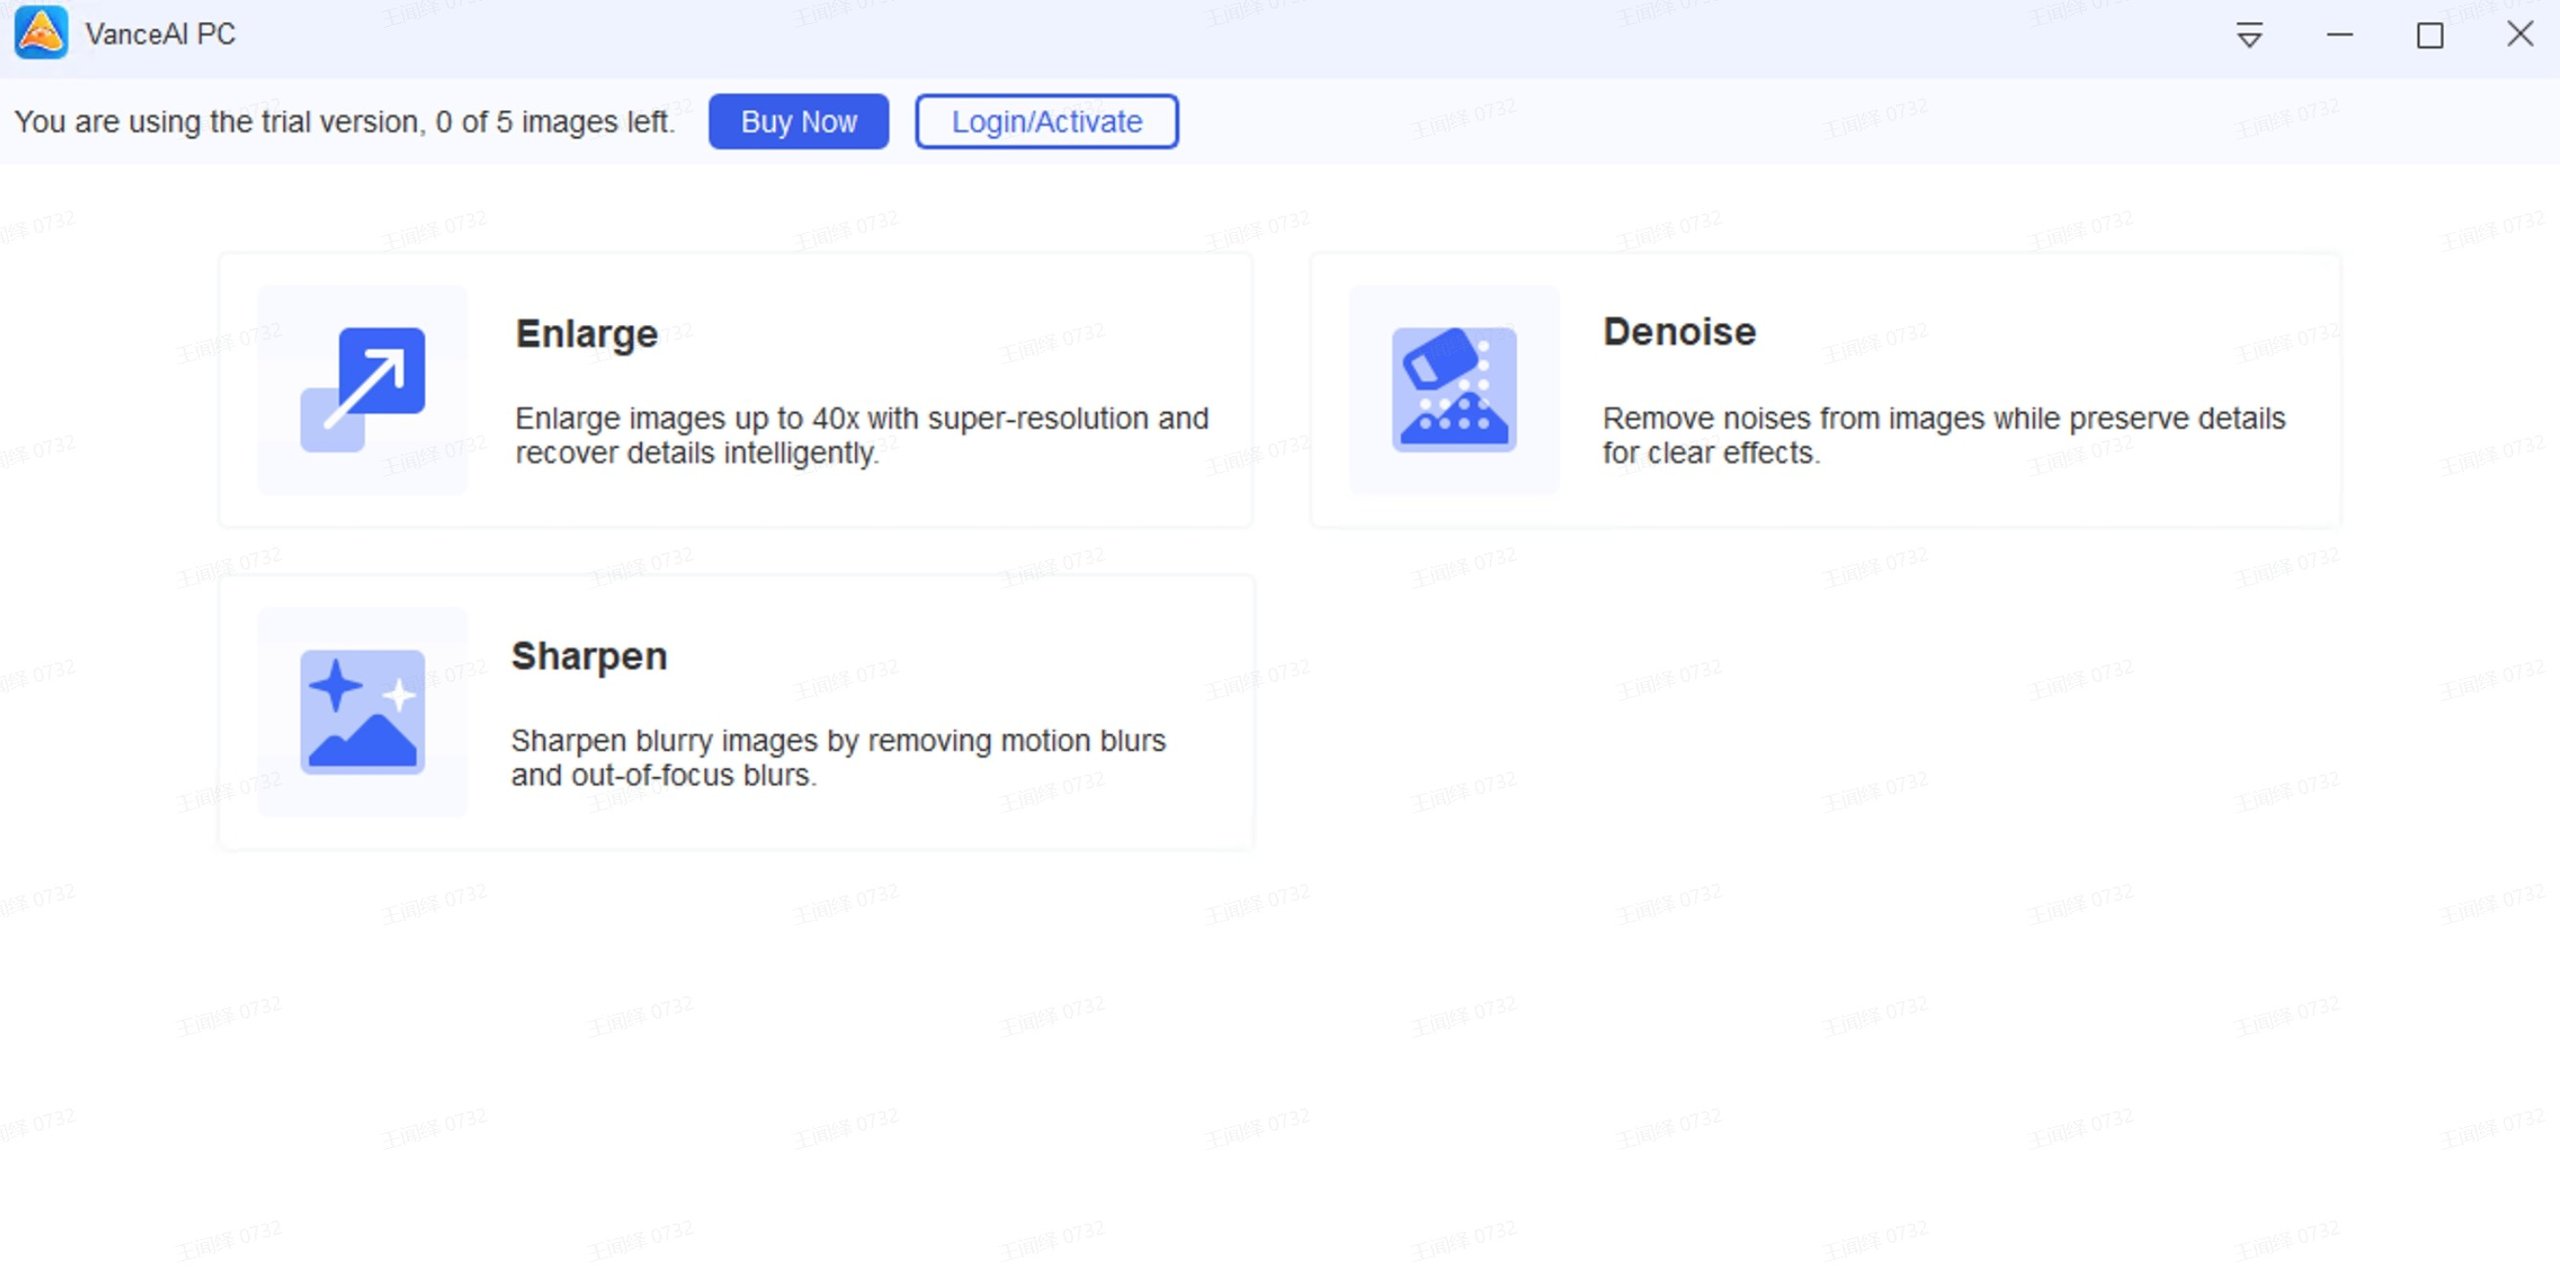
VanceAI PC is full-featured desktop software developed by VanceAI that lets you instantly process local photos in bulk with more customization options, which will significantly simplify your workflow and boost your productivity. Besides, you can also use VanceAI's online photo editing workflow to create your own, professional and efficient photo editing workflow without having to download it, such as VanceAI Photo Retoucher.Free Download
Here, we take a night view photo as an example to show you how to use this new tool.
Step 1: Upload a photo to VanceAI Photo Retoucher
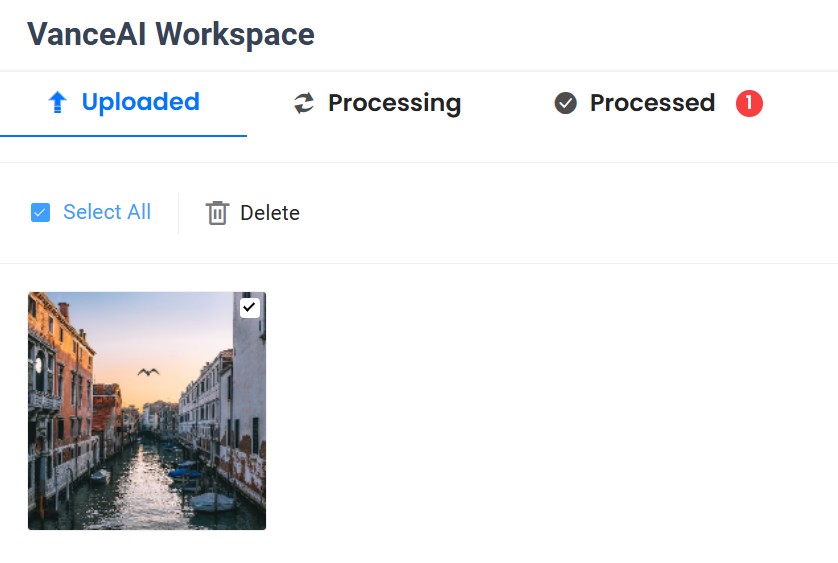
Enter photo retoucher. Drag and upload a photo you want to process to start your editing.
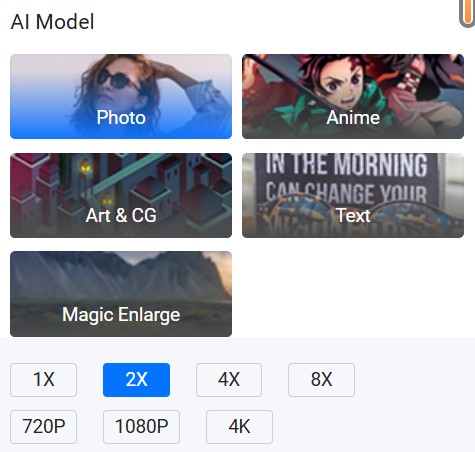
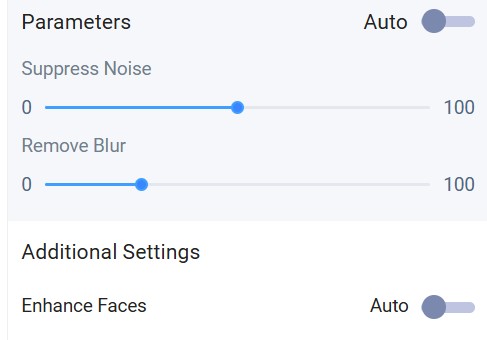
Step 2: Choose AI models and other parameters
Click the “+” button to see a box and click the down arrow on the box to select the AI models you want.
Then you need to set up other parameters as your needs.
Step 3: Process the photo in one click
Click on “Start to Process” to begin processing.
 Note: This tool allows you to add three steps for free. You may upgrade to a pro account with up to 5 steps.
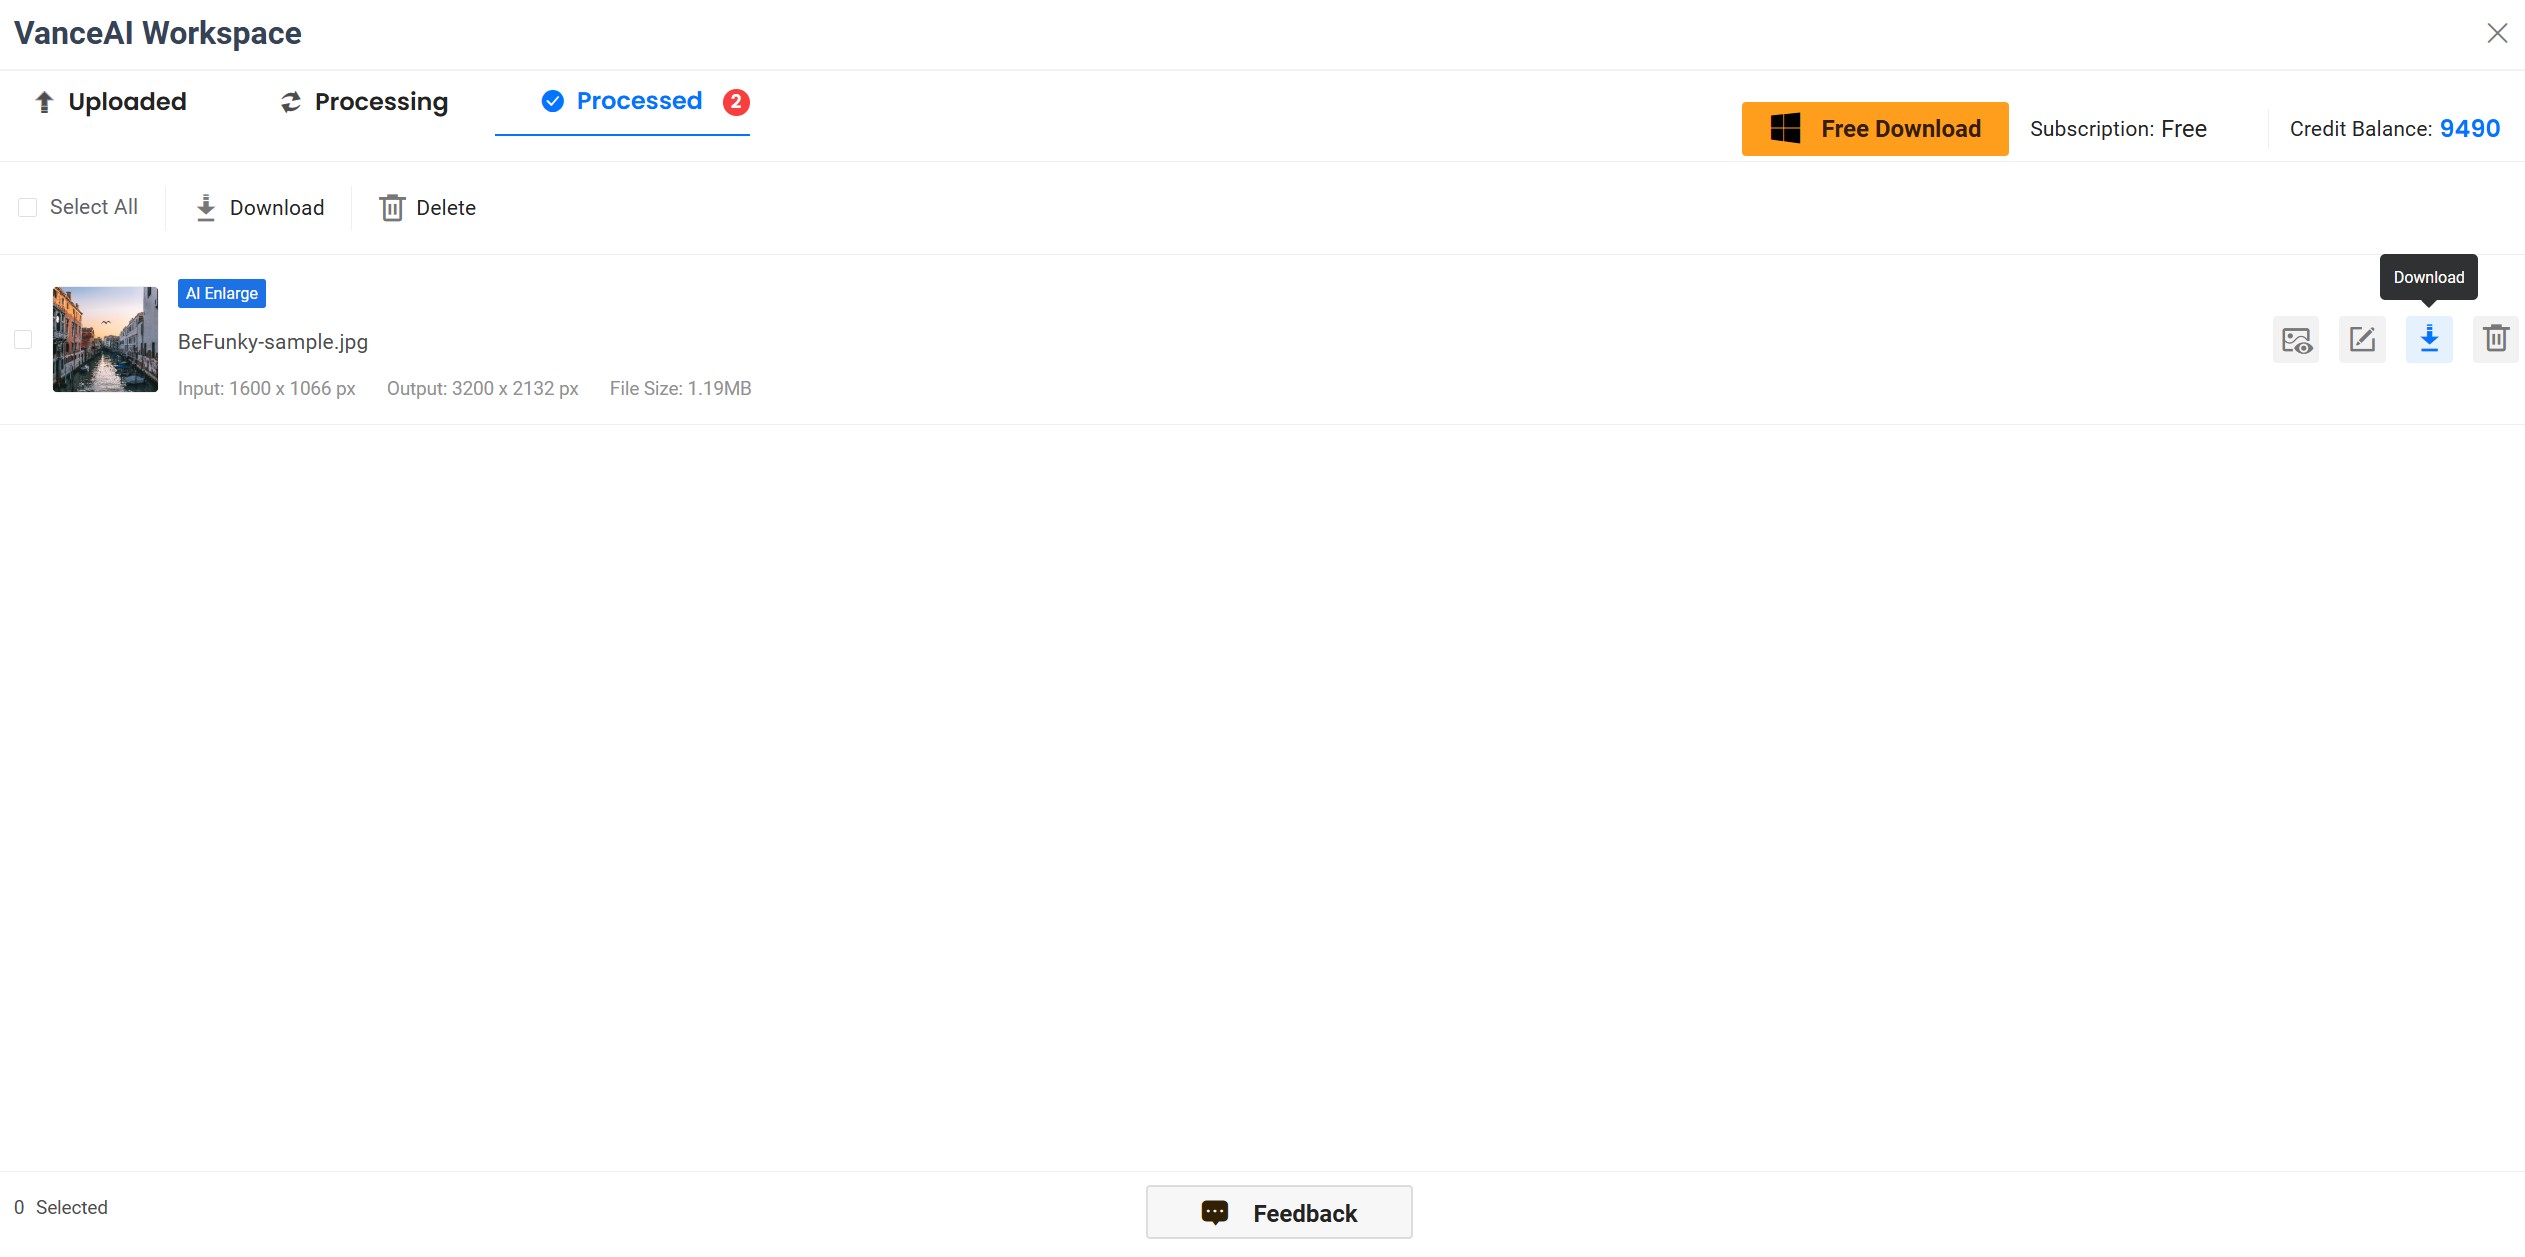
Step 4: Save the result
Click the “Processed Images” to find your image. You could click the download icon to save the image. You may also preview the image first if you like. And if you have any questions or suggestion, please send to the "Feedback" button!
Step 5: Save as workflow for the next use
If you want to save the process steps for the next use, you may click “Save as Workflow” and input a name for it to add it to your photo editing workflow. Next time, if you want to process an image with the same steps, you may choose this workflow to process the image in one click.
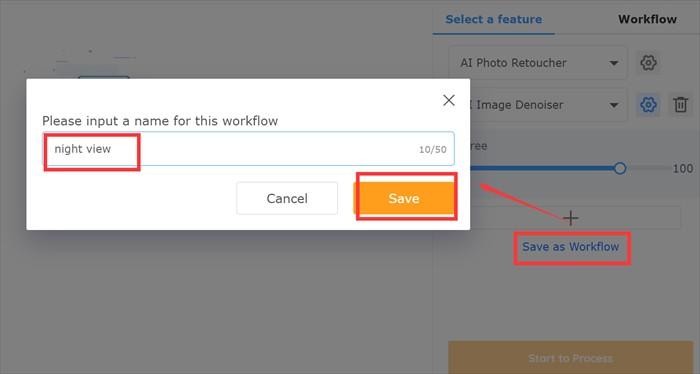
Photo Examples from New Photo Editinf Workflow
Examples (free version)
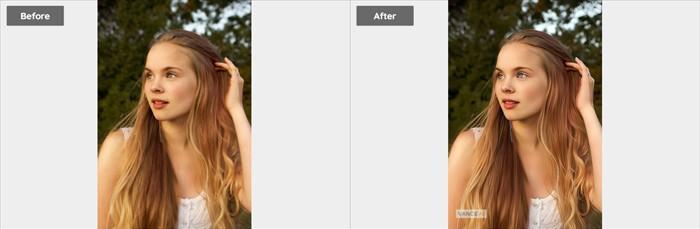
The original picture is blurry and noisy. Using AI Image Denoiser plus AI Upscale Image to denoise the picture and upscale it by 2x. You can obtain a beautiful and clear image of the portrait. 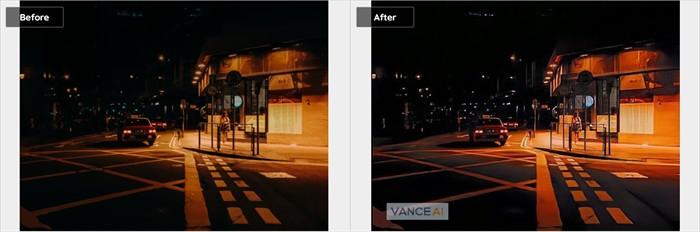
It is generally to have a night view photo dark and with a lot of noise. For this case, you need an excellent tool to brighten and denoise the photo. By using AI Photo Retoucher and AI Image Denoiser to fix your photo, as shown in the above figure.
Examples (paid version)
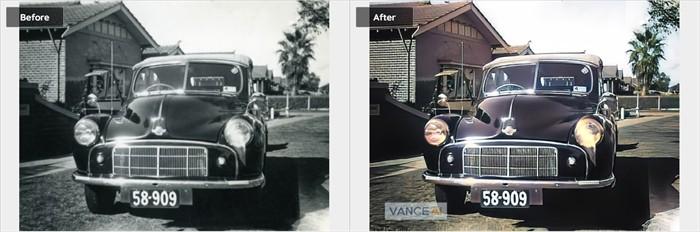
For an old black and white photo, you may use the workflow of AI Image Denoise, AI Photo Colorizer (Pro Version to improve image quality with more advanced algorithms), and AI Image Enlarge. The output effect can be seen above.
FAQs
What can you do with the new photo editing workflow?
You can use the new workflow to process your photo with multiple AI features in one step. For example, you may colorize an old black and white photo plus denoising and enlarging it in only one step. Also, your editing could be recorded and saved for next use. Or you can choose to use VanceAI's configuration generator to customize the workflow.
What is the last step of the new workflow? And why?
Image enlarger and background remover should be the last step of the new workflow. On the one hand, to calculate the processing of adding other AI features to the enlarged image would occupy a lot of resources, which is easy to cause the task to fail. Oh the other hand, using these two before other features would lead to low image quality.
How many steps can I add to one workflow?
Three steps can be added for free. If you want more, you may upgrade to a Pro account, which allows adding five steps.
Can I use samples on workflow?
Yes, you can. There are several samples of the workflow. You could choose the one you like to start your editing.
Conclusion
A photo that is processed with only one AI feature is usually far from a perfect one. However, processing photos with different AI features means repeatedly uploading, processing, and downloading, leading to more time consumption and inconsistency when processing a bunch of photos.
This new customizable workflow simplifies photo editing by allowing you to customize the process steps and save your edit record for the next use. With the help of VanceAI, you can create your own photo editing workflow just for your own needs and preferences. This efficient and simple workflow allows you to batch edit images, which is not only fast but also keeps all the image editing results uniform.


