Guidance On Forest Photography For Beginners
I walk down the beautiful pathway covered with the leaves of giant trees. The bewitching environment tempted me to explore the forest; trees looked like castles of a kingdom. The sound of rustling foliage under my feet reminds me of the phrase, “And into the forest I go, to lose my mind and find my soul.”
This woody heaven near my house entices me to do forest photography. The forest always gives me flawless photos for my collection despite the season.
Forest photography is a way to relax your mind from the chaos of the world. We are stuck in so many worldly tasks that we forget to loosen up a little through nature exploration. If you want to appreciate the peace of nature, forest photography is one hobby to consider.
5 Tips You May Need For Forest Photography
We have some tips for you to capture nature. So, dive right into the tips to do the finest nature forest photography.
Explore
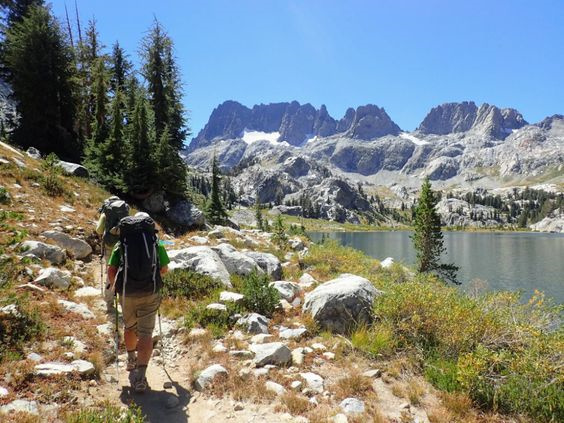
Find your calm in the chaos. Capture peace in a chaotic place. Forest landscape photography requires no former experience, just your creative vision. It would be best to explore the forest before finding a perfect spot for capturing a beautiful forest picture. You can explore without a camera to calm your mind. This hobby is beneficial for your mind and soul.
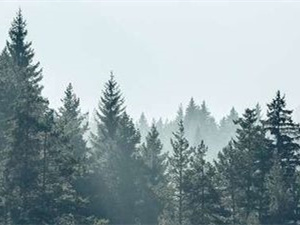
Thick Foggy Clouds
Be a little adventurous and capture the forest at night. Dark forest photography is an exhilarating task. Foggy forest photography might sound spooky, but it is the best way to capture different moods of nature.
The fog is usually found on higher altitudes, so you need to have an adventurous spirit to photograph mists and clouds. But, if you want to relax and take a foggy forest picture, we recommend forest smoke bomb photography.
Smoke bombs come in different colors, so you have a choice to be creative with the greens and browns. Find a good contrast and choose a smoke bomb according to the season. For example, blue during winters and bright colors during summers.
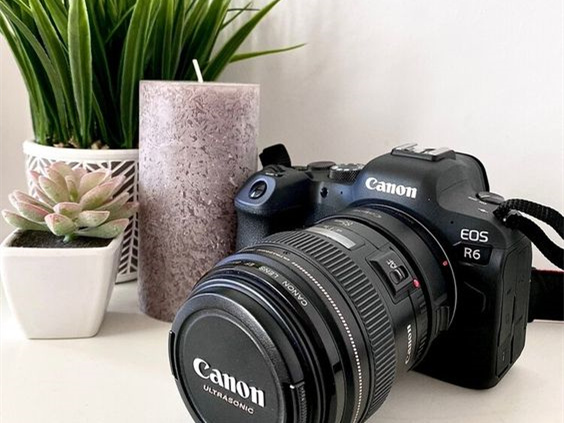
Try Different Lenses
Shoot with a long lens, a wide lens and a macro lens. You cannot miss out on anything nature is offering you. A long lens is excellent for capturing forest images with tight compression.
The lens will focus on one element and soften out the other, enhancing the details of the picture. A wide lens captures the most scenery. You can adjust your angle and capture with a wide lens to create an in-depth effect in an image.
A wide lens will capture the depth of the tall giant trees in the forest. A macro lens allows you to capture the insect life in a forest. You cannot miss out on these tiny details (pun intended). A macro lens helps you look at the details of miniature insects.
Capture Every Season And Weather
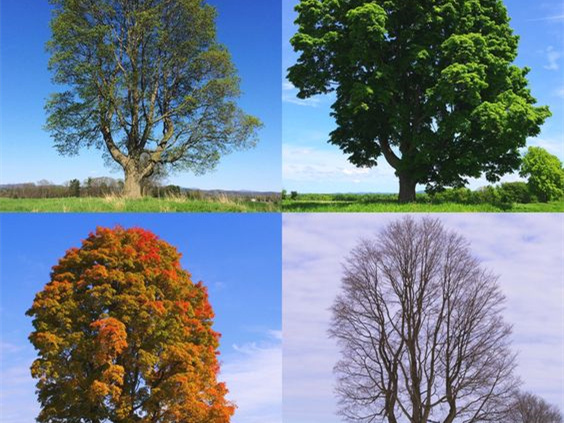
Forest compels us to explore every season of nature. A forest is a microcosm of trees, water, animals and insects; capturing them in every season and weather gives different perspectives in a picture.
Beautiful forest photography is when every season is caught in its true essence. Capture the bright green samplings in spring, rusty orange leaves in autumn, a snowstorm in winters and a waterfall in summers.
Play With Your Angles
Set up a wide frame, take a bottom-up picture to capture the umbrella of the deep foliage or take a picture of a running deer. Create mesmerizing imagery by capturing different perspectives. Find unique elements to enthrall your audience. Hike a mountain to capture a waterfall with a wide lens. Capture the rays of light coming through the tree barks.
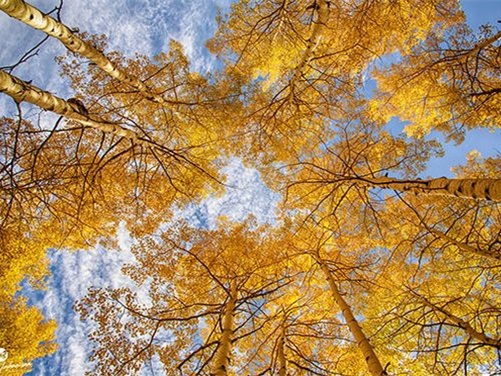
Landscape photography forest is a classic way to calm yourself down and take beautiful pictures. Be creative with your work; try different contrasts, textures, light and shadows. Play with colors and filters until you get a beautiful shot. Don’t try to be perfect and enjoy the nature in its true essence.
Upgrading Visual performance by VanceAI in one-click
AI Photo Enlarger
AI photo enlarger can upscale your image by 800%. You can enlarge your image without compromising on the quality. In these steps, you will learn how to use AI photo enlarger.
Step 1:
Upload your photography.

Step 2:
Choose different scales (2x, 4x, 6x, 8x) to increase image revolution.

Step 3:
Click on the “preview” option to see the final result.

Step 4:
Download the final enlarged image.
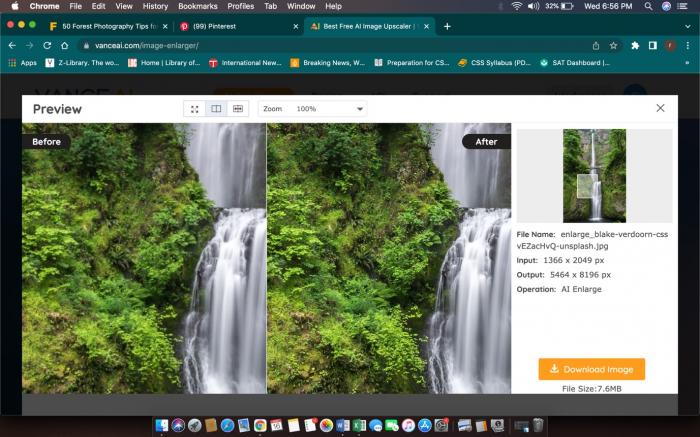
You can look at the before and after results of image resolution. The quality is crisp and clean. The AI image enlarger changed the image resolution without ruining the quality.
AI Denoiser
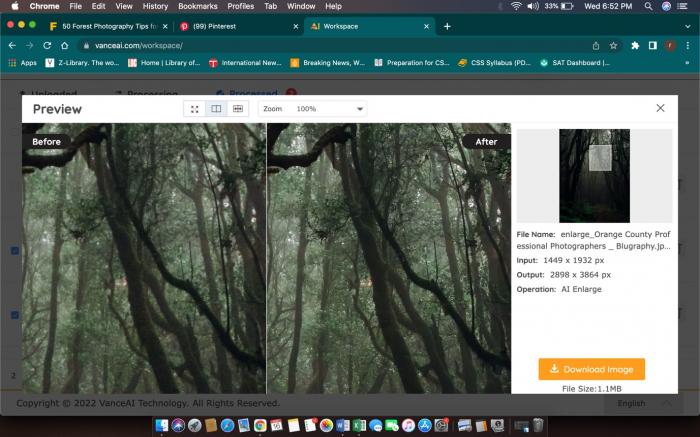
You can eliminate 100% image noise through AI Denoiser. By uploading any image of your choice, you can remove grains and noise from the picture.
As you can see the comparison in the picture below, the Denoise AI algorithms has removed grains from the picture and reduced the noise which improved the picture quality.
AI Photo Dehaze
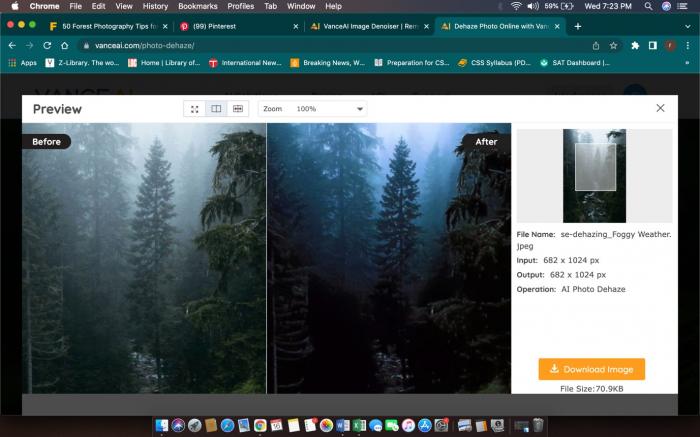
The picture below shows the wonders of Image Denoiser. It removes haze and fog from your photos. The high quality of the pictures will make you appreciate this online website. The photograph below has turned out beautifully with high quality resolution.
FAQ
Q: How to do photography deep in the forest?
The answer lies in your creative perspective. Look at the forest and appreciate its beauty from different angles. Explore to find out the perfect picture spots for your photography collection.
- Take an aerial shot of the forest to capture the vast queue of trees.
- Take a ground-up photo. The camera should be at a low angle facing towards the sky.
- Use gridlines to capture a perfect standing line of trees.
- Position your camera vertically to capture the giant trees in all their might.
- Defocus the background and use a wide lens.
Conclusion
The wide variety of natural living beings in a forest broadens your photography options. You can either capture an insect, a flower, flowing water, trees or simply the sky covering the massive forest. There is so much potential of capturing a forest because of a wide range of flora and fauna. Read more:Best 5 Portrait Photography Tips


