Topaz Labs Sharpen AI Review 2024
Why Do You Need Topaz Sharpen AI?
Just because a photo has certain imperfections that don’t mean it’s completely ruined. Sure, this used to be the case back in the day but now we have advanced software that can help get rid of such imperfections. While there are other programs that let you do that, such as Adobe Photoshop, AI sharpeners stand out from the crowd thanks to their ability to automate most of the process, such as Topaz Sharpen AI and AI sharpen image. Topaz Sharpen AI is like a brighter image lab that makes use of machine learning algorithms to remove blur and sharpen photos in a remarkably natural way. All you have to do is play around with a few simple settings. No technical knowledge is required. Then the image sharper happens. If you are interested, you can try to sharpen your image now or download it directly from the pop-up window on the right without leaving this article.
Topaz Sharpen AI Tutorial
When you open the software for the first time there will be greeted by a handy tutorial that will teach you how to use Topaz Sharpen AI. However, I figured I should include my own tutorial in this Topaz Sharpen AI review because the provided one is fairly basic and doesn’t explain everything.
1. Go to Topaz Labs and look for the Downloads section. There are quite a few tools to choose from there but the one that comes in is Sharpen AI. Download it for either Windows or Mac.
2. Open the tool and browse your computer for the image you want to sharpen. You can also select an entire folder. Alternatively, you can use one of the provided sample images if you only want to test the software.
3. Before you adjust the settings, make sure to check out the View dropdown menu found in the upper part of the UI. Switch from Single View to either Split, Side-by-Side or Comparison to get a better idea of the results. For this example I went with split.
4. All the options you need to start sharpening your image can be found in the right panel. The first section (Image Quality) is used to determine the AI model that will be used when processing the image. Motion Blur is for shake correction, Out of Focus for focal blur, and Too Soft for general sharpness. You can also tell the AI if the image has excessive blur or noise. Enable the Auto option to make AI unblur photos to get the best result.
5. The next section will allow you to fine tune the amount of blur and/or noise you want to eliminate. You can select Auto mode once again and you can also use the slider underneath to add some grain if necessary.
6. Once all the settings have been adjusted it’s time to hit the Update Preview button and let Topaz Sharpen AI do its magic like a contact lens remover tool. If the results are not great on your first try you can go back again to change some settings or try using the Mask button to selectively sharpen the image. Click Save Image once you’re happy with the results.
Scope of application of Topaz Sharpen AI Work
For the most part, Topaz Labs’ Sharpen AI works just as advertised but there are a few things to keep in mind before you start using it. First off, this isn’t a magical piece of software that can fix just any image. If the image is extremely blurry from the get-go, you probably won’t be able to clear it up completely. From my experience, the software will improve these types of images to a certain extent but will also cause weird distortion effects in the process. Also, the tool was clearly designed to sharpen high-quality images and won’t work great with photos taken with old cameras or phones. The more pixelation you have in the original image, the less effective the software will be.
Another problem I found is that the Auto mode doesn’t always work as well as you would expect, though it can get the job done in certain situations. Still, it’s better to manually adjust the settings and do some trial and error in order to get the best results. If you’re good at using the Mask tool, even better. Also important to note is that the AI can behave differently depending on how much you zoom in on the photo, so you’ll need to keep that in mind as well.
Test 1 Before

Test 1 After
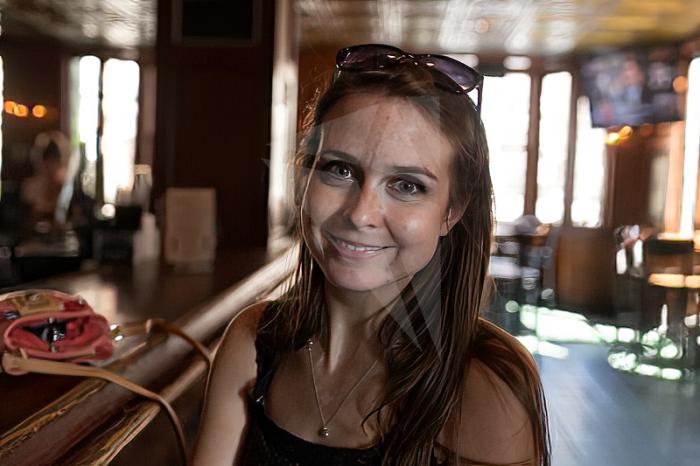
Test 2 Before

Test 2 After
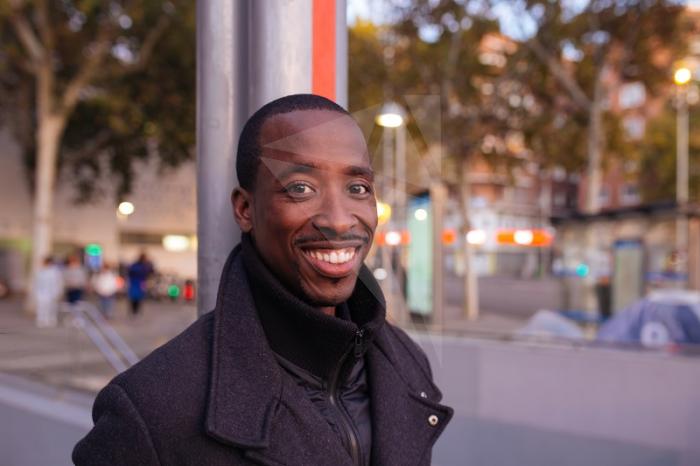
Test 3 Before
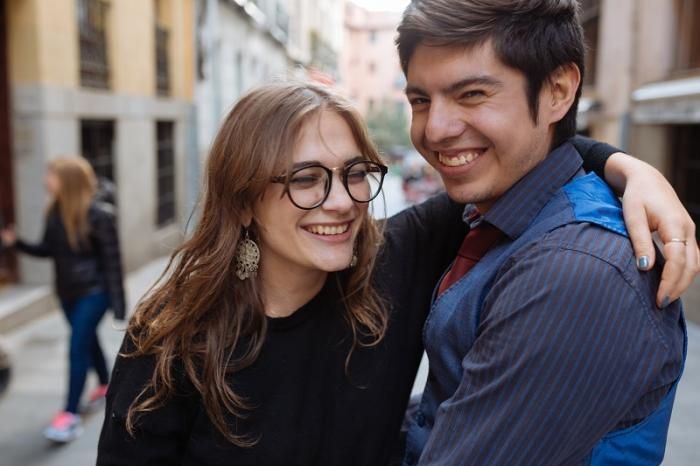
Test 3 After
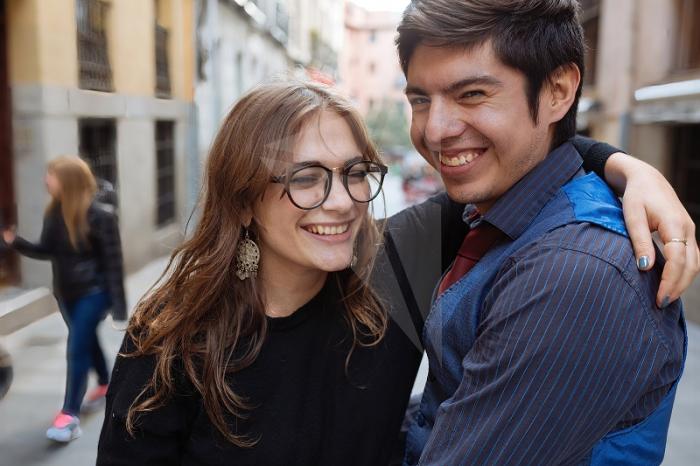
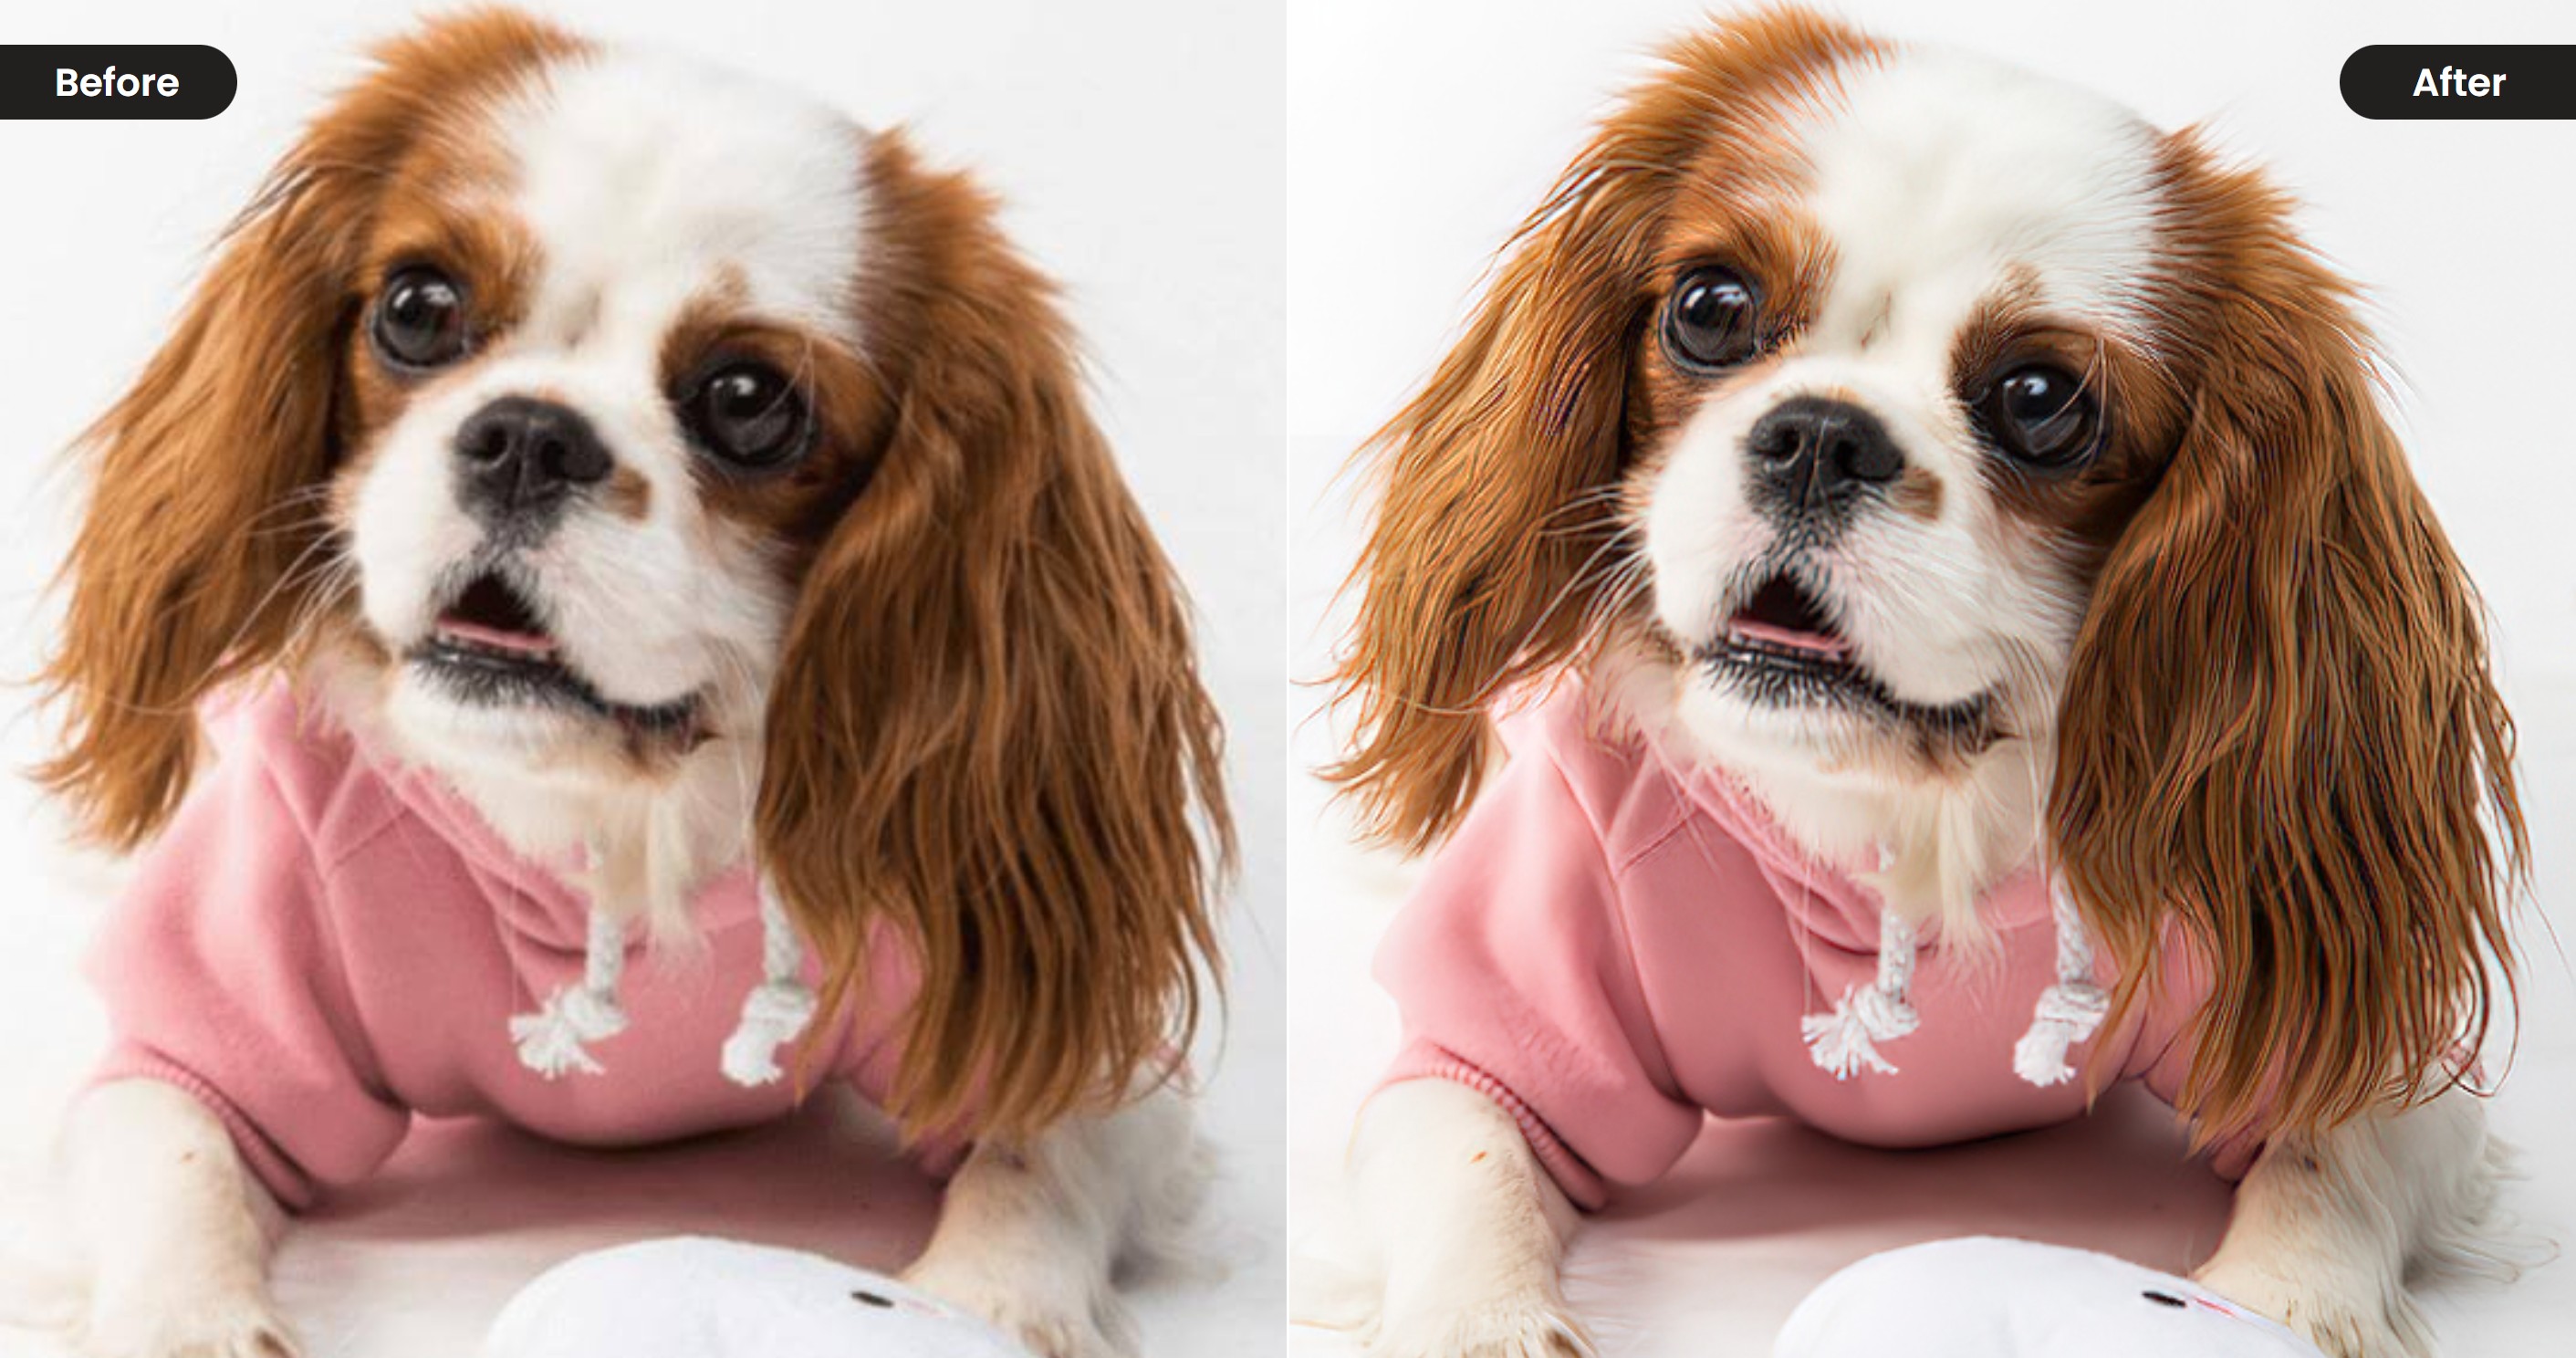
Since I didn’t have a whole lot of blurry images of my own I decided to further test the software using some of the samples provided on the website. You can check out the before and after results down below. You’ll notice that all the processed images feature a watermark. That’s because I only used the trial version for this review. If you want to remove those, you’ll need to get the premium version for $79.99.
Topaz Sharpen AI is a great piece of software but it’s definitely a bit pricey for the average user. That’s why I wanted to also recommend this picture sharpener, a much cheaper tool that’s arguably just as good at sharpening images. And, it will be introduced in detail in the following part.
Best Alternative to Topaz Labs Sharpen AI
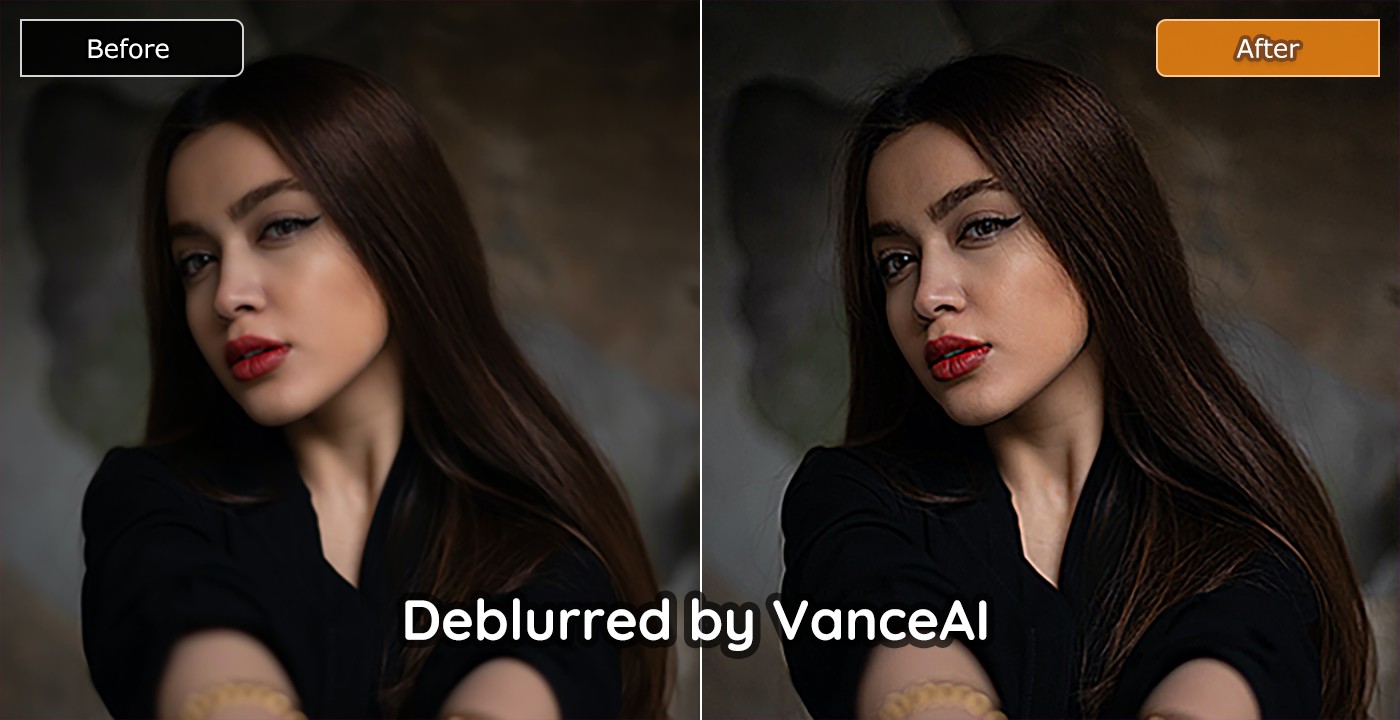
VanceAI Image Sharpener also uses artificial intelligence to automate the sharpening process. Just like other AI products from VanceAI, it can also help enhance image quality online with details preserved and highlighted. About enhancing an image, the function can be regarded as an efficient tool provided by VanceAI, which helps you to remove disgusting blurry, or noisy parts. It also helps you finish the task of image enhancement with one single click even if you have not sophisticated skills. At the same time, it is able to enhance the resolution of your picture to a higher level within several seconds. Unblur photos online with AI image enhancer easily. One click to increase image resolution and get your images crisper, cleaner, and make photo hd.
| Product | Free | Speed | Multitasking | AI-based Product | Online | Targeted Sharpen Model |
| VanceAI Image Sharpener | × (3 credits/month for trial) |
√ | √(Sharpening image while enhancing image quality) | √ | √ | √(Four Sharpen Models) |
| Topaz Sharpen AI | × | × | × | √ | × | √ |
Moreover, it uses a subscription model that starts at only $9.90 per month. But you can test it out for free, just like Topaz Sharpen AI. As an added bonus, VanceAI Image Sharpener is also easier to use and works online. It sharpens the edges of photos/portraits as well as enhancing the details to make images clearer. This model gives full play to details of already-good images. It can create impactful and stunning images for any project. All you need to do is follow the three quick steps below. You can also use an image resolution enhancer to level up your photos.
1. Visit VanceAI and go to the AI Solutions dropdown menu to find the picture sharpener tool.
2. Upload an image from your computer or choose one of the provided samples. Click Upload Image to proceed to the next window where you can adjust the amount of sharpening. You can also click Auto Sharpen to speed things along.
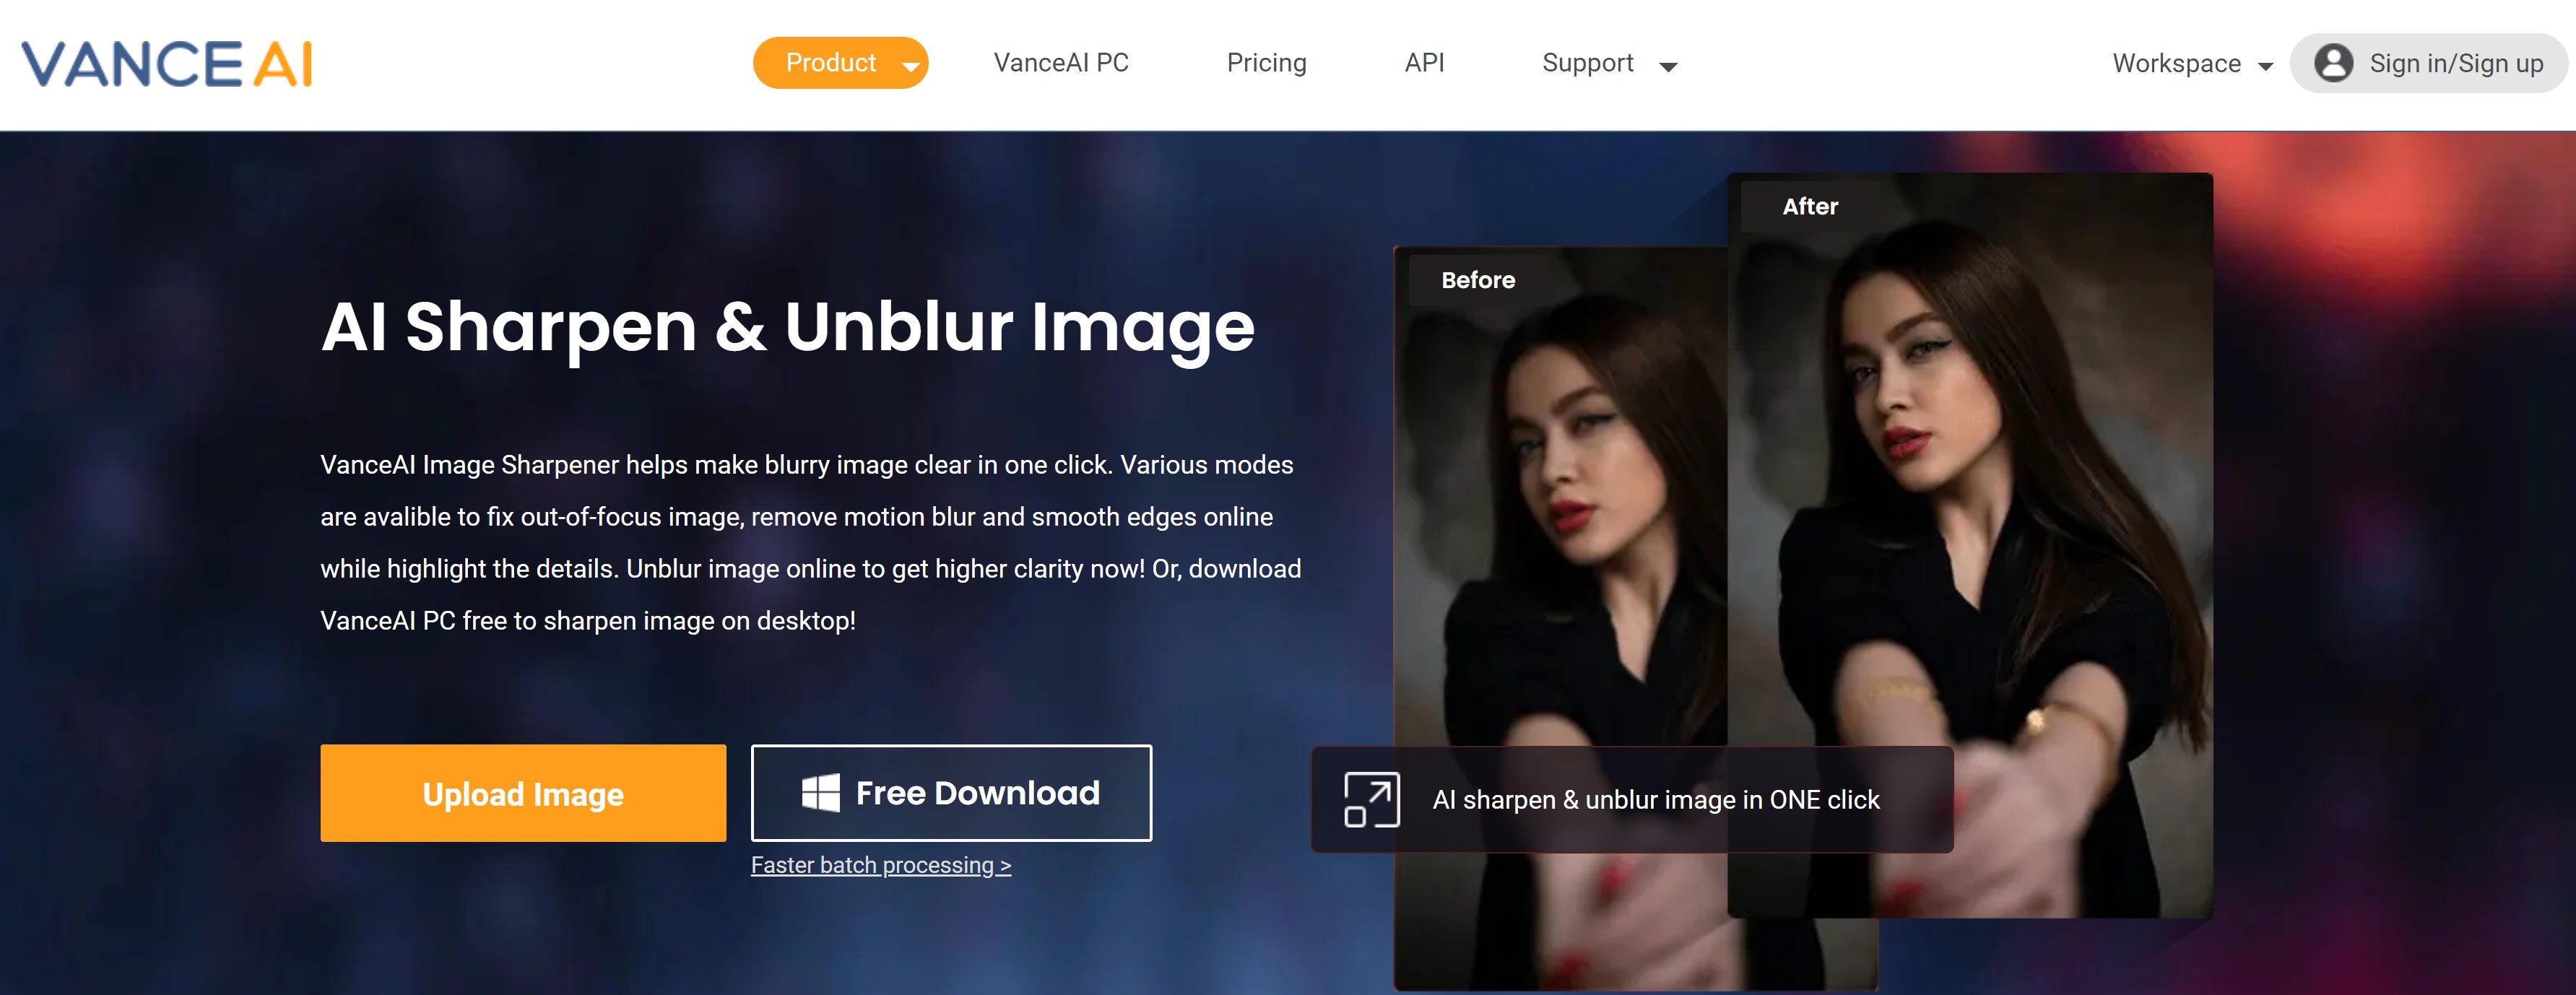
Click the Start to Process button and wait for a few seconds.
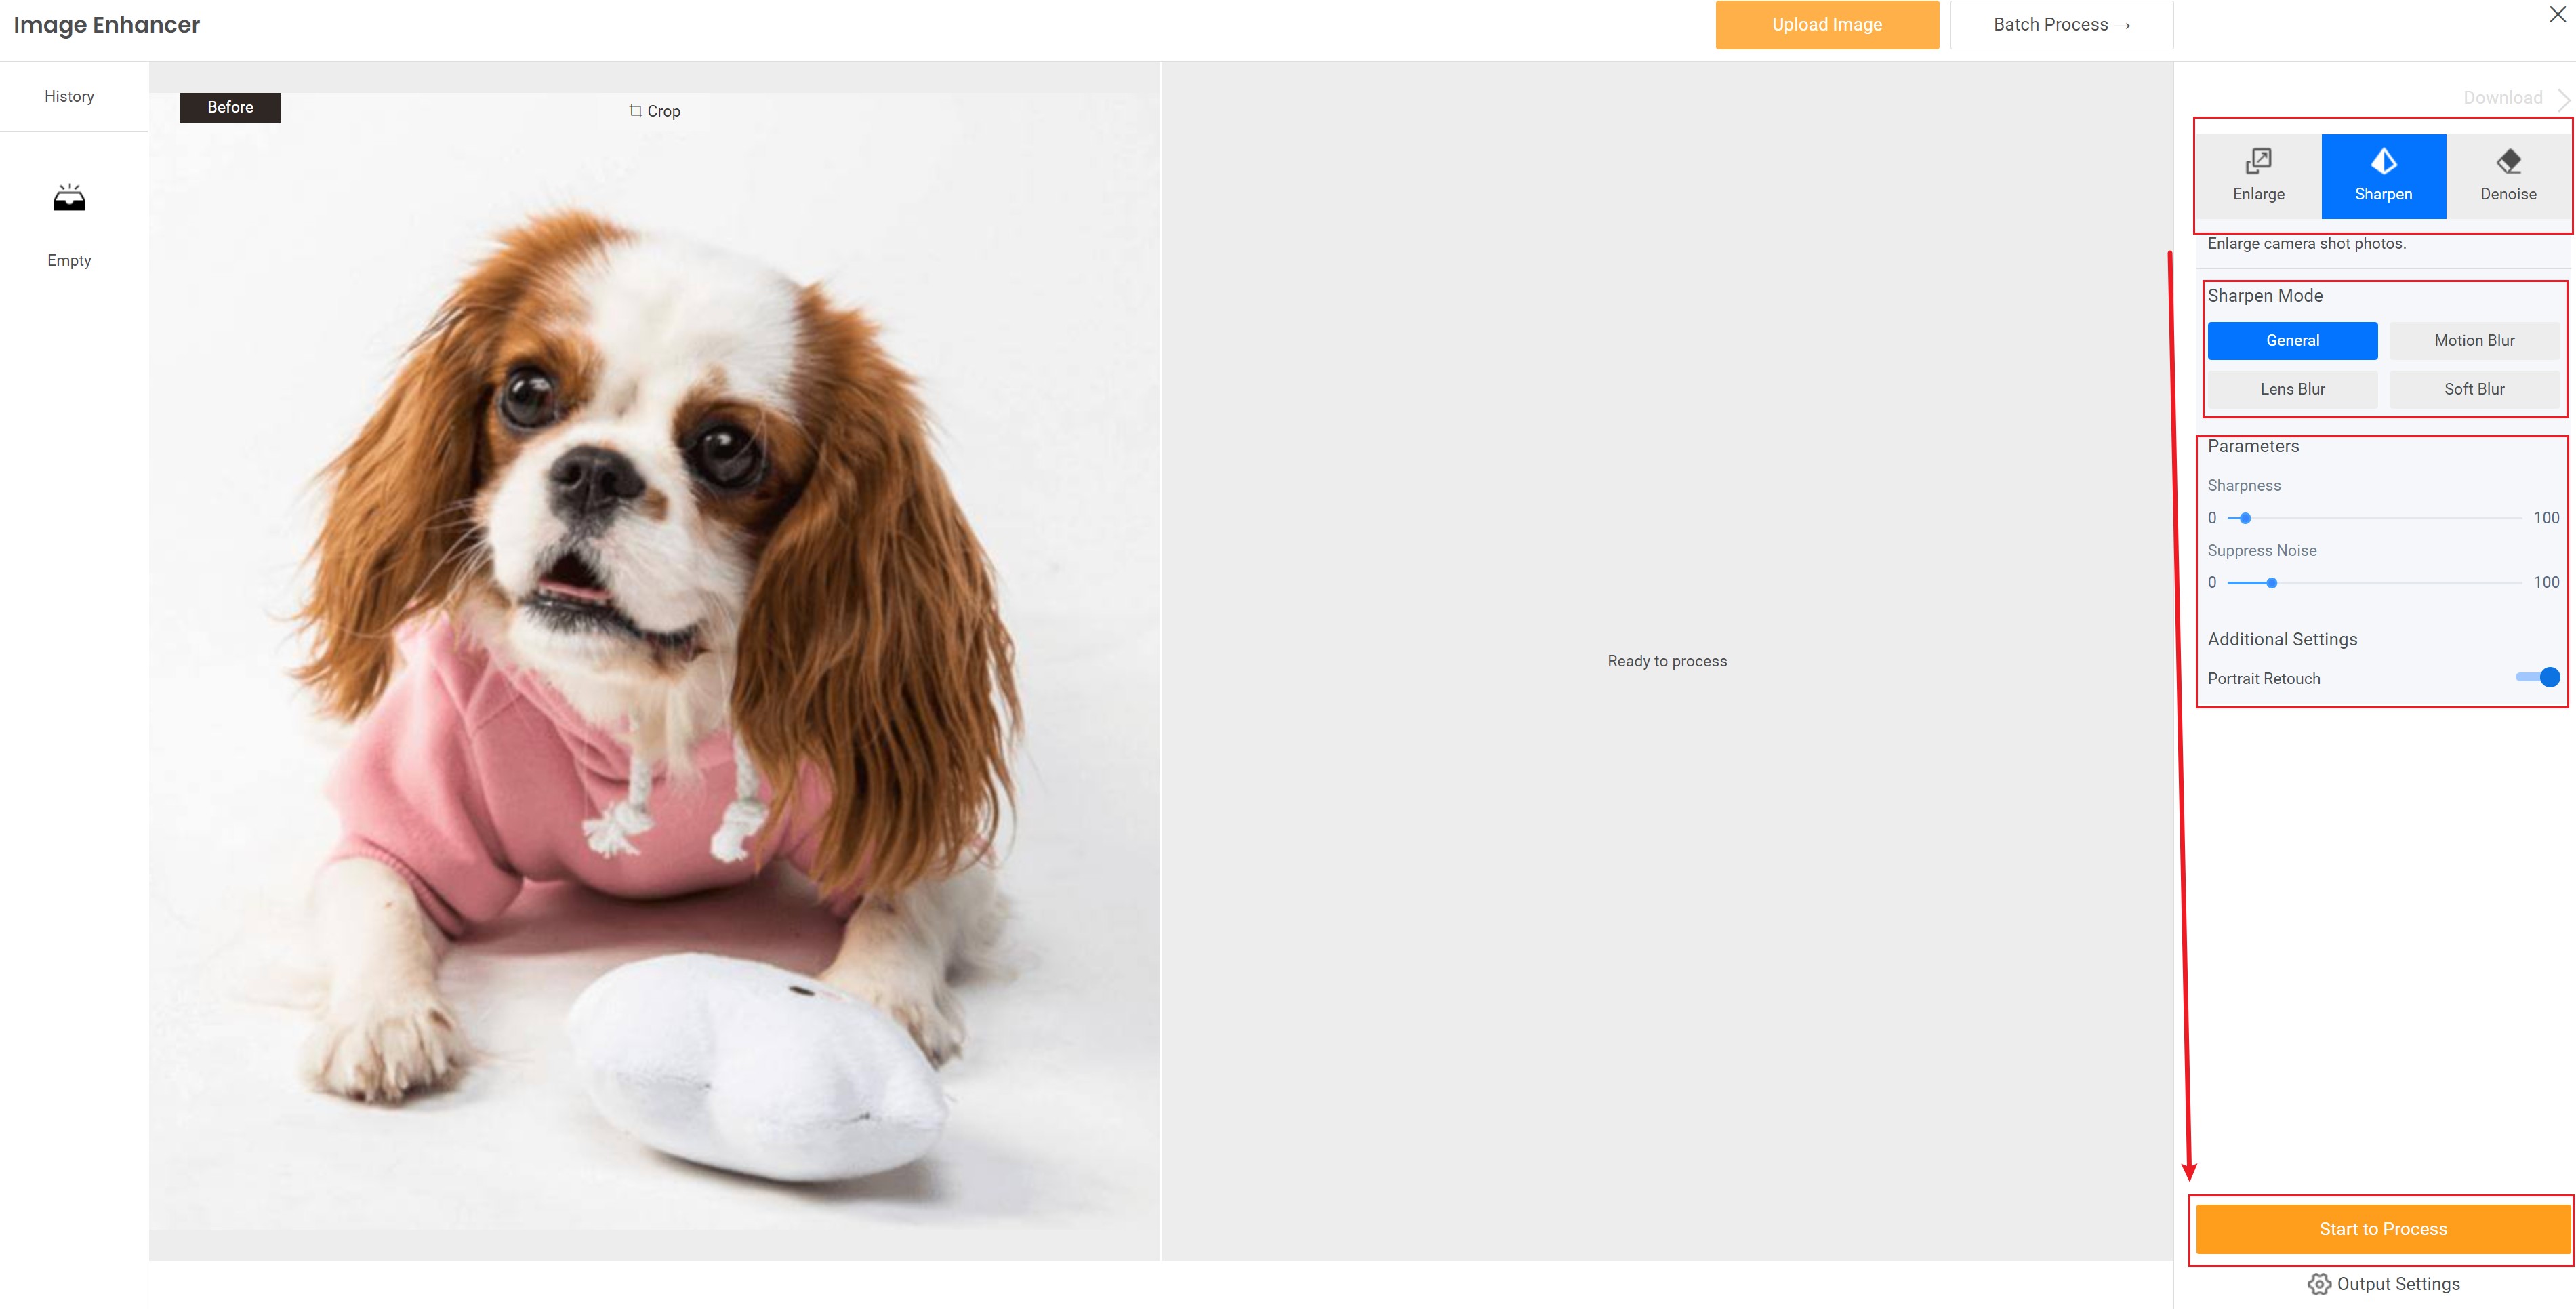
3. Once the process is complete, go to the Processed Images tab to either preview or directly download the image.
Final Thoughts
I hope you found this Topaz Sharpen AI Review useful and educational. Of course, the best way to test something is to do it yourself so don’t hesitate to download the software so you can start sharpening your own photos. Just keep in mind that the software takes a while to download and requires a pretty decent PC to run. If you’re struggling with internet connectivity, are using an old computer or simply want a cheaper alternative, make sure to check out VanceAI Image Sharpener to unblur photos instead. With this online tool, you can easily sharpen general images or portraits online and restore details without causing artifacts or halos.
