Restoring old photos is already a hard thing for most people, to say nothing of colorizing them. As for old photo restoration, VanceAI Photo Restorer is an efficient tool. Similarly, VanceAI Photo Colorizer can be seen as a professional tool dedicated to converting black and white photos to colorful ones. This tutorial shows you how to use VanceAI Photo Colorizer step by step. Let’s begin!
How to use VanceAI Photo Colorizer?
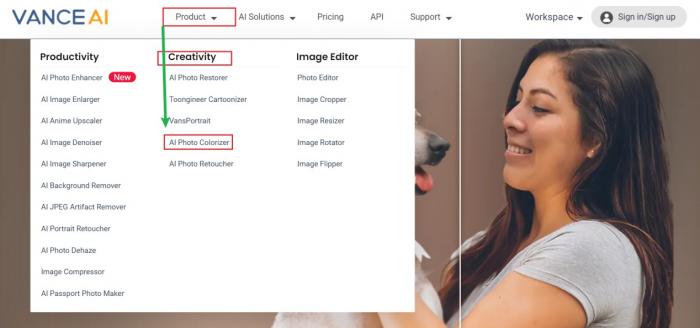
Step 1: Find AI Photo Colorizer
Coming to the official homepage of VanceAI needs you to click VanceAI.com. On this page, the green arrow guides you to see Product, Creativity, and finally AI Photo Colorizer.
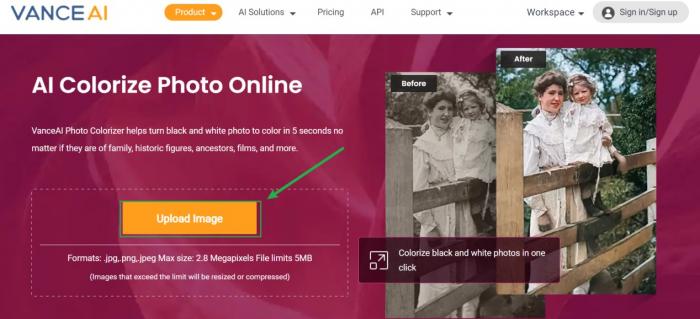
Step 2: Colorize Photo
You will see the homepage of VanceAI Photo Colorizer after following the above step. Upload Image and you will witness how well AI Photo Colorizer performs in terms of colorizing a photo.
Step 3: Preview and Download Photo
Here is the tool’s workspace wherein you can see the difference between the original photo and the processed one. The major advantage of the tool is that you don’t need to colorize photos in person as it gives you all-automatic services. You can download it to your device after previewing the result.

It does look easy, doesn't it? Then try to sharpen your image in the pop-up window on the right without leaving this article. Of course, you can also choose to download it directly
Also read: How to Colorize Old Photos with AI Photo Colorizer