
"Fix the quality" can mean five different things — a video can be too low-resolution, too blurry, too grainy, too compressed, or just badly exposed — and each one has its own fix. The reason so many people give up is that they apply one fix to the wrong problem: sharpening a low-resolution clip, or upscaling a noisy one, and watching it get worse. This guide shows you how to diagnose what's actually wrong, then fix it the right way — fastest of all with a single AI pass in VanceAI Video Upscaler, which needs no install and is free to try.
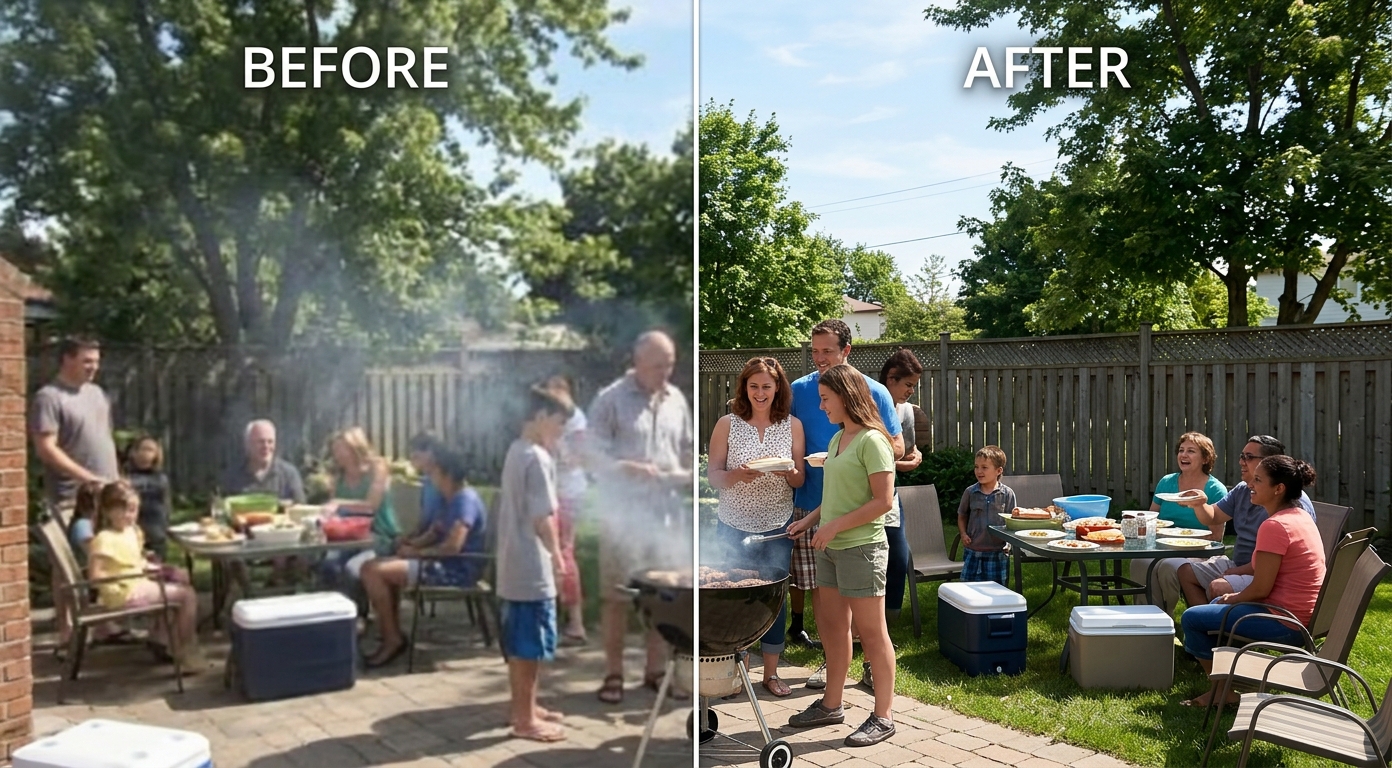
First, Diagnose What's Actually Wrong
Thirty seconds of diagnosis saves you a bad fix. Play the clip and ask which of these you're seeing — often it's more than one:
- Too small / soft on a big screen → a resolution problem.
- Out of focus or smeared → a blur problem.
- Speckled or fuzzy, worse in shadows → a noise problem.
- Blocky patches, muddy motion → a compression problem.
- Too dark, washed out, or wrong color → an exposure and color problem.
The distinction matters because the fixes pull in different directions. Upscaling adds resolution, deblurring rebuilds smeared detail, denoising removes grain, artifact removal clears compression damage, and color correction handles exposure. Try to "sharpen" your way through all of them and you'll just amplify the flaws. The good news: a modern AI tool detects and treats the first four together, so you rarely have to run them separately. For the wider method behind this, the how to enhance video quality guide is the companion read.
Where Low Video Quality Comes From
Knowing the source of the damage helps you predict how well it'll fix. Most bad-quality video traces back to one of these:
- Messaging and social compression. Clips sent over WhatsApp, iMessage, or cellular data, or re-uploaded to Instagram and TikTok, get aggressively re-compressed each time — the most common reason a once-clean clip looks blocky and soft. Because the original detail often survives under the blocking, these fix up well.
- Old phones and camcorders. Standard-definition sources are low-resolution by nature. They respond best to upscaling rather than sharpening.
- Low-light recording. Dim scenes bake in noise that later compression smears into a muddy look. Denoising is the lead fix here.
- Screen recordings and downloads. Often captured or saved at a low bitrate, so they go soft and blocky. Upscaling plus artifact removal restores readable detail.
The pattern to notice is that most real clips carry combined damage — a low-resolution phone video, shot in poor light, then compressed by an app, has three problems at once. That's the case an all-in-one fix is built for, and it's why the broader video quality enhancer approach beats chasing a single cause.
The Fastest Way to Fix Video Quality: One AI Pass
Rather than chaining an upscaler, a denoiser, and a sharpen filter, VanceAI Video Upscaler fixes the four biggest quality problems — low resolution, blur, noise, and compression — in a single render. It runs in your browser and processes on VanceAI's servers, so the fix doesn't depend on your computer's power, and you're not installing anything to repair one clip.
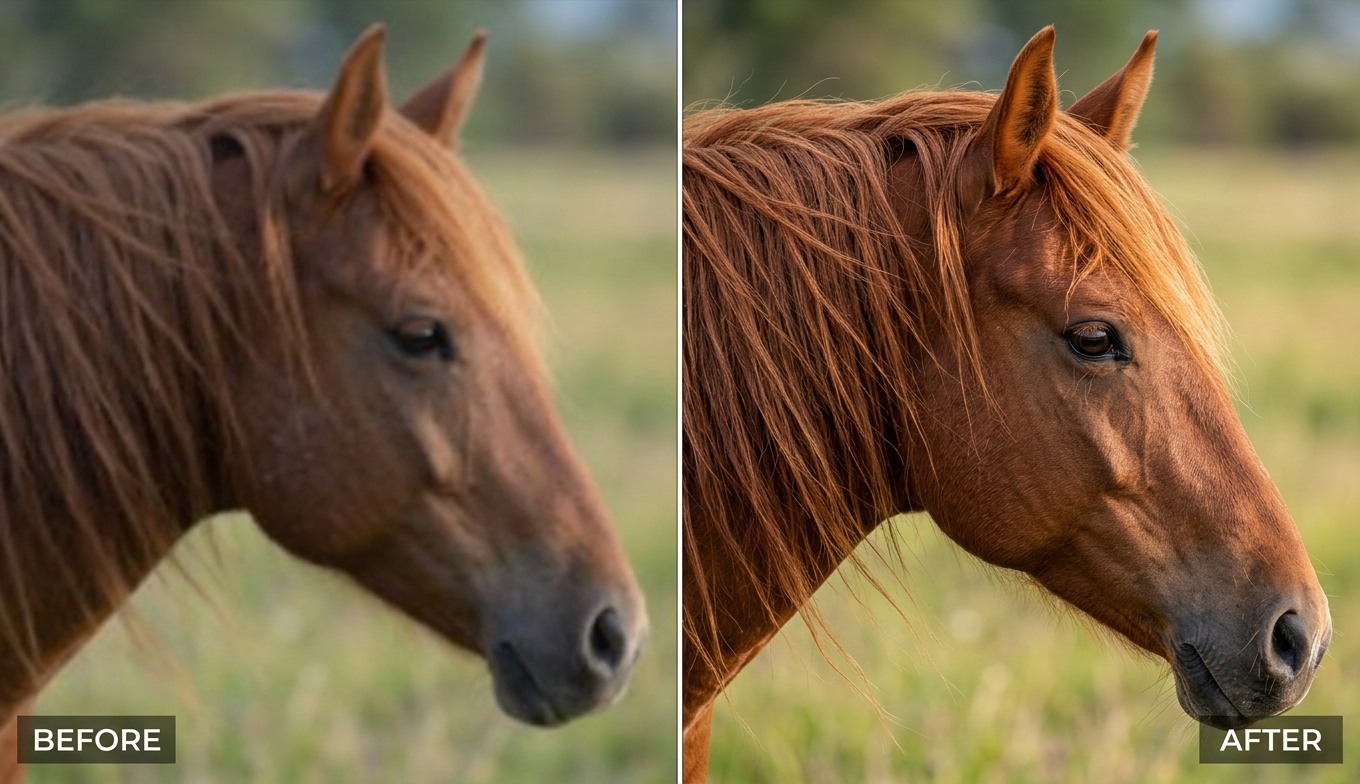
The one decision you make is the model, and it maps directly to your diagnosis. Nexa is for modern footage that's soft or compressed — it rebuilds detail and raises resolution to 1080p or 4K, which fixes both the softness and the "too small" problem at once. Cineva is for genuinely old, standard-definition sources (up to 1024×540 input), applying a fixed 4× upscale to bring VHS-era or ripped clips toward HD. A single credit runs a five-second preview, so you can confirm the fix actually worked on your problem area before processing the whole file. It handles MP4 and MOV up to 10GB and 4K input, and returns an MP4 that stays available for three days.
How to Fix Your Video Quality, Step by Step
- Upload the problem clip to VanceAI Video Upscaler in your browser (MP4 or MOV, up to 10GB and 4K input).
- Pick the model from your diagnosis — Nexa for a soft or compressed modern clip, Cineva for an old standard-definition one.
- Set the output resolution higher than the source (1080p or 4K) so there are enough pixels to hold the recovered detail.
- Run the one-credit preview and check the exact thing that was wrong — the blurry face, the blocky sky, the grainy shadow — to confirm it's fixed.
- Process the full clip and download the MP4.
Fixing Quality by Specific Problem
Sometimes you know precisely what's wrong. Here's how each fix behaves, so you can set expectations.
Low resolution. The most common quality problem, and the most fixable — AI upscaling reconstructs detail as it enlarges, turning a small, soft clip into a genuine 1080p or 4K one. If your clip looks fine on a phone but bad on a TV, this is your fix.
Blur. Focus misses and mild motion blur respond to AI deblurring, which rebuilds definition rather than just raising contrast. For a clip whose main issue is softness, the dedicated video clearer guide walks through clearing blur specifically.
Noise. Grain from low light needs denoising, and the golden rule is to denoise before any sharpening, or the sharpening amplifies the grain. A good AI tool handles this order automatically.
Compression artifacts. Blocky patches and banding from heavy compression or repeated re-uploads are often the single most valuable thing to fix on downloaded or shared video, because the underlying detail usually survives beneath the blocking.
Exposure and color. This is the one an AI enhancer won't fully solve — if a clip is badly underexposed or color-cast, pair the quality fix with basic color correction in an editor, since resolution and color are separate problems.
Fixing Video Quality in an Editor — and Its Limits
Editors like Premiere, Final Cut, and CapCut can help with some quality problems: they color-correct, adjust exposure, and offer a sharpen filter. But their sharpening is the contrast-boosting kind, not true reconstruction, so they can't add resolution or rebuild detail that isn't there. Use an editor for color, exposure, and trimming; use an AI tool for the reconstruction jobs — resolution, deblurring, denoising, and de-blocking — that editors can't do. Many good workflows use both: fix the quality with AI first, then color-grade in the editor.
How Much Can You Actually Fix?
Set expectations by the source, because it sets a ceiling no tool can break. A clip that's soft but intact — a clean 1080p that needs sharpening, or a well-shot 480p to upscale — fixes dramatically, often to the point where people assume it was always that good. A clip with one serious flaw — heavy compression or strong low-light noise — improves clearly but may keep a trace of it on close inspection. And a clip where detail was genuinely destroyed — extreme blur, a tiny, badly degraded source — still improves, but lands at "much more watchable," not "flawless."
The practical move is to judge the fix against the original, not against footage from a cinema camera, and to run the one-credit preview first so you know which of those three outcomes to expect before you process the whole file. A repair that takes an unusable clip to clearly usable is a win, even when it isn't pristine.
Common Mistakes When Fixing Video Quality
- Sharpening a low-resolution clip. Sharpening can't add missing pixels; upscale first.
- Upscaling a noisy clip without denoising. You just enlarge the grain. Clean first.
- Exporting the fix at a low bitrate. A repaired clip saved with a low bitrate re-softens on export. Give it enough data.
- Expecting a fix for detail that was never captured. Extreme blur or a tiny, badly degraded source has a ceiling — aim for "much better," not "perfect."
- Judging on a paused frame. Play the clip; motion reveals problems a still hides.
Frequently Asked Questions
How do I fix the quality of a video?
Diagnose the problem first — resolution, blur, noise, compression, or color — then apply the matching fix. For the first four, an AI tool like VanceAI Video Upscaler handles them in one pass: upload the clip, pick Nexa or Cineva, target a higher resolution, and preview the problem area to confirm it's fixed before exporting.
Can I fix a low-quality video for free?
Yes, to start. VanceAI Video Upscaler gives new users free trial credits with no credit card, and a five-second preview costs one credit, so you can fix a clip and confirm the result before paying. It runs online with no install.
Why does my video quality get worse when I try to fix it?
You likely applied the wrong fix or overdid it — sharpening a low-resolution clip, or over-sharpening until halos and plastic skin appear. Match the fix to the problem (upscale for resolution, denoise for grain), keep the strength restrained, and use a preview to catch an over-processed look.
Can AI actually fix bad video quality?
For resolution, blur, noise, and compression, yes — AI reconstructs realistic detail rather than just adjusting sliders, so it genuinely improves soft, grainy, and low-resolution footage. It can't invent detail that was never captured, so severe damage has a ceiling, but most everyday quality problems improve a lot.
How do I fix a blurry video specifically?
Use AI deblurring, which rebuilds smeared detail, and pair it with a resolution bump if the clip is also small. Keep sharpening restrained to avoid halos. A tool that deblurs, denoises, and upscales in one pass handles the common combination of causes at once.
How do I fix a pixelated or blocky video?
Pixelation and blocking are compression artifacts. Use a tool with artifact removal — VanceAI clears blocking as part of its pass — and upscale to add resolution. The underlying detail often survives beneath the blocks, so these clips can improve dramatically.
Do I need software to fix video quality?
No. Browser-based tools like VanceAI Video Upscaler run entirely online and process on remote servers, so you upload, choose a model, preview, and download — no install and no powerful computer required. It works from a laptop, tablet, or phone.
What's the best resolution to fix a video to?
Target 1080p or 4K, matched to where you'll watch it. Upscaling to a higher resolution gives reconstructed detail room to live and stops the clip from re-softening on a big screen. Don't push a tiny source absurdly high, though — enlarging far beyond its real detail just magnifies flaws.
Can I fix an old, low-quality home video?
Yes. Old standard-definition footage is a resolution problem, so use an SD-focused model — VanceAI's Cineva applies a 4× upscale built for sources up to 1024×540 — and pair it with denoising for grain. Expect a clean, watchable near-HD result rather than true 4K.
Will fixing video quality remove the audio?
No — video quality tools work on the picture and preserve the audio track when they return the file. It's still good practice to keep your original as a backup, and to confirm the exported clip has sound before you delete anything.
How long does it take to fix a video?
With a cloud tool, processing runs on remote servers, so it doesn't depend on your device and a short clip is usually quick. The five-second preview returns almost immediately, which is the fastest way to confirm the fix before committing to the full render.
Why does my video look bad after I send it to someone?
Messaging apps and cellular networks re-compress video to shrink it, and Android and iPhone handle those transfers differently, so the received file is softer and blockier than the one you sent. Re-fixing the received clip helps, but the cleaner habit is to share the original through a link or cloud upload instead of a compressed message.
Can I fix video quality on my phone?
Yes, with a browser-based tool. Because VanceAI processes in the cloud, you can fix a clip directly from a phone or tablet using your free trial credits — the heavy computation happens on the server, so your device only uploads and downloads.
The Verdict
Fixing video quality isn't one action — it's matching the right fix to the real problem: upscale low resolution, deblur softness, denoise grain, clear compression, and color-correct exposure separately. The mistake is treating every bad clip the same. VanceAI Video Upscaler handles the four biggest problems together in one browser-based pass, with a preview to confirm the fix on your exact problem area before you commit. Diagnose first, match the fix to the fault, keep it restrained, and repair the clip once, cleanly.