
In photography, color strikes a quintessential balance between culture, science, and art, all working together to showcase your personal style. In other words, it has a terrific bearing on your image perception and can make or break whatever mood you're looking to achieve. However, color photography is not just about using vibrant colors all around - it's more than that. And with the right understanding, you can amplify that arresting feel to your skills while optimizing the production and post-production processes.
Talking of post-production, a tool that can help you further streamline the entire process is AI upscaler. Using this, you no longer have to worry about image quality issues, regardless of the photography niche you find yourself in.
Table of Contents
Initially, photography used to be a largely black and white process, riddled with somewhat monotonous and flat outputs. However, the emergence of color photography enables us to capture the world as we see it. It uses hues to trigger a feeling or mood, telling stories and creating various atmospheres.
Put simply, color photography is simply introducing various color patterns and schemes into images. As long as you're not taking black and white pictures, what you're doing is color photography. This is not as easy as it seems, however. But on completing this guide, bet you’ll find the niche of color photography fairly approachable moving forward.
How to use color in photography
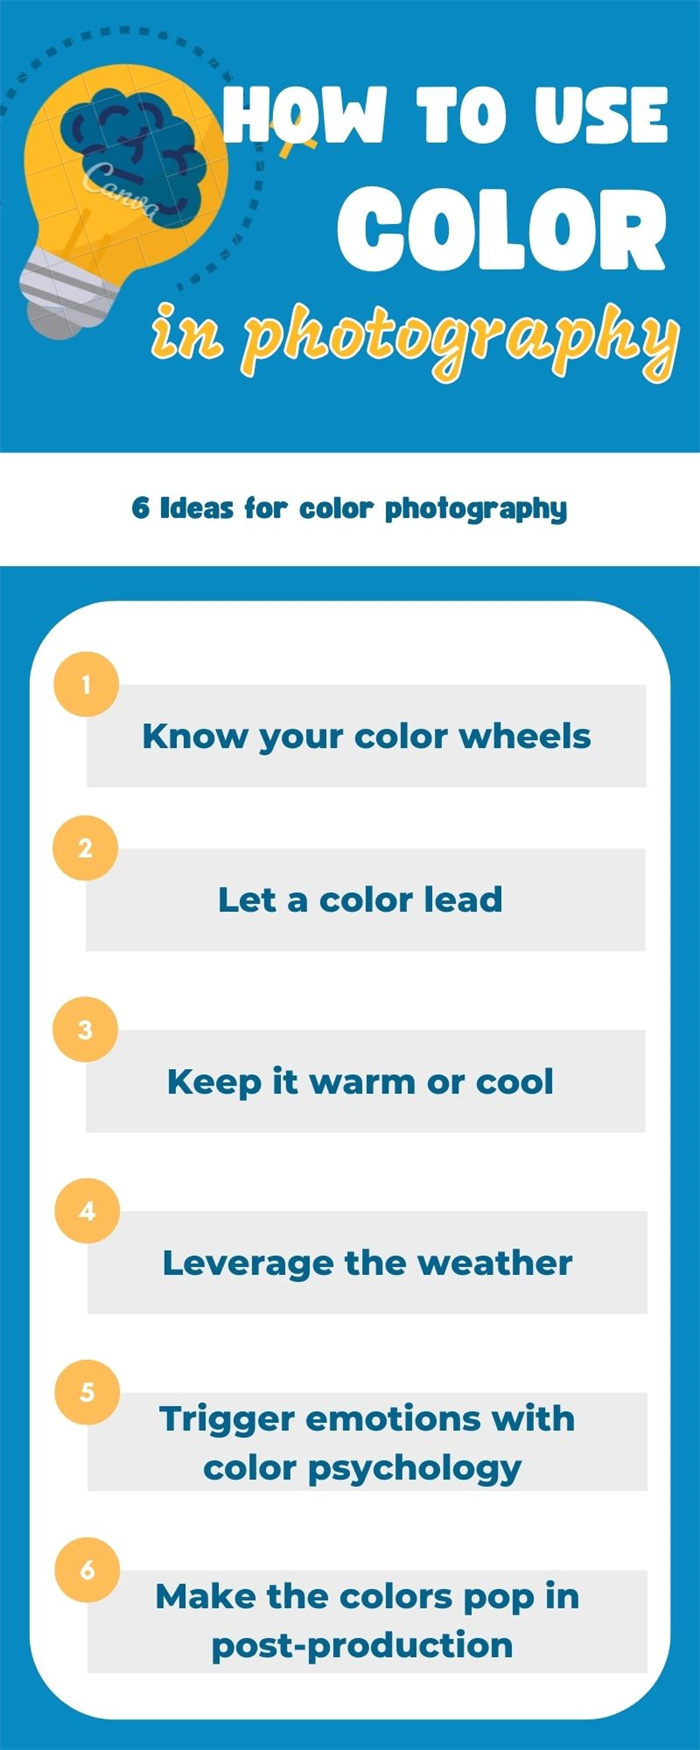
Know your color wheels
The key to leading a successful color photography career is getting familiar with color theory. And the natural genesis of this is your color wheel. The color wheel exposes you to an understanding of countless color comparisons, patterns, and schemes and how everything works together to evoke particular emotions. In essence, know your primary colors, secondary colors, etc., and how they fit in. With this, you'll understand when to use them whether you want to create a balance or discord. With the color wheel, you'd as well understand what colors are complementary, analogous, triadic, etc.
Let a color lead
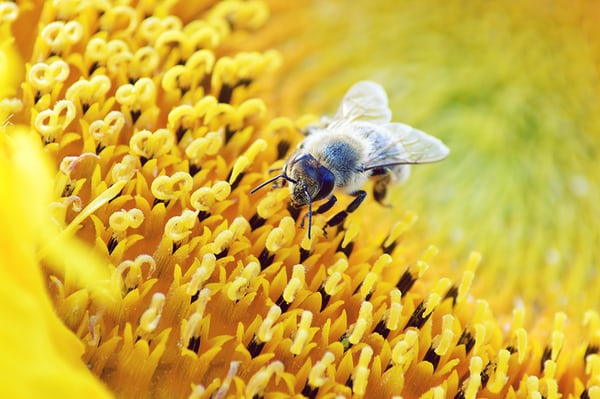
In selective color photography, always dominate the scene with one color. Let that color serve as the primary subject or hero and others take up a supporting role. For a more pronounced effect, you may want to look forward to using primary colors in this regard. Everything from blue and yellow to red will always give that beautiful domineering feel.
Keep it warm or cool
The theory of warm and cool colors is one you want to pay attention to in color theory photography. Knowing where the warm spectrum begins and where the cool ends will help you understand the concept of tones, which will ultimately influence your ability to trigger a mode. Getting familiar with the color wheel will as well help you master this in no time.
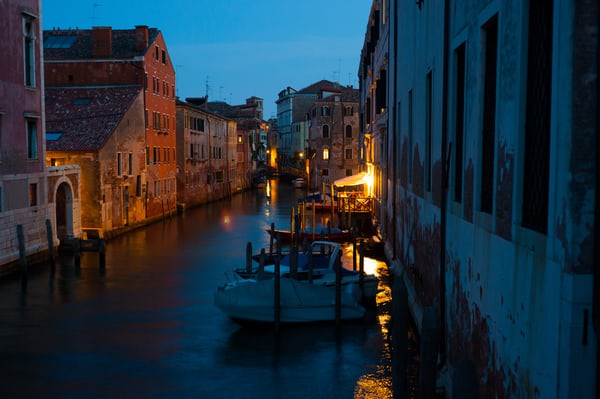
Leverage the weather
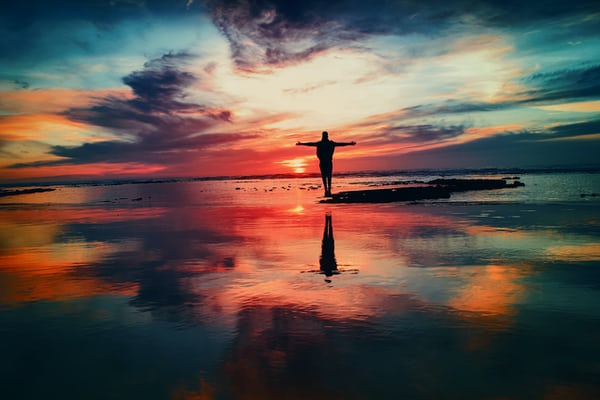
In some cases, you can either shoot the scene using color photography or black and white. However, in others, color photography is necessary to perfectly capture the beauty of the frame. For instance, the golden hour. That rich golden light splendor is best captured in color photography, with its deep and soft color tones. In essence, understanding how weather influences light will be instrumental to your understanding of color photography moving forward
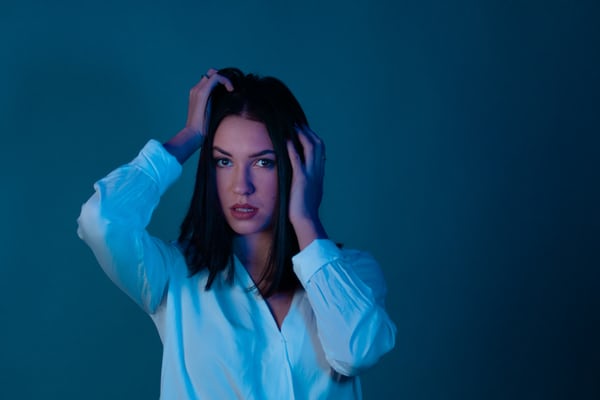
Trigger emotions with color psychology
Colors greatly influence mood. If you can nurture the power to dictate people's moods with your pictures, photography becomes even easier. A desolate and horror building can be made less haunting if you capture it in the golden hour with that warm golden sunlight. While you
can make what is meant to be “easy" appear tensioned with cold tones. Red is synonymous with anger and excitement, while purple embodies mystery and spirituality. Get familiar with this and everything will become easier.
Make the colors pop in post-production
There are countless post-production tools to further optimize your output. Check out VanceAI Image Upscaler, for instance. You can make your output then clear without having to alter the story you’ve envisaged for the picture. All in all, your post-production is just as important as your production process, when it comes to optimizing the final output.
Upscale photographs within 3 seconds
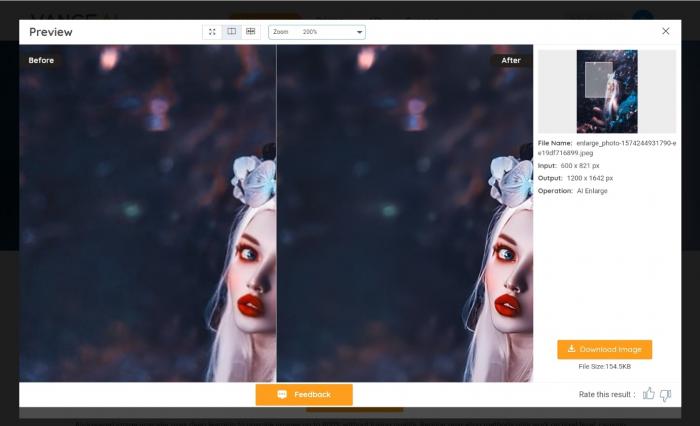
If for any reason, your image resolution or quality falls below your personal requirement, the AI image upscaling tool can offer you a way out of this dilemma. In essence, this is a tool that upscales pictures by increasing their resolution & quality by up to 8x in only a few seconds. As you’ve probably guessed from the name, the tool is powered by AI and deep learning convolutional neural network. Hence, the output quality is not an issue. Typically, the tool not only enlarges your pictures but also increases the definition of intricate details. Your colors will pop more and those seemingly inexistent details will resurface using the AI tool.
As a new user, you can use the image enlarger for free. However, this can be pretty limited, so you may have to opt1in for the premium version of $9.9 monthly to get a more fulfilling experience.
How to use
Step 1: Visit the VanceAI Image Upscaler and upload.

You can either upload directly using the local storage options available. Or leverage the intuitive drag and drop feature to make your workflow even more seamless.

Step 2: Process it
Now, you’ll see a page that allows you to choose the amount of enlargement you want. Typically, more sizable enlargements may not be available for free users. Similarly, you can as well set parameters such as the blur, noise, etc. Then, proceed to hit the Start to Process button, and wait as the tool processes your upload.
Step 3: Download
Once the processing has been completed, you’ll find your image in the processed tab. Now, you may preview it here or download it directly.
Since you’ll be dealing with exposures as well, you may potentially find traces of noise or grains in your unprocessed color photography output. Besides image upscaler, VanceAI image denoiser is yet another terrific and compelling tool to consider in this regard.
FAQ
When was color photography invented?
In 1861, Thomas Sutton was the first person to create a colored photograph. He adopted the 3-color approach initially invented by James Clerk Maxwell. Maxwell was a physicist, who discovered that we can perceive colors in pictures by taking them through different processes in tri-colored glass plates. These colors comprise three colors – red, green, and blue. In 1877, Louis Ducos du Hauron as well implemented a similar process to create a color photograph, which he called the View of Agen.
Conclusion
Color contrast photography offers immense control over human emotions. If you’re not a good color photographer, you’re definitely missing out on a lot. Hence, with this guide, you can get yourself back on the right track. Using the AI image upscale tool, you can as well be assured of the quality output always in your workflow.
Read More to Know Deeper:


Popular Posts