
Learn how to compress image and retain its image quality at the same time to improve website performance. This is one of the most convenient and useful tutorials when you want to use VanceAI Image Compressor to compress image. So let’s move on to the next steps.
How to use VanceAI Image Compressor?
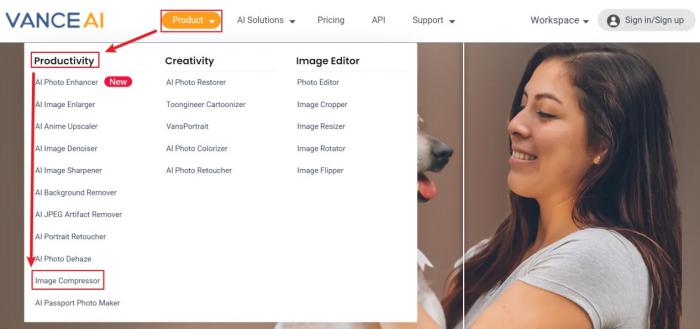
Step 1: Target VanceAI Image Compressor
First, you need to go to VanceAI.com wherein Product appears. After clicking on Product, you will see Productivity series within the drop-down menu among which VanceAI Image Compressor, or Image Compressor is underlined in red. The red instructions will help you find the tool.
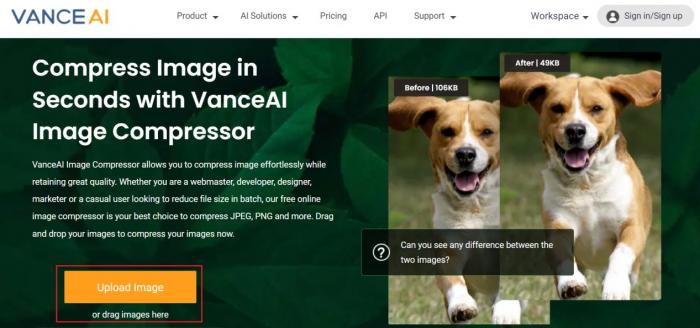
Step 2: Compress image online
Clicking on Image Compressor will lead you to the product homepage, or you can reach the page by just entering VanceAI Image Compressor. Once getting there, you can either press the noticeable button Upload Image or directly drag an image here to compress its size.
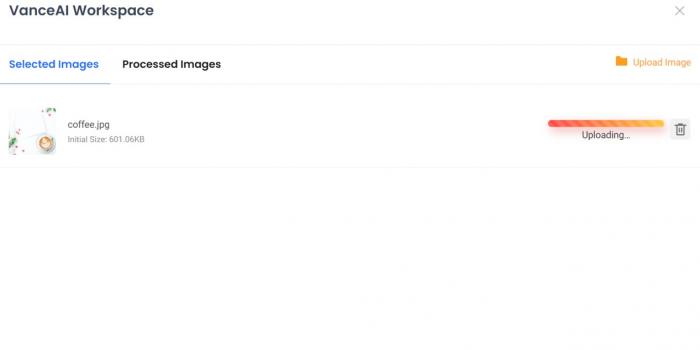
Step 3: Preview and download the compressed image
Having uploaded your image, you will see VanceAI Workspace popping up. Then you need to wait for a few seconds before getting the result.
The following before-after comparison showcases how well Image Compressor compresses your image while almost not destroying image quality. The size of the Before image is 601 kb; the size of the After image, 29.3 kb, by the way. Read more: Find out about the Best Tools to Compress JPEG