
Post a sharp clip to Instagram and it often comes back soft and muddy — Reels lose detail on motion, Stories look grainy, and feed videos turn washed-out. Instagram compresses every upload hard, but you have more control than it seems. Improving your Instagram video quality is two moves working together: enhance and upscale the clip before you post, and set up the format and in-app options so Instagram keeps as much quality as possible. This guide covers both, using VanceAI Video Upscaler to sharpen and upscale footage in the browser — no install, free to try.
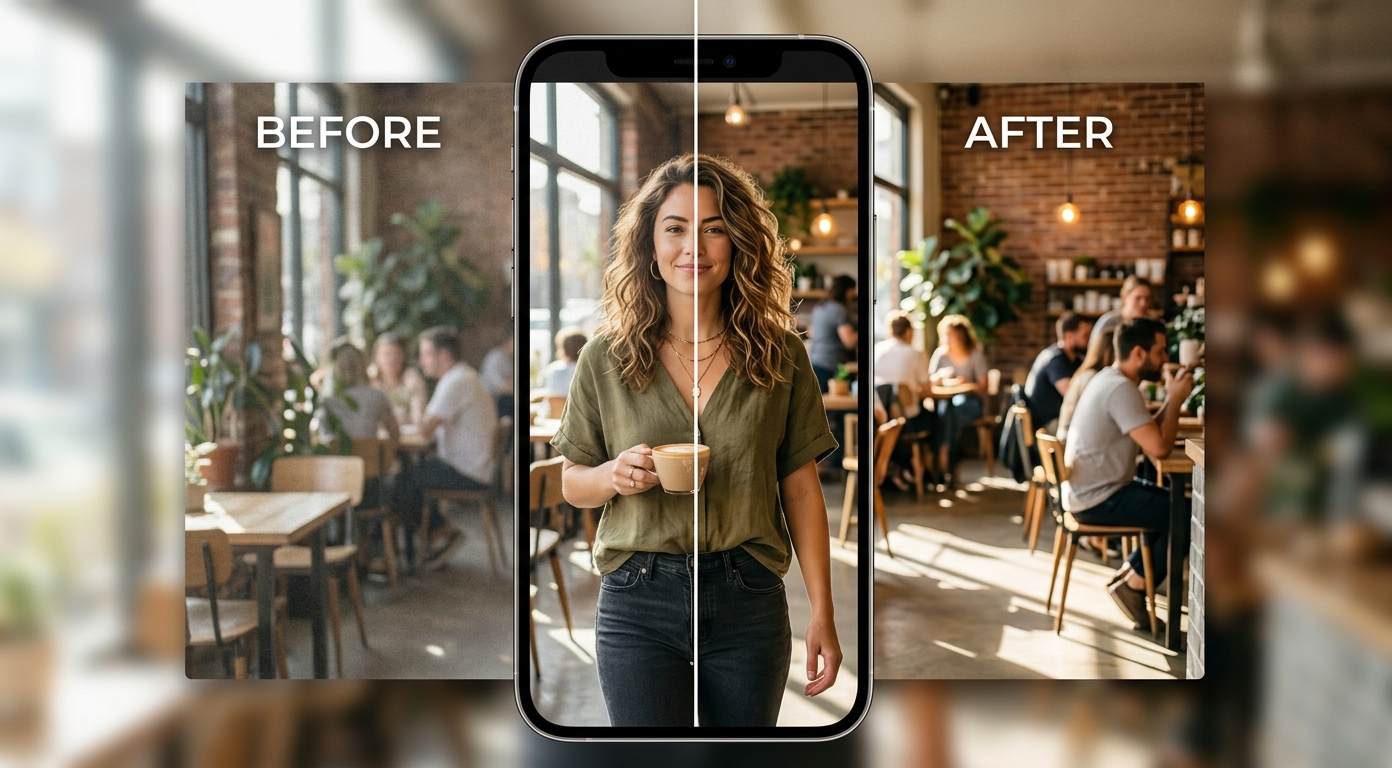
Why Instagram Lowers Your Video Quality
Instagram re-encodes every upload to stream it efficiently across Reels, Stories, and the feed, and that compression is where quality drops. Several things make it worse:
- A soft or low-resolution source. Instagram's compression is harshest on footage that's already weak, so a low-quality file comes out dramatically worse.
- The wrong format or resolution. Uploading at the wrong aspect ratio or below Instagram's target resolution forces extra re-scaling and re-encoding.
- The "highest quality" upload setting left off. Instagram has a data-and-media-quality option that, when disabled, uploads at lower quality to save bandwidth.
- A weak connection at upload. Posting on poor Wi-Fi or cellular can push Instagram toward a more compressed version.
As with every platform, the fix flows from one principle: hand Instagram the cleanest, highest-resolution file you can, so more survives its compression. Enhancing before you post is the biggest lever, and it follows the same logic as the broader how to enhance video quality method.
What Instagram's Compression Hits First
It helps to know where compression does the most damage, because that's where enhancement pays off most. Instagram's re-encode struggles with three things in particular: fast motion (dance, sports, quick pans), where detail smears across frames; faces, where softening and blotchy skin are instantly noticeable; and dark or high-contrast scenes, where shadows turn blocky and banded. A clean, higher-resolution source gives the encoder more to preserve in exactly these hard areas, which is why prepping the file beats trying to fix anything after posting. This is the same principle behind the broader video quality enhancer approach: the quality of the output is set by the quality of the input you feed the compressor.
The Fix That Matters Most: Enhance Before You Upload
The most effective move is to upload a sharper, higher-resolution file, and VanceAI Video Upscaler is a quick way to produce one. It runs in your browser and processes on VanceAI's servers, so you can prep a clip from a laptop or phone without an app, then upload the enhanced version to Instagram.
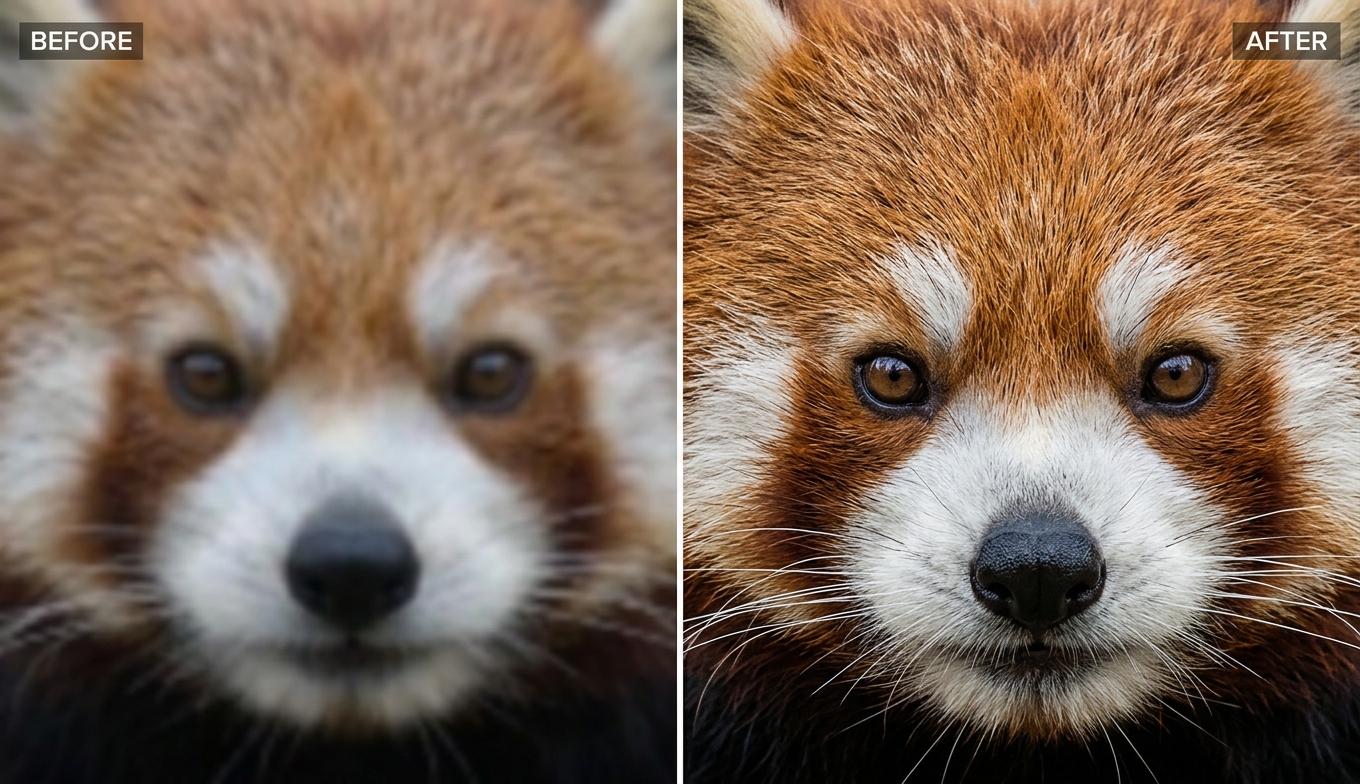
Nexa is the model for modern phone footage — it denoises, sharpens, and upscales to 1080p or 4K, giving Instagram's compression a rich source. Cineva handles older, standard-definition clips you're repurposing into a Reel. Because Instagram content is judged on faces and color, use the one-credit preview to check skin tones and detail look natural — not over-sharpened — before you render. It accepts MP4 and MOV up to 10GB, returns an MP4, and new users get free trial credits with no credit card. If you're unsure which tool fits your footage, the best AI video enhancer comparison lays out the options.
How to Post a Higher-Quality Instagram Video, Step by Step
- Film in your phone's camera app at 1080p or 4K — not inside Instagram, which compresses more.
- Upload the clip to VanceAI Video Upscaler and choose Nexa (or Cineva for an old source).
- Set a high output resolution and run the one-credit preview, checking faces and color.
- Download the enhanced MP4.
- In Instagram's settings, enable the highest-quality upload option, then post the file on a strong connection.
Instagram's Specs and Settings That Matter
Even a great file gets downgraded if the format and settings fight the platform. Target these:
| Placement | Resolution / aspect ratio |
|---|---|
| Reels | 1080×1920 (9:16) |
| Stories | 1080×1920 (9:16) |
| Feed (vertical) | 1080×1350 (4:5) |
| Feed (square) | 1080×1080 (1:1) |
Beyond dimensions: upload MP4 with H.264, a constant frame rate, and a high bitrate; and turn on Instagram's "Upload at highest quality" option under data and media settings, which stops the app from uploading a reduced version. Matching the right aspect ratio avoids extra re-scaling, and a high bitrate gives the re-encode more detail to keep.
Reels vs Stories vs Feed: Does It Change?
The core approach is identical everywhere — enhance, upscale, upload a clean high-resolution file — but the emphasis shifts. Reels get the most reach and the most scrutiny on motion, so upscaling and checking the preview in motion matter most. Stories are quick and vertical; the same 1080×1920 target applies, and enhancing still helps a reused clip. Feed videos often use a 4:5 vertical or 1:1 square frame, so export to the right ratio to avoid cropping or letterboxing that wastes resolution. In all three, the file you hand Instagram is what determines the result.
Reviving Old or Low-Resolution Clips for Instagram
A lot of Instagram content is repurposed — an old clip, a screen recording, footage from another app. Raw, these look rough in a feed full of crisp video. Since the core issue is usually low resolution and compression, upscaling does the heavy lifting: an old 480p clip enhanced to a clean 1080p, denoised and sharpened, holds up far better after Instagram's re-encode. Aim for clean and watchable rather than pristine, and match the aspect ratio to the placement so none of that recovered resolution is cropped away.
Common Mistakes That Hurt Instagram Quality
- Uploading a soft or low-resolution source. Enhance and upscale first — Instagram punishes weak files.
- Recording inside Instagram. Shoot in your camera app and upload the file.
- Leaving "highest quality" upload off. It silently lowers your upload quality.
- Using the wrong aspect ratio. Off-ratio uploads get re-scaled or cropped, wasting resolution.
- Over-sharpening or heavy filters. Halos, plastic skin, and crushed shadows all survive — and worsen through — compression.
Frequently Asked Questions
How do I improve my Instagram video quality?
Enhance and upscale your clip before uploading, film in your camera app rather than inside Instagram, export at the right resolution and aspect ratio, and turn on Instagram's "Upload at highest quality" setting. A sharper, higher-resolution file survives Instagram's compression with far more detail, so the posted video looks closer to your original.
Why does Instagram ruin my video quality?
Instagram re-compresses every upload to stream it, and that compression hits soft or low-resolution files hardest. Uploading at the wrong resolution, recording inside the app, or leaving the high-quality upload setting off all make it worse. Preparing a clean, high-resolution file and enabling that setting keeps more of your quality.
What's the "Upload at highest quality" setting on Instagram?
It's an option under Instagram's data and media-quality settings that tells the app to upload and play videos at higher quality instead of a reduced version to save data. Turning it on lets Instagram keep more of the quality in the file you prepared, so it's worth enabling.
What resolution should I upload to Instagram?
Upload at 1080p on the correct aspect ratio: 1080×1920 (9:16) for Reels and Stories, 1080×1350 (4:5) or 1080×1080 (1:1) for the feed. If your footage is below 1080p, upscale it to fill the frame cleanly rather than letting Instagram stretch a small clip.
Can I improve Instagram video quality for free?
Yes, to start. VanceAI Video Upscaler gives new users free trial credits with no credit card, and a five-second preview costs one credit, so you can enhance a clip and check faces and color before paying. It runs online with no install.
Why do my Reels look blurry after posting?
Reels get heavy compression, and it's harshest on soft or low-resolution sources and on fast motion. Uploading a higher-resolution, enhanced file — and checking it in motion in a preview before posting — gives Instagram's encoder more to work with, so the published Reel keeps more detail.
Should I film in the Instagram app or my camera app?
Film in your phone's camera app and upload the file. Recording directly in Instagram tends to compress more, whereas your camera app captures at full quality — which, after enhancement, gives you the best possible upload.
How do I fix a grainy Instagram video?
Grain comes from low light and worsens after compression. Use an AI tool that denoises before it sharpens, like VanceAI Video Upscaler, and film in better light where possible. Denoising before upload keeps Instagram's compression from turning grain into a muddy, blocky result.
Does aspect ratio affect Instagram video quality?
Yes, indirectly. Uploading the wrong aspect ratio forces Instagram to re-scale or crop, which wastes resolution and can soften the result. Export to the exact ratio for the placement — 9:16 for Reels and Stories, 4:5 or 1:1 for the feed — so all your resolution is used.
Can I enhance an Instagram video on my phone?
Yes, with a browser-based tool. Because VanceAI processes in the cloud, you can enhance a clip directly from your phone using free trial credits, then upload the result to Instagram — no app or powerful device needed.
Why do my Reels look worse than they did before posting?
The pre-post preview shows your file before Instagram's server-side compression; the published Reel has been re-encoded. You can't remove that compression, but uploading a higher-quality, higher-resolution source means the compressed version keeps far more of your detail — especially on motion and faces.
Does uploading in 4K help on Instagram?
It can. A higher-resolution source generally survives Instagram's compression with more detail than a low-resolution one, even when it's displayed smaller. Upscaling a 1080p clip toward a higher resolution before upload is a common way to give the encoder more to preserve, though matching the correct aspect ratio matters just as much.
Why does my Instagram video look darker or washed out after posting?
Compression handles dark and high-contrast scenes poorly, banding shadows and dulling color. Keep exposure clean and avoid crushing shadows with heavy filters before upload, and enhance from a well-lit source. A cleaner, less noisy input compresses more gracefully, so the posted colors hold up better.
The Verdict
Better Instagram video quality comes from two habits: give the platform a clean, high-resolution file, and set the format and options so it doesn't downgrade it. Enhance and upscale your clip first — VanceAI Video Upscaler does that in the browser with a preview built for the faces and color Instagram compresses hardest — then export to the right aspect ratio, enable "Upload at highest quality," and post on a strong connection. Prepare the best source you can and match Instagram's specs, and your Reels, Stories, and feed videos finally look the way you shot them.