If you’ve never taken those beautiful and epic night sky pictures, then you’re missing out on a lot. Astrophotography is a creative photography niche that can make even a total beginner appear as a professional. However, this niche requires a comprehensive understanding of settings, style, exposures, etc., and this article seeks to expatiate these considerations.
But before that, we will be dealing with long exposures. As such your pictures may be subject to grains, noise, and sub-par quality, especially as a beginner. Hence, you may need a photo enhancer to present your work with the best quality. The Image upscaler tool can be instrumental to the overall process as it helps maximize quality and enlarge pictures with 100% lossless processing.
What is Astrophotography?

Astrophotography is essentially imaging astronomical elements. Put simply, it involves taking shots of various Celestial elements, including stars, Orion nebula, the moon, etc., at night. If you can lay your hands on the right equipment (this typically includes a telescope, star tracker, and camera), and immerse yourself in the right approaches and techniques, the sky will be your genesis when it comes to taking arresting nightscape pictures.
Note that astrophotography is not just pulling out the equipment, raising them up, and taking the shots. It is way more than that. And it's definitely not a walk in the park. Hence, having defined what is astrophotography, let’s examine a few ideas to optimize your skills.
How to do Astrophotography?
The genesis of learning how to do astrophotography is understanding that astrophotography is diverse. And depending on your level of expertise and experience, various forms of astrophotography may be tailored to you.
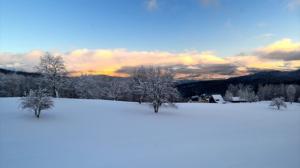
Firstly, for complete beginners, you may want to explore wide-angle astrophotography. It is arguably the most straightforward form of astrophotography and everything you'd typically need include a telephoto lens, DSLR camera, and one tripod stand. The wide-angle astrophotography niche heavily banks on your camera setting and its ability to take up sufficient lighting for arresting pictures without even needing a telescope.
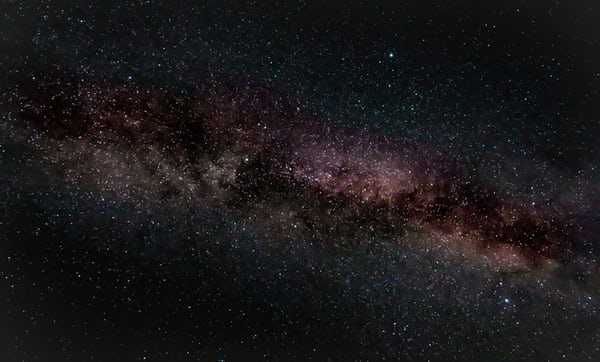
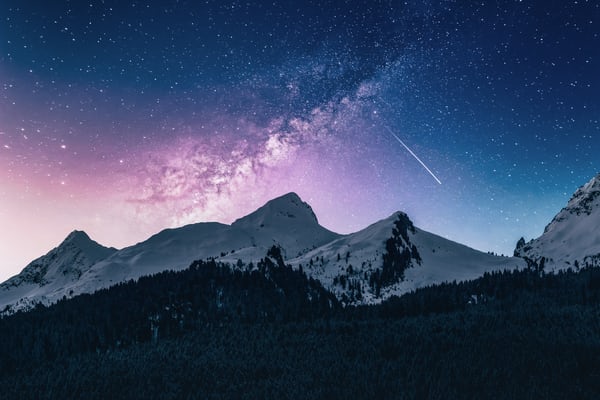
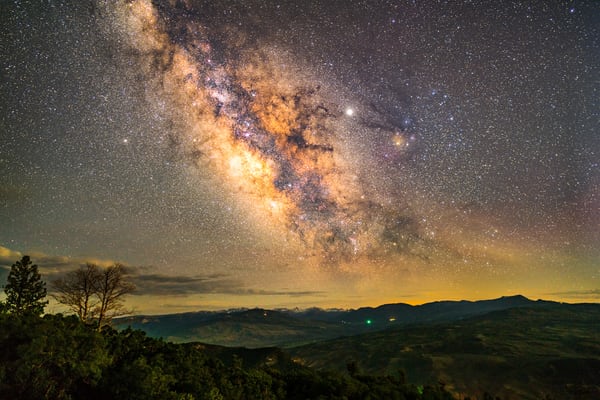
For someone looking to capture the milky way galaxy, star trails, and meteor showers, this is your best bet. Of course, this is also true for Andromeda Galaxy, which is quite sizable as well. Another aspect of wide-angle astrophotography to explore is the time-lapse. In essence, this type demands that you take several images of the night sky and merge them into one so you can create what looks like a fast-moving scene.
If you think the wide-angle astrophotography is too basic, you may move further into deep-sky astrophotography. In essence, for this niche, you’re taking shots of what goes beyond the solar system to capturing stat clusters, nebula, galaxies, and everything deeper. This type relies heavily on the quality of the telescope you're using. Hence, you may not get your desired output if you're not using the best telescopes for astrophotography.
Another way to do astrophotography is by exploring planetary photography. In this sub-niche, you're essentially capturing the solar system. By solar system, we mean capturing the planets, the sun, and everything that makes up the system. A popular imaging subject people tend to explore in this regard is the moon. Wo, you may start looking forward to capturing its elegance in your next astrophotography.
5 Tips for Astrophotography You Shouldn't Miss Out
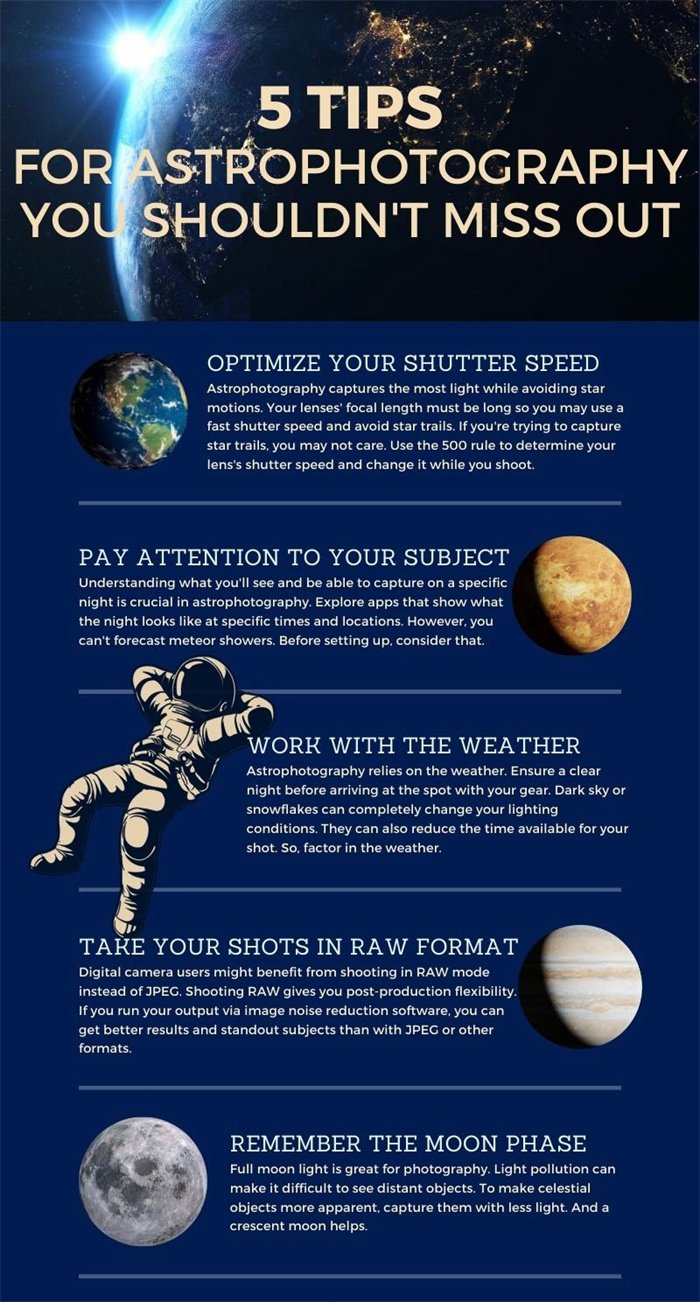
1. Optimize your shutter speed
Astrophotography has a sole focus – capturing the greatest amount of light while simultaneously steering clear of visible star movements. Hence, the length of your lenses’ focal length must be long so you can work with a short shutter speed, consequently avoiding star trails. You may not really focus on this if you’re intentionally looking to capture star trails. Use the 500 rule to find out what shutter speed is okay for your lens and try adjusting it to suit your preference as you capture.
2. Pay attention to your subject
The night sky is transient across the year, and an understanding of what you'll potentially see at a particular night and be able to capture is a key consideration in astrophotography. So, be sure to explore various applications that will allow you to see what the night potentially looks like at specific periods and locations. However, while doing this, remember that you cannot predict events such as a meteor shower. So, you'd want to factor in that before setting everything up.
3. Take your shots in RAW format
For people shooting with a digital camera, it would be great if you can take your shots in RAW mode as opposed to the relatively popular JPEG format. Shooting in RAW offers you flexibility and freedom when it comes to post-production processing. For instance, if you perhaps run your output through an image noise reduction software, you can be sure of more excellent output and subjects that stand out compared to when you use the JPEG or other formats.
4. Remember the moon phase
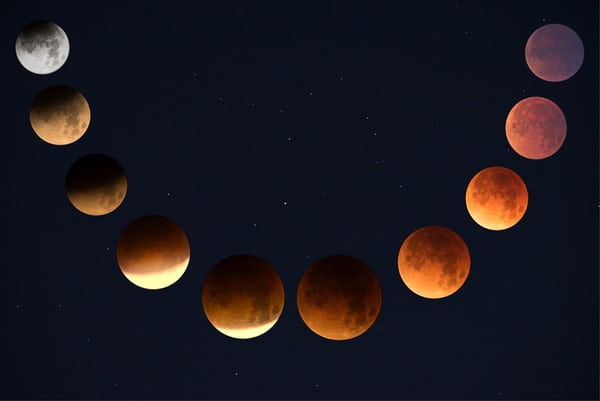
To get the brightest light for your shots, it’s no doubt that the full moon works best. However, it may sometimes pose significant light pollution, leaving you with trouble detecting far objects. So, if you want to make those celestial objects more visible, it is important to capture them with the least amount of light. And a crescent moon offers a great way to achieve that.
5. Work with the weather
Astrophotography is a niche that largely relies on the weather. Hence, be sure that you have a clear night before turning up at the location with your gear. Dark sky or traces of snow flurries can 100% alter whatever lighting condition you’ve probably set. They can as well take a toll on the amount of time available for your shot. Hence, factor in the weather. If you are not satisfied with the result, you can use some tools to make photo hd.
One tap to enlarge a photo with VanceAI
VanceAI Image Upscaler is a full-featured tool, equipped with AI algorithms and features to help you upscale your pictures without worrying about quality loss. Since the tool has AI at the nucleus of its operations, you can not only expect high-quality output but also expect it to be delivered within the shortest time possible. The image enlarger tool is available largely online as well. Thus, you don’t have to worry about unnecessary software downloads and data costs. Besides upscaling your pictures without pixelation, the tool doubles as an effective way to eliminate blurs and traces of noise from your picture.
How to use
Step 1
begin by visiting the image enlarger page. There you'll see an upload button. Click on it to upload the picture. Also, on the rest of the page, you’ll see some information to make your experience as seamless as possible.

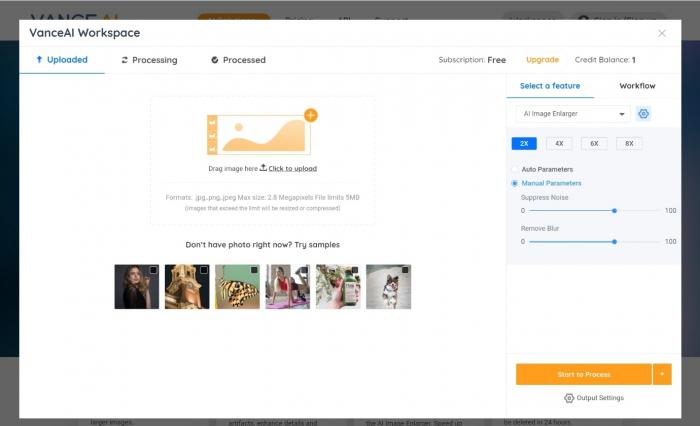
Step 2
On uploading, you should now see the VanceAI workspace. Here, select between the 2x, 4x, 6x, and 8x enlargement options. You may as well set the blur and noise manually or select the auto option. Then, click the Starr to process button.
Step 3
Download the output image. 
Among the formidable range of tools native to VanceAI, the VanceAI Image Denoiser is one to watch out for, especially in Pixel astrophotography. It is a tool to help your get rid of noise, grains, and annoying blurs and improve the overall quality of your pictures without the hassle. It is AI-backed as well, so speed and quality shouldn't be a concern.
FAQ
What are the best telescopes for Astrophotography?
Besides the AI image upscaler (= AI Enlarger) and other tools, your telescope is a major player in astrophotography. It's quite difficult to pinpoint a few telescopes as the best telescopes for astrophotography. However, here are a few considerations
- Unistellar eVscope eQuinox
- Explore scientific ED127 app refractor
- Founder optics FOT016 triplet refractor
- Tecnosky AG70 astrograph
- Celestron 114LCM computerized telescope.
Conclusion
Astrophotography requires a great deal of creativity and dedication. With the tips and tools highlighted in this guide, you can be sure that you're on the right path to bringing those celestial components into life with your pictures. For your post-processing, you should definitely have VanceAI in your corner. The suits of tools it avails are there to make everything easier for you. Also read:
Read More to Know Deeper:


Popular Posts