Part 1: Steps to Denoise Photo Online with VanceAI Image Denoiser
VanceAI Image Denoiser, you don't need to turn to traditional denoising tools, which focus on handling noise at pixel level. Follow the simple steps here to do this automatically.
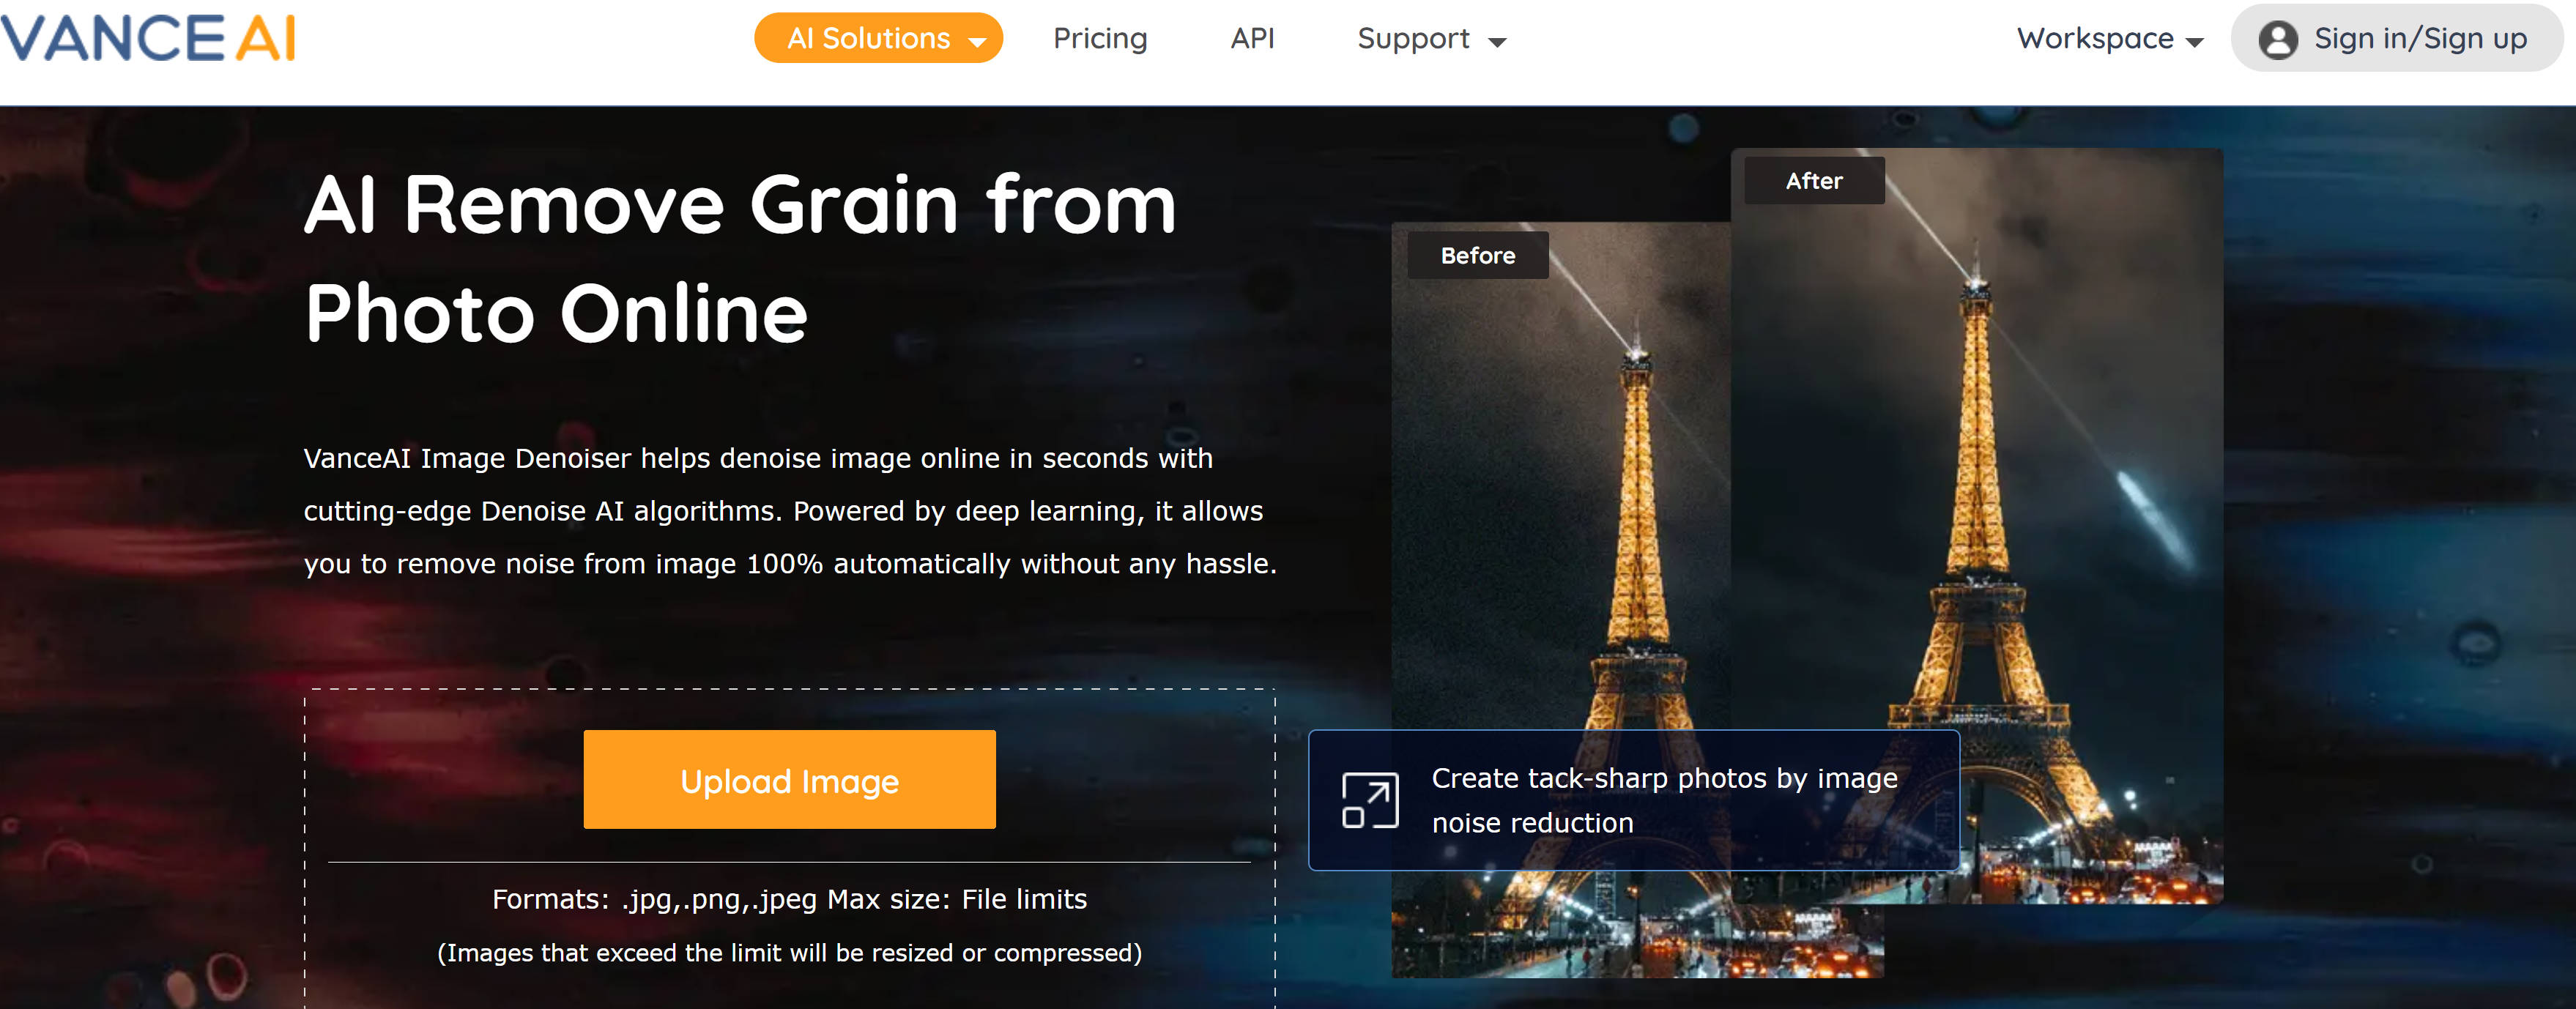
Step 1: By clicking on the link above, you will see the homepage of the product. Select a file from your device or drag&drop one to this tool.
If you like VanceAI Image Denoiser, please click the upvote button to help it get featured on Producthunt!

Click to see How to make blurry image clear.
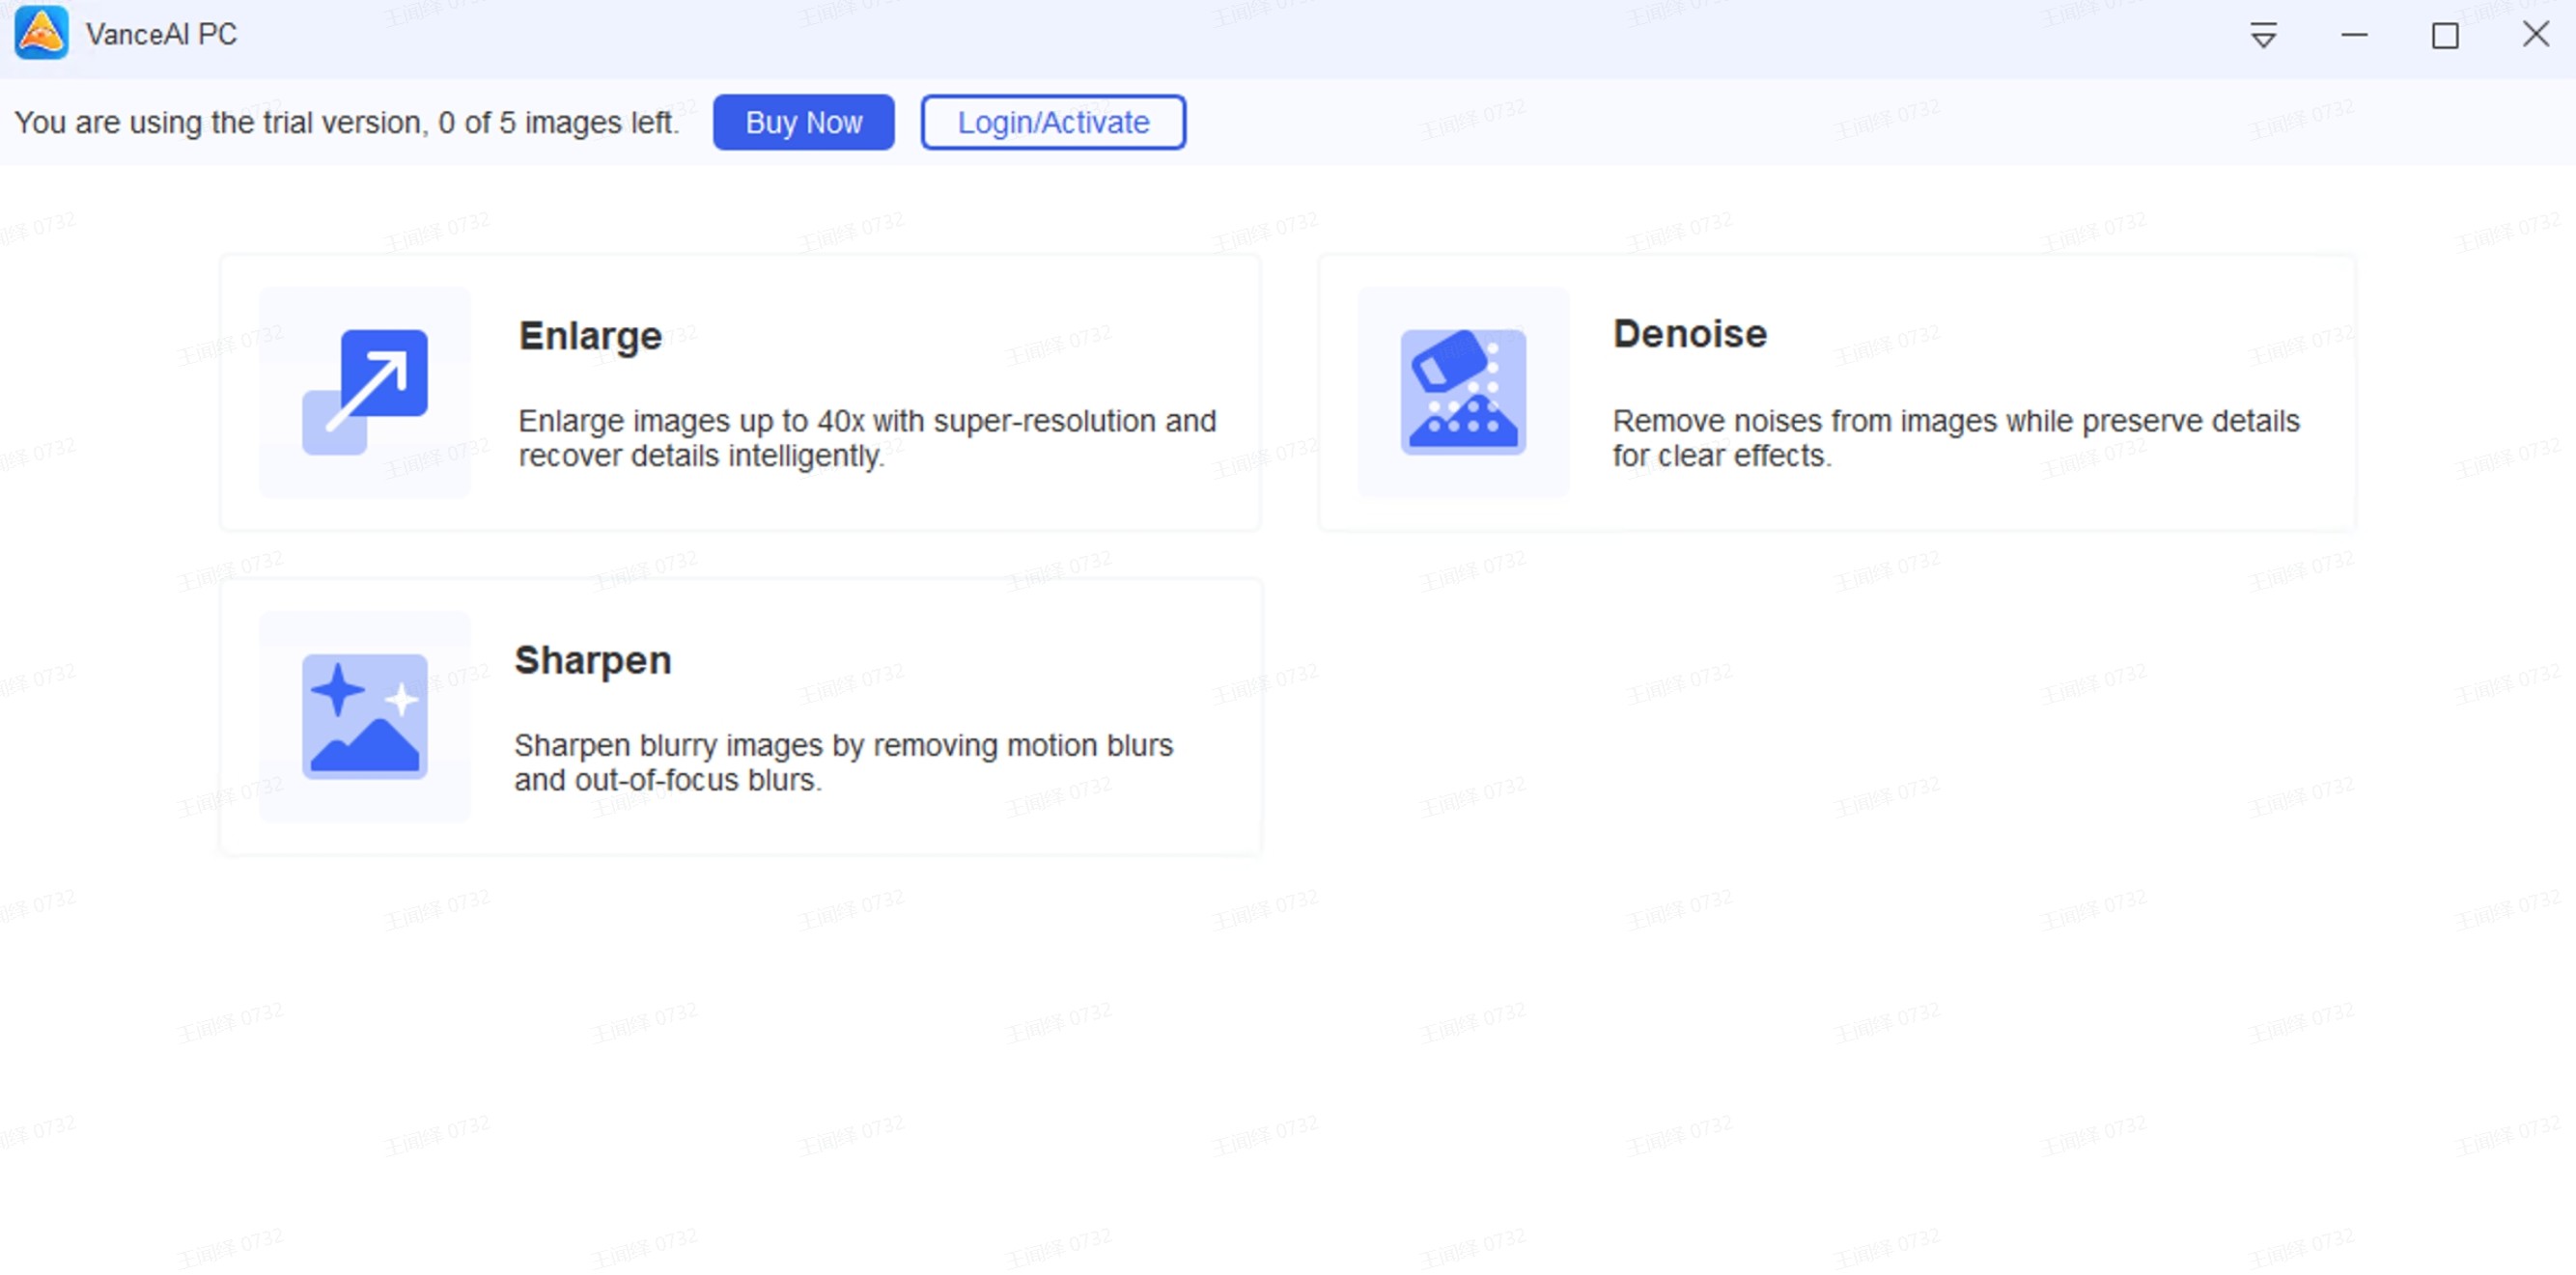
VanceAI PC is full-featured desktop software developed by VanceAI that lets you instantly process local photos in bulk with more customization options, which will significantly simplify your workflow and boost your productivity. Free Download
Part 2: An Alternative to Denoise Photo
VanceAI Image Enhancer provides another best way to denoise photos. An important thing should announced first about the tool. It is not a tool like VanceAI Image Denoiser emphasizing the noise of a photo. In fact, this service provides a one-click AI solution to help enhance photo details with a focus on the details and quality of a photo and make photo hd, but it offers you additional benefits like reducing denoise. The striking feature is that it gives you an easy single click solution. Below is a step-by-step guide for new users.
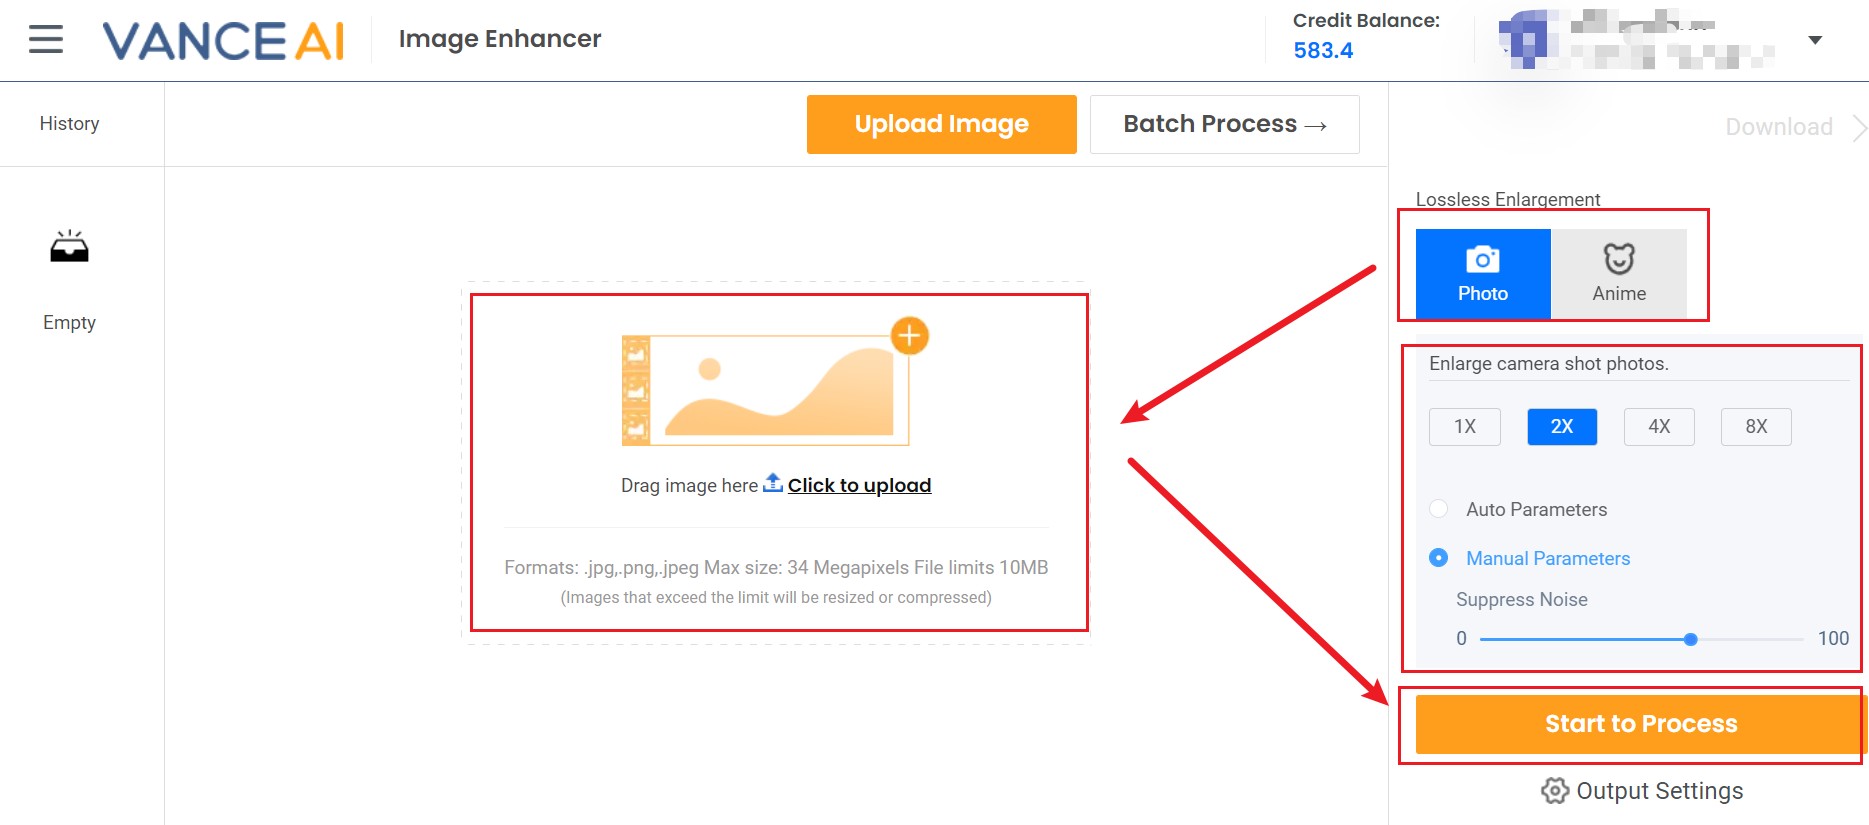
Step 1: Then you can just go to the homepage of the product to enhance image quality without changing the original size of your picture. Aftering clicking on that link, you will easily see the picture below.

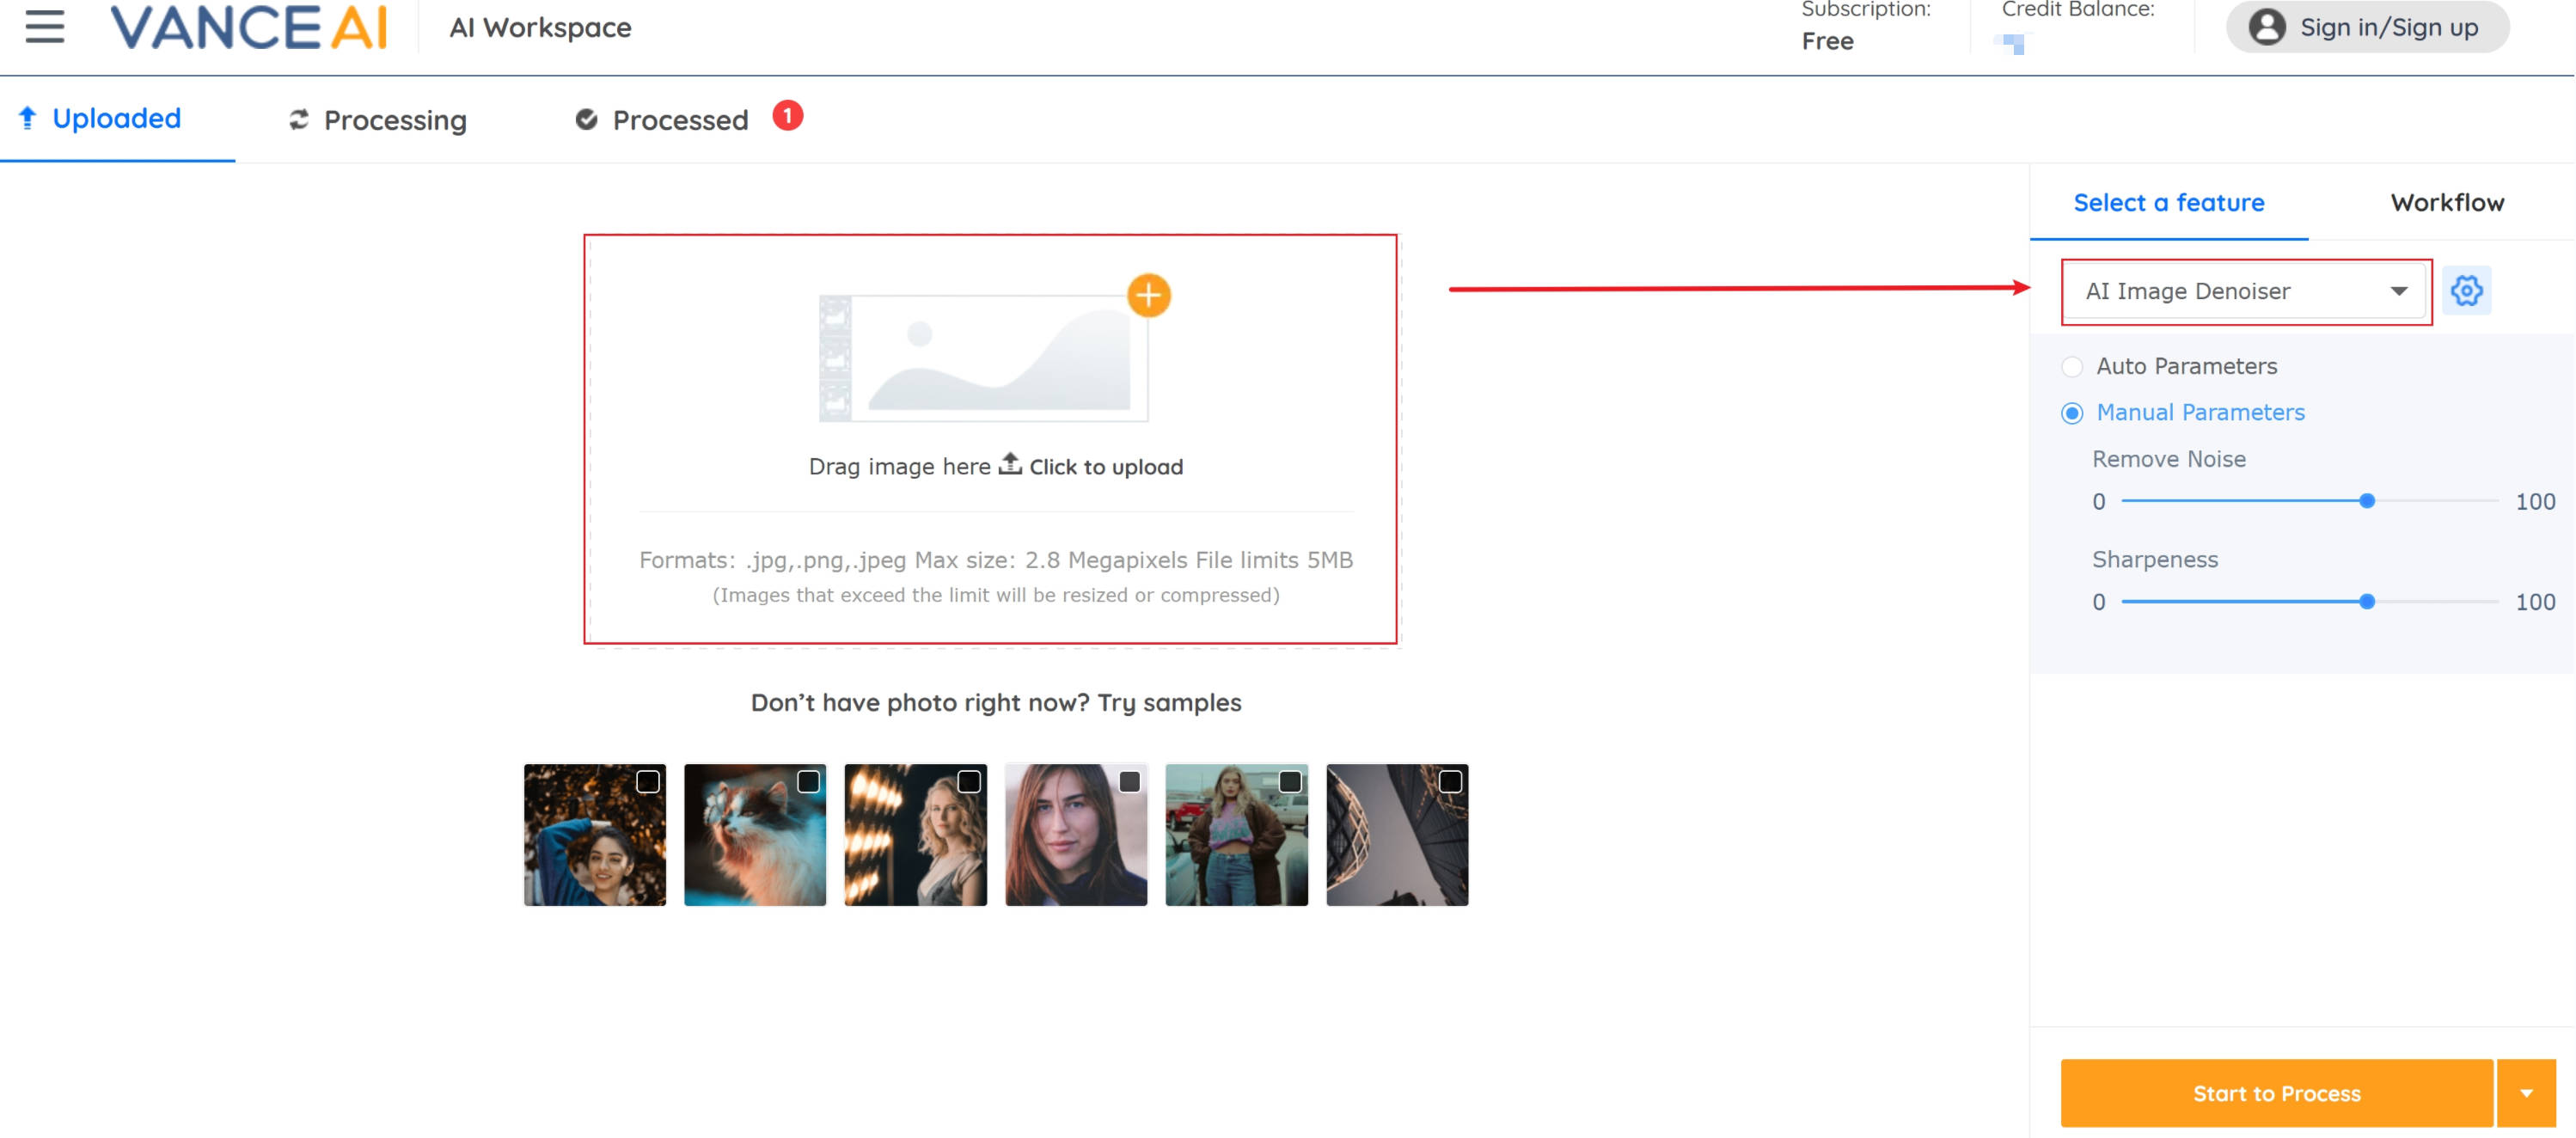
Step 2: Upload a photo to VanceAI Workspace
Having seen the picture, you need to press the button Upload Image to upload the target you want to enhance. Then you will naturally see VanceAI Enhancer Workspace below. After that, you should hit Start to Process and wait for several seconds.
Step 3: Preview and download the processed picture

If you want to apply another feature to your photo, also read Simplify Photo Editing with VanceAI's New Customizable Workflow.
Conclusion
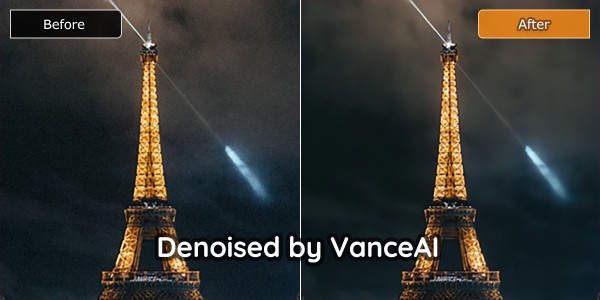
Noise or grain in images has different causes, including low light shooting and high ISO ratio. When you need to shoot in low light condition, for example, at a birthday party or in a dark room, you might see a lot of noise or grain in your images. Setting a high ISO ratio is another culprit. If you have pictures with dots or noise scattered on the surface, you don't need to try heavy software like Photoshop. Try AI Image Denoiser, your best choice for image denoise.
This product makes it extremely easy to denoise photo. As you upload a photo to it, this online service will handle noise intelligently. With AI technology, it also recovers real details to your photos.
Also read: 10 Tips for Night Photography
Read More to Know Deeper:


Popular Posts