
"Improve YouTube video quality" means two very different things depending on who's asking. If you're a creator, it's about your uploads looking sharp instead of soft after YouTube processes them. If you're a viewer, it's about making a video play back at its highest resolution instead of a blurry, auto-throttled one. This guide covers both — the creator workflow that gets crisp uploads, and the viewer settings that unlock full playback quality — with VanceAI Video Upscaler handling the enhancement side in the browser, free to try.
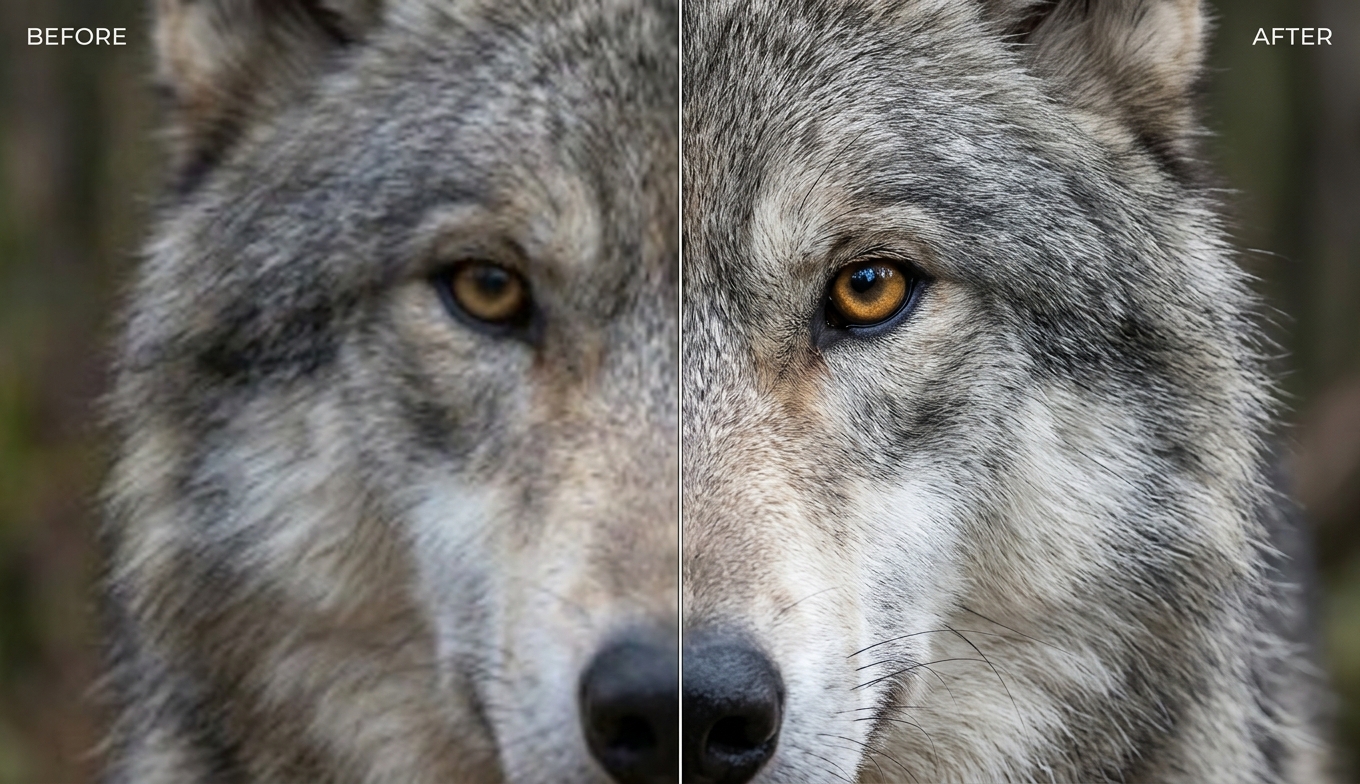
Two Kinds of "YouTube Quality"
Before the fixes, know which problem you have — they have completely different solutions.
- Creator quality (upload). Your video looks great in your editor but soft, smeared, or blocky once it's live. This is about how you prepare and upload the file, and it's where enhancement matters.
- Viewer quality (playback). A video you're watching looks blurry or keeps dropping to a low resolution. This is about YouTube's playback settings and your connection — the video itself may be fine.
Most of this guide serves creators, since that's where you can actually raise a video's quality. The viewer section near the end handles the playback side.
For Creators: The One Move That Matters Most
YouTube re-compresses every upload, and it's harshest on soft, low-resolution, low-bitrate files. So the highest-impact thing you can do is hand it a sharper, higher-resolution source — and VanceAI Video Upscaler is a fast way to produce one. It runs in your browser and processes on VanceAI's servers, so it slots between "export" and "upload" without a heavy desktop app, denoising, sharpening, and upscaling your footage in one pass.
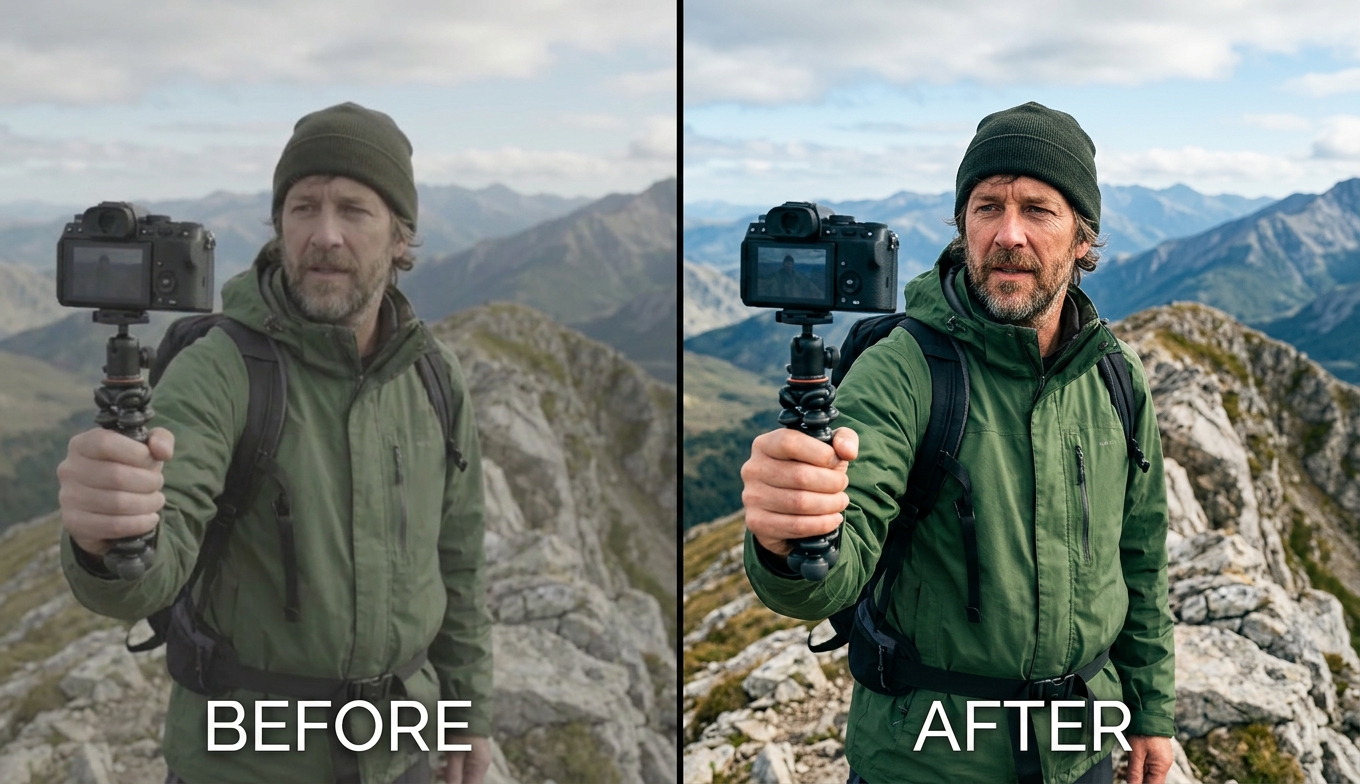
Nexa is the model most creators will use — it takes modern footage up to 4K, which matters because YouTube gives higher-resolution uploads its better codec. Cineva handles older, standard-definition clips you're repurposing. The one-credit preview lets you confirm the result looks natural before you render, so you don't upload an over-sharpened clip that compression then mangles further. It accepts MP4 and MOV up to 10GB, returns an MP4, and new users get free trial credits with no credit card. For the deeper why — YouTube's codec ladder and exact bitrate targets — the video enhancer for youtube guide is the companion piece.
Improving Quality by Video Type
The winning workflow is the same, but the weak point shifts with the kind of content you make.
- Gaming and screen capture. Often soft from a low capture bitrate. Capture at a high bitrate, then upscale to a clean 4K so on-screen text and UI stay readable after compression.
- Vlogs and talking-head. All about the face. Enhance for natural definition — not plastic skin — and denoise indoor footage before upscaling.
- Tutorials and slideshows. Text and graphics have hard edges that reconstruct and compress well; upscaling to 4K keeps small text legible.
- Music and fast motion. Motion loses the most detail in YouTube's re-encode, so the 4K-plus-high-bitrate combination matters most here.
Across all of them, the input quality sets the ceiling — which is the core idea behind the broader video quality enhancer approach.
How to Improve Your YouTube Video Quality, Step by Step
- Export your edit at the highest resolution you can, then upload it to VanceAI Video Upscaler (MP4 or MOV, up to 10GB and 4K input).
- Choose Nexa (or Cineva for a standard-definition source) and set the target toward 4K.
- Run the one-credit preview and confirm the result looks sharp but natural.
- Download the enhanced 4K MP4.
- Upload it to YouTube at full resolution, and wait for the 4K version to finish processing before you share the link.
Upload Settings That Keep Your Quality
Handing YouTube the right file is half the battle. The essentials:
- Upload at 4K when you can, even from a 1080p timeline — YouTube assigns 4K uploads its more efficient VP9/AV1 codec, so they survive compression better even for 1080p viewers.
- Use a high bitrate — around 35–45 Mbps for 4K30 — to give the re-encode more detail to keep.
- Export MP4 with H.264, a constant frame rate, and, if your editor offers it, two-pass encoding.
- Be patient after uploading — the 4K version processes last, so a video shared too early looks soft.
If your source footage is genuinely low-resolution, upscaling it first is what makes hitting 4K possible; the 4K video upscaler guide covers reaching that target from a smaller source.
For Viewers: How to Fix YouTube Playback Quality
If you're watching a video that looks blurry, the fix is usually on your end, not the creator's.
- Set quality manually. Tap the gear icon (or the three dots on mobile) and pick 1080p or higher instead of "Auto," which drops resolution on a weak connection.
- Check your connection. YouTube lowers playback quality automatically when your internet is slow; a stronger connection lets it serve the full resolution.
- Wait for processing. A freshly uploaded video may not have its HD or 4K version ready yet — try again later if only low resolutions are offered.
- Update the app or browser. An outdated player can default to lower quality or lack support for YouTube's newer, higher-quality codecs.
If a video only offers up to 480p, the creator may have uploaded a low-resolution source — nothing on the viewer side can add quality that was never uploaded.
Common Mistakes That Hurt YouTube Quality
- Uploading at 1080p because that's what you filmed. Upscale to 4K first so YouTube uses the better codec.
- Exporting at a low bitrate. You starve the encoder before it starts.
- Sharing the video the moment it uploads. The 4K version processes last; early viewers see a soft version.
- Over-sharpening before upload. Halos and plastic skin survive — and worsen through — compression.
- Blaming the creator for playback blur. Often it's your "Auto" quality setting or connection; set resolution manually first.
Frequently Asked Questions
How do I improve my YouTube video quality as a creator?
Enhance and upscale your footage to 4K before uploading, export at a high bitrate (about 35–45 Mbps for 4K30), and wait for the 4K version to finish processing before sharing. Uploading at 4K makes YouTube use its better VP9/AV1 codec, so even 1080p viewers see a cleaner result. VanceAI Video Upscaler handles the enhancement in one browser-based pass.
How do I make a YouTube video play in higher quality as a viewer?
Tap the gear icon (or the three dots on mobile) and manually select 1080p or higher instead of "Auto," which drops resolution on a weak connection. Also check your internet speed and make sure your app or browser is up to date, since an outdated player can default to lower quality.
Why is my YouTube video blurry after uploading?
YouTube re-compresses every upload, and it's harshest on soft, low-resolution, or low-bitrate files. Uploading a higher-resolution, enhanced source at a healthy bitrate — ideally upscaled to 4K — gives the encoder far more to preserve, so the published video keeps more detail.
Does uploading in 4K improve YouTube quality?
Yes. Beyond the added detail, a 4K upload triggers YouTube's more efficient VP9/AV1 codec and higher bitrate allocation, which a 1080p upload doesn't get. That's why upscaling a 1080p clip to 4K before upload often looks cleaner even for viewers watching at 1080p.
Can I improve YouTube video quality for free?
Yes, to start. VanceAI Video Upscaler gives new users free trial credits with no credit card, and a five-second preview costs one credit, so you can enhance and upscale a clip and check it before paying. It runs online with no install.
Why does my YouTube video look bad right after I upload it?
YouTube processes low-resolution versions first and the HD and 4K versions later, so a freshly uploaded video can play back in a soft, half-processed state. Wait until the higher resolutions finish encoding — which can take hours for long 4K videos — before sharing the link.
Why can't I select 1080p on a YouTube video I'm watching?
Either the creator didn't upload a source high enough to produce 1080p, or the HD version is still processing, or YouTube has dropped you to a lower resolution because of your connection. Check your internet and the quality menu; if only low resolutions ever appear, the upload itself was low-resolution.
What bitrate should I upload to YouTube?
Upload above YouTube's recommendations to leave headroom for the re-encode — roughly 20–50% higher. For 4K at 30fps, aim for about 35–45 Mbps. Bitrate is the single biggest factor in how much detail survives compression.
Do I need a powerful computer to improve my YouTube videos?
No, with a cloud tool. VanceAI Video Upscaler processes on remote servers, so any laptop can prep footage for upload. Desktop enhancers run locally and lean on your GPU, which is why many creators prefer a browser-based step between editing and uploading.
Can I improve an old video already on YouTube?
YouTube won't re-process an existing upload to higher quality, so the fix is to enhance a better source and upload it as a new video. If you still have the original file, run it through an AI enhancer, upscale toward 4K, and re-upload — the new upload can qualify for the better codec the old one missed.
Does YouTube lower quality automatically?
Yes — for viewers, YouTube's "Auto" setting drops playback resolution when your connection is slow, and for creators, it re-compresses every upload regardless of source. You can override the viewer side by setting quality manually, and improve the creator side by uploading a higher-resolution, higher-bitrate file.
How long does YouTube take to process a video in HD?
It varies with length and resolution — a long 4K video can take hours for its highest-resolution version to finish encoding. YouTube processes lower resolutions first, so if a freshly uploaded video only offers 360p or 480p, wait a while and the HD and 4K options usually appear.
Should I enhance my footage before or after editing for YouTube?
Enhance and upscale the raw footage, then add text, graphics, and overlays in your editor before the final export. Running an AI pass over baked-in text and logos can distort them, so keep graphics for after the enhancement step — then export at a high bitrate.
The Verdict
Improving YouTube video quality depends on which side you're on. As a creator, the winning workflow is to enhance and upscale your footage to 4K, upload at a high bitrate, and let processing finish — VanceAI Video Upscaler makes the enhancement step fast, in the browser, with a preview to catch over-processing. As a viewer, set the quality manually to 1080p or higher and check your connection before assuming a video is low-quality. Prepare the best source you can, or unlock the best playback you can, and YouTube finally shows the quality that's actually there.