
You export a crisp video, upload it to YouTube, and it comes back soft, smeared on motion, or looking suspiciously like 1080p when you shot 4K. That's not your camera — it's how YouTube processes uploads, and the fix is a specific, repeatable workflow: enhance and upscale your footage, then hand YouTube the resolution and bitrate that trigger its best compression. This guide explains exactly why quality drops after upload, and gives you a creator's playbook — including the resolution and bitrate numbers that matter — using VanceAI Video Upscaler to prep the footage.
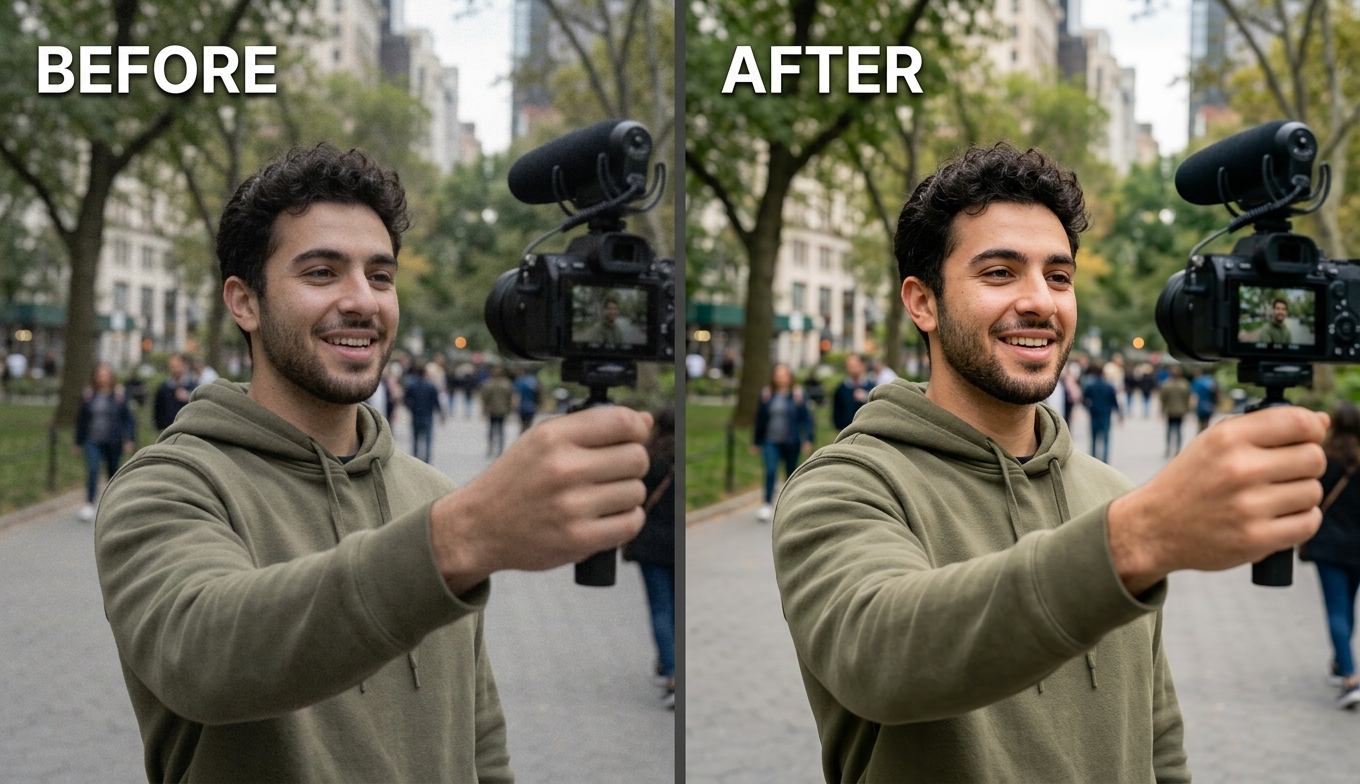
Why YouTube Makes Your Video Look Worse
Every upload gets re-encoded so YouTube can stream it to billions of devices. That compression is where quality goes — but not evenly, and understanding the mechanism is what lets you beat it.
Three things drive the loss. First, bitrate: if your upload's bitrate is low, YouTube has less data to work with and its re-encode throws away more detail, especially in fast-moving scenes. Second, resolution and codec allocation: YouTube assigns its most efficient codecs (VP9, and increasingly AV1) to higher-resolution uploads, and its older, less efficient codec (H.264) to lower ones. So a 1080p upload literally gets a worse codec than a 4K upload — which is why the same footage can look better uploaded at 4K even on a 1080p screen. Third, processing time: the high-resolution versions finish encoding after the low ones, so a video shared too early plays back in a soft, half-processed state.
None of this is something you fix on YouTube's end. You fix it before upload — by giving the encoder a richer, higher-resolution source. That's what a video enhancer is for in a YouTube workflow, and it connects to the broader idea in the how to upscale video guide: more resolution isn't vanity, it's leverage over the codec.
YouTube's Processing Pipeline, Explained
To beat the compression, it helps to see what happens after you hit upload. YouTube takes your file and transcodes it into a ladder of versions — 144p, 240p, 360p, 480p, 720p, 1080p, and, if you uploaded high enough, 1440p and 2160p (4K). Each rung is compressed to a target size so it can stream smoothly to different connections and devices.
The crucial detail is which codec each version uses. YouTube's newer, more efficient codecs — VP9 and AV1 — preserve far more detail at the same file size than the older H.264. But YouTube doesn't apply them evenly: higher-resolution and higher-view-count videos are prioritized for VP9/AV1, while lower-resolution uploads often stay on H.264. So two things determine how good your compressed video looks: how much data you gave YouTube to start with (bitrate), and whether your upload qualified for the better codec (largely driven by resolution).
This is why the advice that follows isn't a collection of tips — it's a single strategy expressed two ways: give the encoder a rich, high-resolution source. Everything else is a detail of that one idea.
The Counterintuitive Move: Enhance and Upscale to 4K Before Upload
Here's the trick most creators miss. If you filmed in 1080p, upscaling to 4K before uploading does two jobs at once: it rebuilds detail, and — because YouTube gives 4K uploads the better VP9/AV1 codec and more bitrate — it makes the compressed result cleaner even for viewers watching at 1080p. You're not just enlarging the video; you're changing which codec YouTube uses on it.
This is where VanceAI Video Upscaler fits the workflow cleanly. It runs in your browser, so it slots between "export" and "upload" without a heavy desktop app, and it denoises, sharpens, and upscales in one render — turning a soft 1080p export into a clean 4K file ready for YouTube's better codec path.
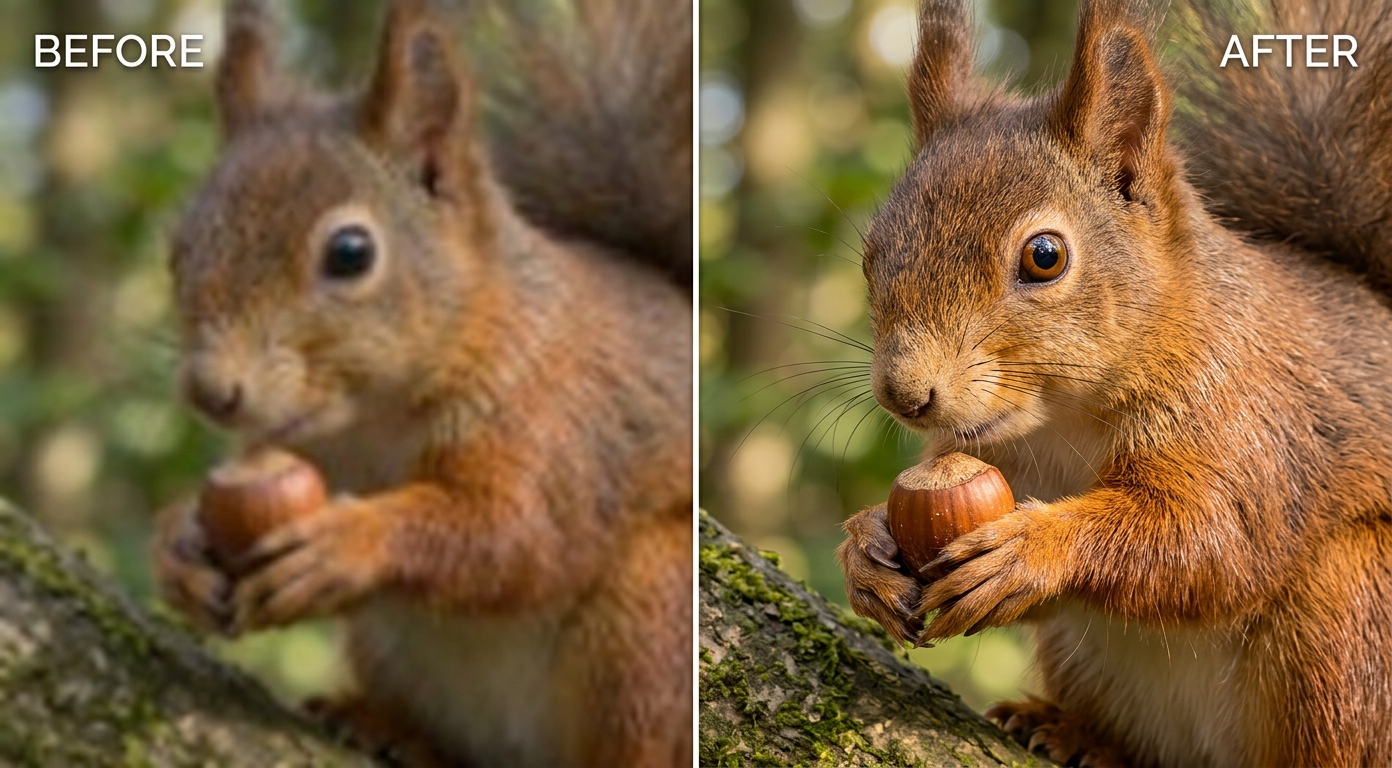
The model choice is simple for creators: Nexa is the one you'll use most, taking modern footage up to 4K with a 1×, 2×, or 4× scale — set it toward 4K so YouTube's codec allocation works in your favor. Cineva is for older, standard-definition clips you're repurposing into a video. Either way, the one-credit preview lets you confirm the enhancement looks natural before you render the whole thing, so you don't upload an over-sharpened result that then gets further mangled by compression.
How to Prep a Video for YouTube, Step by Step
- Export your edit as usual, then upload that MP4 or MOV to VanceAI Video Upscaler (up to 10GB, up to 4K input).
- Choose Nexa (or Cineva for an SD source) and set the target to 4K — this is the step that changes YouTube's codec allocation later.
- Run the one-credit preview and confirm the result looks sharp but natural, not over-processed.
- Process and download the enhanced 4K MP4 (available for three days).
- Upload it to YouTube at that full resolution, and wait for the 4K version to finish processing before you share the link.
The difference from a generic enhance workflow is the destination: everything here is aimed at surviving YouTube's re-encode, so the 4K target and the "wait for processing" step aren't optional polish — they're the whole point.
YouTube Upload Settings That Actually Matter
Enhancing the footage is half the job; handing YouTube the right file is the other half. Follow these and the re-encode starts from a rich source:
- Bitrate. Upload above YouTube's recommended numbers to leave headroom for the re-encode — roughly 20–50% higher. For 4K at 30fps, that's about 35–45 Mbps.
- Resolution. Upload at 4K (or at least 1440p) whenever you can, even from a 1080p timeline, to trigger the better codec; the 4K video upscaler guide covers reaching that target from a lower-resolution source.
- Codec and container. YouTube prefers MP4 with H.264, a constant frame rate, and a high bitrate — exactly what VanceAI returns.
- Two-pass encoding. If your editor offers VBR two-pass, use it; it distributes data more intelligently, protecting detail in fast-motion scenes.
- Be patient. After uploading, let the HD and 4K versions finish encoding — a long 4K video can take hours — before sharing publicly.
Recommended Upload Bitrates by Resolution
Bitrate is the single biggest lever you control, so it's worth having real numbers. YouTube publishes recommended bitrates; the practical move is to upload a little above them, leaving headroom for the re-encode. These are good targets for standard (SDR) footage:
| Resolution | YouTube recommended (SDR) | Upload target with headroom |
|---|---|---|
| 1080p at 30fps | ~8 Mbps | 10–12 Mbps |
| 1080p at 60fps | ~12 Mbps | 15–18 Mbps |
| 1440p at 30fps | ~16 Mbps | 20–24 Mbps |
| 1440p at 60fps | ~24 Mbps | 30–36 Mbps |
| 4K at 30fps | 35–45 Mbps | 45–55 Mbps |
| 4K at 60fps | 53–68 Mbps | 65–85 Mbps |
Higher frame rates need proportionally more bitrate because there are more frames to describe. The pattern to remember: pick your resolution and frame rate, take YouTube's number, and export 20–50% above it. Don't go absurdly high — past a point YouTube caps what it ingests — but starving the upload is the more common and more damaging mistake.
Shorts, Long-Form, and Live: Does the Advice Change?
The core strategy holds, with small adjustments per format.
Long-form videos are the classic case — enhance, upscale toward 4K, upload above the recommended bitrate, and let processing finish. Nothing changes.
Shorts are vertical and viewed on phones, but the compression math is the same: a higher-resolution, higher-bitrate vertical upload (up to 4K vertical) survives better than a low one. Enhancing a soft vertical clip before posting a Short is just as worthwhile.
Live streams are the exception — they're encoded in real time, so there's no "enhance before upload" step. Your leverage there is your encoder's bitrate settings and a stable connection. But the archived stream can be downloaded, enhanced, and re-uploaded as a polished VOD, which is a common way to give a good live session a better permanent version.
Common Creator Mistakes
- Uploading at 1080p because that's what you filmed. Upscale to 4K first so YouTube assigns the better codec — one of the highest-impact changes you can make.
- Exporting at a low bitrate to save time or space. You're starving the encoder before it even starts. Use the targets above.
- Sharing the video the second it finishes uploading. The 4K version processes last; early viewers see a soft, half-baked version. Wait it out.
- Over-sharpening before upload. Halos and plastic skin survive compression too — and get uglier. Keep enhancement natural and confirm it in a preview.
- Enhancing after adding text and graphics. Enhance the footage, then add overlays in your editor; running an AI pass over baked-in text and logos can distort them.
Beyond Bitrate: Frame Rate, HDR, and Consistency
Bitrate and resolution do most of the work, but a few more settings affect how your video survives YouTube.
Frame rate. Keep it constant, not variable — YouTube prefers a constant frame rate, and variable frame rate footage can cause audio sync and stutter issues after processing. Match the frame rate you actually shot (24, 30, or 60); don't invent frames or drop them at export.
HDR. If you shot HDR, upload true HDR with the right metadata rather than a tone-mapped SDR version — YouTube handles HDR uploads on their own path and they can look outstanding. But don't fake it; a badly converted "HDR" upload looks worse than clean SDR. If you're unsure, stick with well-exported SDR at a high bitrate.
Consistency across the timeline. Compression struggles most with sudden complexity — a calm scene cutting to fast motion or heavy grain. Clean, denoised footage compresses more predictably, which is another quiet benefit of enhancing before upload: a less noisy, more consistent source gives YouTube's encoder an easier job across the whole video, not just in the still moments.
None of these replace the core move — enhance, upscale, upload above the recommended bitrate — but together they close the small gaps that can still soften an otherwise well-prepared upload.
Turning Old or Low-Resolution Footage into YouTube-Ready Video
A huge amount of great YouTube content is built from footage that wasn't shot for YouTube — old family clips, archival material, phone videos, screen recordings, or standard-definition sources from years ago. Uploaded as-is, these look rough against the platform's compression. Enhanced first, they can hold their own.
The approach is the same idea applied harder. Because the source is low-resolution, upscaling does even more of the work — an SD or 480p clip taken to a clean 1080p or 4K gains both the detail and the resolution that trigger YouTube's better codec. Denoising matters more too, since older footage is often grainy. The realistic goal is "clean and watchable at HD," not "indistinguishable from a modern camera" — but that's usually more than enough to build a compelling video around. This is exactly the kind of job a browser tool with an SD-focused model handles well, and it's why creators repurposing archives lean on enhancement as a standard step rather than an afterthought.
Why Your Thumbnail Deserves the Same Treatment
One overlooked detail: your thumbnail is often a frame pulled from the video, and a soft source makes a soft thumbnail — which directly affects click-through. If you're grabbing a still from the footage, enhance the video first so the frame you export is crisp. For a low-resolution source, upscaling the clip before you screenshot your thumbnail gives you a sharp, high-resolution image to work with, rather than a blurry grab that undersells the video. The same enhancement pass that helps your video survive compression also gives you a better thumbnail for free.
A Quick Pre-Upload Checklist
Before you hit publish: enhanced and upscaled toward 4K, exported at a high bitrate (35–45 Mbps for 4K30), MP4/H.264, natural sharpening confirmed in preview, and uploaded early enough to let 4K processing finish. Tick those and your published video finally looks the way it did in your editor. If your source is genuinely low-resolution to begin with, pair this with the video quality enhancer fundamentals first.
Frequently Asked Questions
How do I improve my YouTube video quality?
Enhance and upscale your footage to 4K before uploading, then upload at a high bitrate (about 35–45 Mbps for 4K30) and wait for the 4K version to finish processing. Uploading at 4K makes YouTube use its better VP9/AV1 codec, so even 1080p viewers see a cleaner result. VanceAI Video Upscaler handles the enhancement and upscaling in one browser-based pass.
Why does YouTube make my videos look blurry?
YouTube re-encodes every upload, and low-resolution or low-bitrate uploads lose the most detail because the encoder has less data and uses a weaker codec (H.264). Higher-resolution uploads get the more efficient VP9 or AV1 codec and more bitrate, so they survive compression with far more detail.
Should I upload 1080p or 4K to YouTube?
Upload 4K when you can, even from a 1080p timeline. YouTube gives 4K uploads a better codec and more bitrate, so a 4K upload often looks cleaner than a 1080p one — even on a 1080p screen. Upscaling 1080p footage to 4K before upload is a common way to trigger that better processing.
What bitrate should I upload to YouTube?
Upload above YouTube's recommended numbers to leave headroom for the re-encode — roughly 20–50% higher. For 4K at 30fps, aim for about 35–45 Mbps. Bitrate is the single biggest factor in how much detail survives compression, so don't starve the upload.
Does upscaling a video to 4K really help on YouTube?
Yes, for two reasons: it rebuilds detail, and it triggers YouTube's better VP9/AV1 codec and higher bitrate allocation, which a 1080p upload doesn't get. That codec change is why upscaling to 4K before upload improves the result even for viewers watching at lower resolutions.
Why does my video look bad right after I upload it?
YouTube processes the low-resolution versions first and the HD and 4K versions later, so a freshly uploaded video can play back in a soft, half-processed state. Wait until the higher resolutions finish encoding — which can take hours for long 4K videos — before sharing the link.
Can I enhance a video for YouTube for free?
Yes, to start. VanceAI Video Upscaler gives new users free trial credits with no credit card, and a five-second preview costs one credit, so you can enhance and upscale a clip and check it before paying. It runs online with no install.
What format and codec does YouTube prefer?
YouTube prefers the MP4 container with the H.264 codec, a constant frame rate, and a high bitrate. VanceAI Video Upscaler returns an MP4, so the enhanced file is already in the ideal container — just upload it at the highest resolution and a bitrate in line with the recommendations.
Do I need a powerful computer to enhance YouTube videos?
No, with a cloud tool. VanceAI Video Upscaler processes on remote servers, so any laptop can prep footage for upload. Desktop enhancers run locally and lean on your GPU, which is why many creators prefer a browser-based step between editing and uploading.
Will enhancing my video stop YouTube from compressing it?
No — YouTube always compresses uploads. But enhancing and upscaling to 4K first gives the encoder a much richer source and triggers a better codec, so the compressed result keeps far more of your quality. You can't avoid the compression, only feed it something better.
What bitrate should I use for a 1080p or 1440p upload?
Upload above YouTube's recommendation to leave headroom: roughly 10–12 Mbps for 1080p30, 15–18 for 1080p60, 20–24 for 1440p30, and 30–36 for 1440p60. Higher frame rates need more bitrate. If you can upscale to 4K, do that too, since resolution also drives which codec YouTube assigns.
Does enhancing help YouTube Shorts?
Yes. Shorts are compressed like any upload, so a higher-resolution, higher-bitrate vertical clip survives better than a soft one. Enhancing and upscaling a vertical clip before posting a Short improves how it looks after YouTube's re-encode, just as it does for long-form video.
Can I improve an old video already uploaded to YouTube?
YouTube won't re-process an existing upload to a higher quality, so the fix is to enhance a better source and upload it as a new video (or a fresh version). If you still have the original file, run it through an AI enhancer, upscale toward 4K, and re-upload — the new upload can qualify for the better codec the old one missed.
Should I upscale before or after editing for YouTube?
Enhance and upscale the raw footage, then add text, graphics, and overlays in your editor before the final export — or enhance your final export if it has no overlays. Running an AI pass over baked-in text and logos can distort them, so keep graphics for after the enhancement step.
Does frame rate affect YouTube video quality?
Yes, in two ways. Use a constant frame rate — variable frame rate can cause sync and stutter issues after YouTube processes the upload. And higher frame rates need proportionally more bitrate to stay clean, so a 60fps upload should carry noticeably more data than the same resolution at 30fps. Match the frame rate you shot rather than converting it.
The Verdict
Keeping quality on YouTube is a two-part workflow, not a single setting: enhance and upscale your footage to 4K so it's rich and triggers YouTube's better codec, then upload at a high bitrate and let the 4K version finish processing before you share. VanceAI Video Upscaler makes the prep step fast — browser-based, no GPU, one-credit preview — turning a soft export into a clean 4K file. Aim for 4K, upload above the recommended bitrate, be patient with processing, and your published video will finally match what you shot.