Bad video quality almost always comes down to a handful of fixable problems: softness, noise, low resolution, compression damage, poor lighting, or shake. This guide walks through how to enhance video quality by targeting each one — what the fix is called, when to use it, and the fastest way to do it. The short answer for most people is an AI tool that handles several fixes at once: VanceAI Video Upscaler cleans and upscales footage in your browser, with no install and a free trial, and this guide shows exactly how and when to use it.
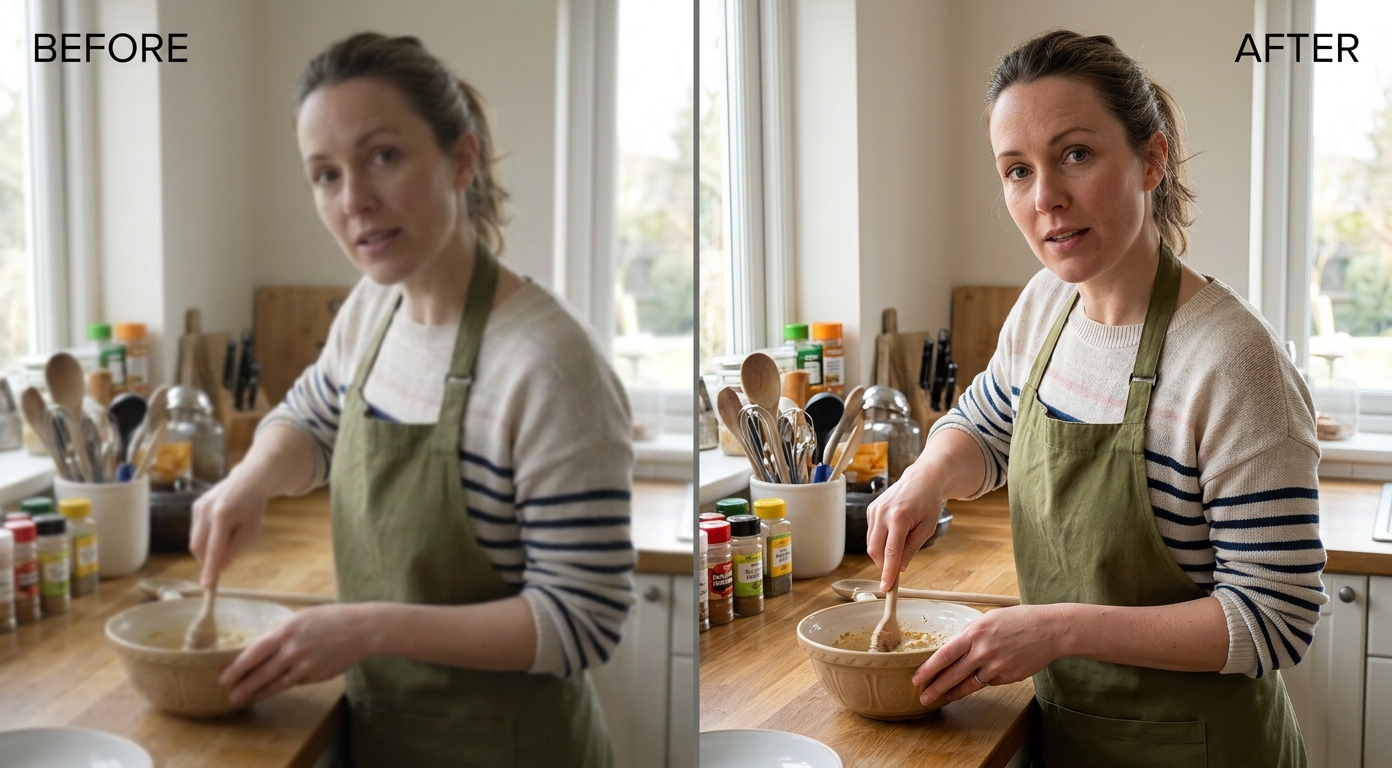
What Actually Lowers Video Quality (and What You Can Fix)
"Low quality" is a symptom, not a cause. Before you fix a clip, it helps to name what is actually wrong, because each problem has a different solution and using the wrong one makes things worse.
- Softness and blur — the footage lacks definition, from poor focus, a cheap lens, or motion. The fix is deblurring and careful sharpening.
- Noise and grain — speckle and static, usually from low light or a small sensor. The fix is denoising.
- Low resolution — the clip is simply too small, and stretching it goes soft. The fix is AI upscaling.
- Compression artifacts — blocky patches and banding from heavy compression or repeated re-uploads. The fix is artifact removal.
- Poor lighting and dull color — dark, flat, washed-out footage. The fix is exposure and color correction.
- Shake — unstable handheld motion. The fix is stabilization.
The good news: modern AI enhancers handle the first four — the ones most responsible for "this looks bad" — together in a single pass. That is why the fastest path is usually one tool, not six.
The Easiest Way: Enhance Video Quality Online With VanceAI
If you want the biggest improvement for the least effort, VanceAI Video Upscaler is where to start. It runs entirely in your browser, so there is nothing to install and no powerful GPU required — the processing happens on VanceAI's servers, and a basic laptop gets the same result as a workstation. It denoises, sharpens, removes compression artifacts, and upscales in one render, which covers most of what makes a clip look poor.
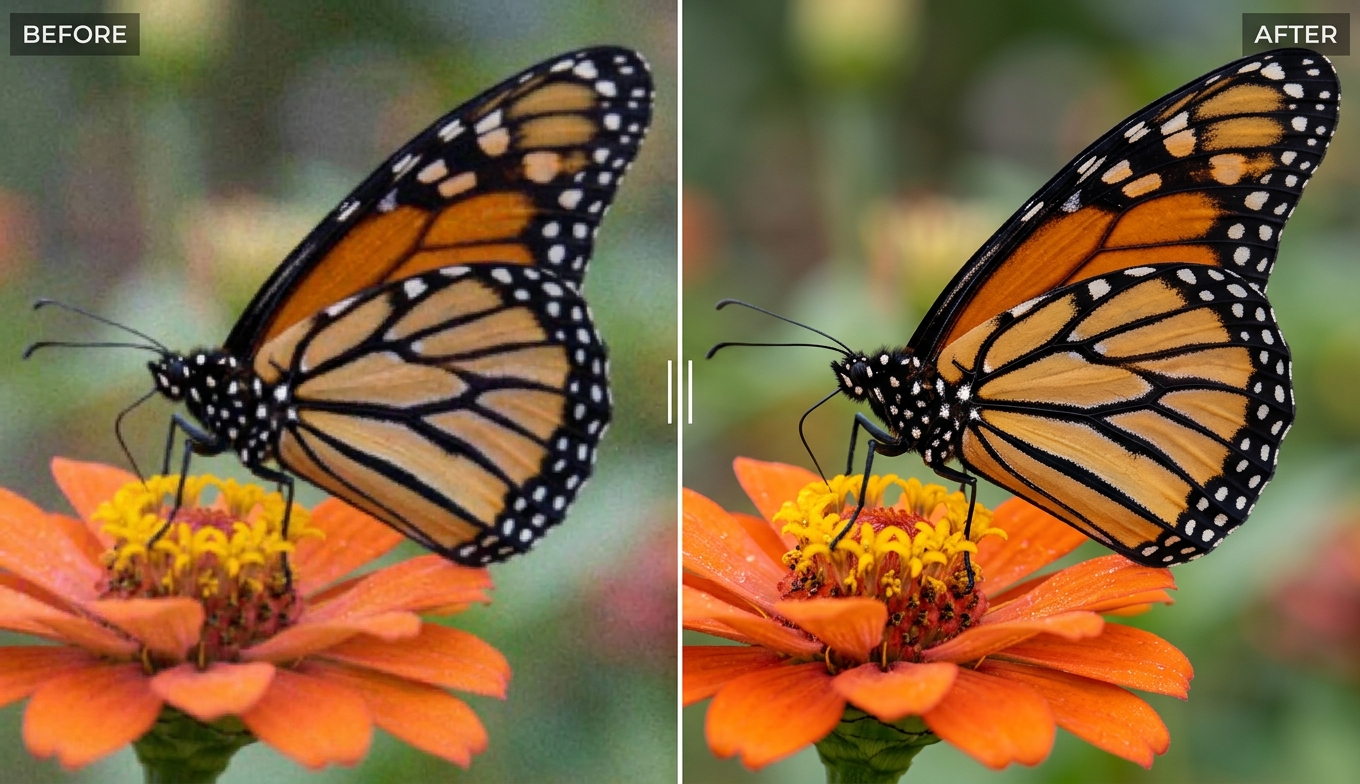
You choose one thing — the model — and it handles the rest:
- Nexa is the general-purpose engine for everyday footage, outputting 720p, 1080p, 1440p, or 4K with a 1×, 2×, or 4× scale.
- Cineva is the cinema-focused model for standard-definition sources up to 1024×540 input, applying a fixed 4× upscale — ideal for old or very low-res clips.
It accepts MP4 and MOV files up to 10GB and 4K input, returns an MP4 that stays available for three days, and lets you spend a single credit on a five-second preview before the full render, so you never gamble on a whole clip. Pricing is credit-based rather than a subscription: new users get free trial credits with no credit card, and you pay only for what you process. For a wider view of the whole topic, the video quality enhancer pillar guide covers enhancement and upscaling end to end.
How to Enhance Video Quality Step by Step
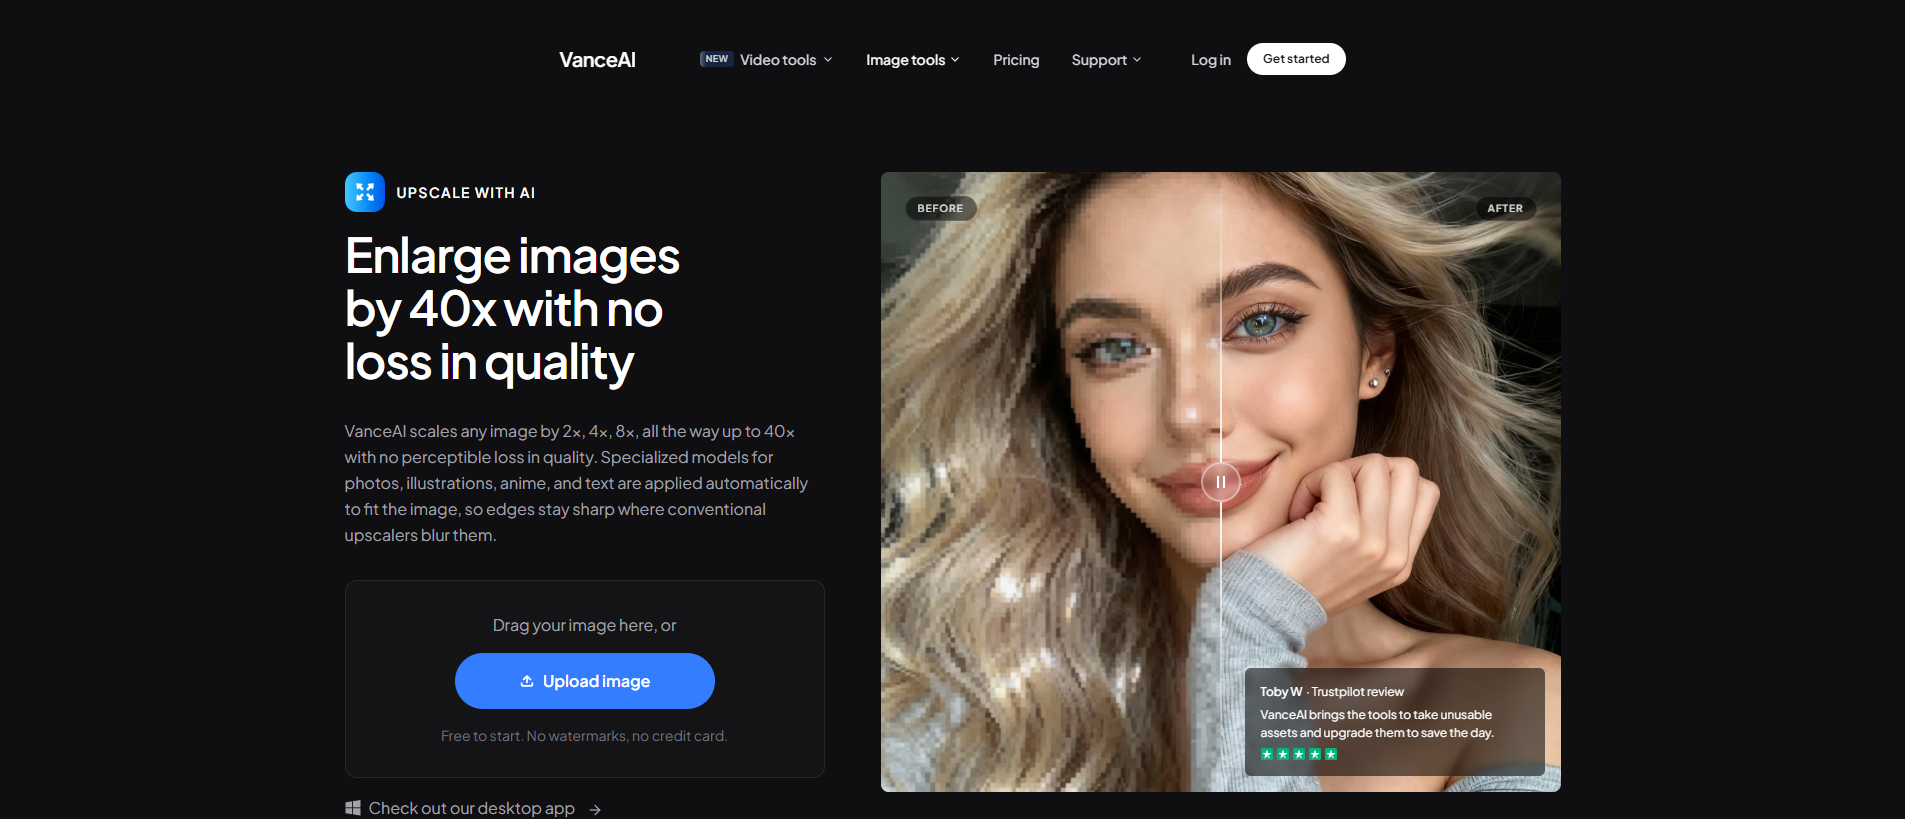
- Open VanceAI Video Upscaler in your browser and upload an MP4 or MOV (up to 10GB, up to 4K input).
- Choose your model — Nexa for everyday footage, Cineva for a standard-definition source.
- Set your target resolution or scale factor (720p to 4K, or 1×/2×/4× on Nexa).
- Click Preview to generate a five-second sample for one credit and confirm the quality.
- Process the full clip and download your MP4 — it stays available for three days.
No install, no GPU, no settings maze.
Fixing Specific Problems
Sometimes you know exactly what's wrong. Here's how each fix works and what to watch for.
Blur and softness. AI deblurring rebuilds definition lost to soft focus or motion. The trap is over-sharpening: push it too far and edges get bright halos and skin turns plastic. Aim for natural, not crunchy.
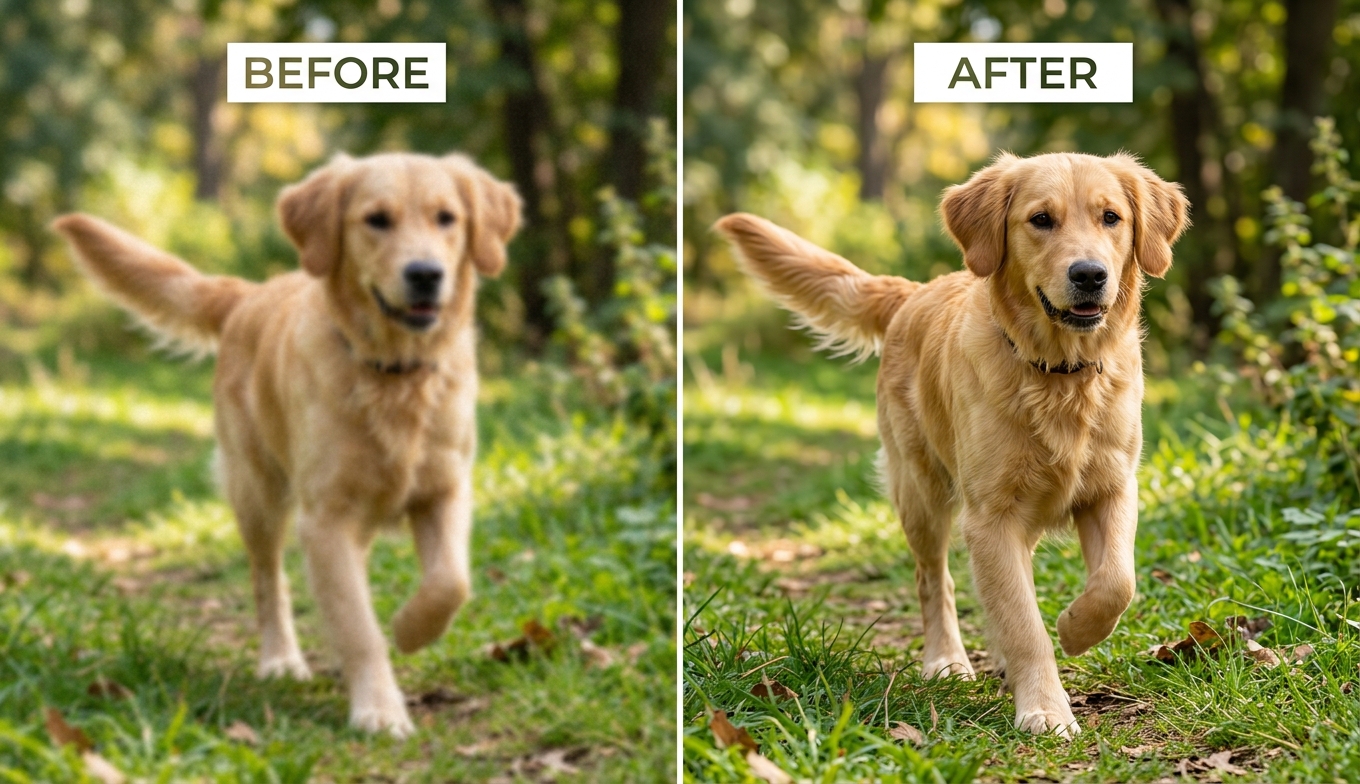
Noise and grain. Denoising separates real detail from sensor and compression noise. Match it to the actual noise — heavy denoise on a fairly clean clip erases texture and flattens faces.
Low resolution. Upscaling adds plausible detail rather than stretching pixels, turning a small clip into a 1080p or 4K one. The how to upscale 480p to 1080p walkthrough covers this specific jump.
Compression artifacts. Removing blocky patches and banding is often the single most valuable fix on downloaded or re-uploaded social video, and it's exactly what AI tools handle well.
Other Ways to Enhance Video Quality
A browser tool isn't the only option, and the right pick depends on your situation. Desktop apps like Topaz Video AI, HitPaw, and AVCLabs offer deeper manual control and run locally, which suits professionals with strong hardware and heavy workloads — at the cost of a subscription, a capable GPU, and a learning curve. If you're weighing a desktop route, the Topaz Video AI alternative comparison lays out the field.
Standard video editors (Premiere, Final Cut, CapCut) can sharpen, denoise, and color-correct too, but they lack true AI super-resolution, so they can't rebuild detail that isn't there — they're best for polish, not rescue. For genuinely low-quality footage, a dedicated AI enhancer does more.
Tips to Avoid Making It Worse
- Do less, not more. Over-sharpening and over-denoising are the top two ways to turn a fix into a new problem.
- Denoise before you sharpen. On grainy footage, sharpening first just amplifies the noise.
- Don't over-upscale. 4K from a decent 1080p or SD source is reasonable; pushing a tiny clip far beyond its detail enlarges its flaws.
- Always preview. A still frame can look fine while motion reveals shimmer — check a few seconds first.
Frequently Asked Questions
How can I enhance video quality for free?
Use a browser-based AI enhancer with a free tier. VanceAI Video Upscaler lets new users start with free trial credits and no credit card, and a five-second preview costs just one credit, so you can enhance a clip and see the result before paying. It runs online with no install.
How do I make a low-quality video look better?
Identify the main problem — softness, noise, low resolution, or compression — and use an AI enhancer that fixes all four at once. Upload the clip to VanceAI Video Upscaler, pick a model, preview, and download. For clips that are mainly just small, upscaling does most of the work.
Can I really improve video quality with AI?
Yes. AI enhancers are trained to reconstruct realistic detail rather than just sharpen, so they genuinely improve soft, noisy, and low-resolution footage. They can't invent detail with no basis in the source, but for most everyday low-quality video the improvement is substantial.
How do I fix a blurry video?
Use AI deblurring and keep the sharpening restrained to avoid halos and a plastic look. Upload the clip to a tool like VanceAI Video Upscaler, let it rebuild detail as it processes, and preview before the full render to confirm the result looks natural rather than over-processed.
Do I need editing skills to enhance video quality?
No. Browser-based AI tools are built for exactly this — you upload, choose a model, and download, with no timeline or manual settings to learn. That's the main advantage over traditional editors, which require more skill to get a similar cleanup.
MP4 and MOV are the safest choices and are what VanceAI Video Upscaler accepts (up to 10GB and 4K input). The tool returns an MP4, which plays virtually everywhere.
Why does my video look worse after "enhancing" it?
Almost always over-processing: too much sharpening creates halos and plastic skin, and too much denoise flattens real texture. Dial the effect back, denoise before sharpening, and don't push resolution far beyond what the source supports.
Can I enhance video quality on my phone?
Yes, if the tool is browser-based. Because VanceAI processes in the cloud, you can enhance a clip from a phone or tablet without a powerful device — the heavy lifting happens on the server, not your hardware.
How long does it take to enhance a video?
It depends on the clip's length, resolution, and scale factor. A short clip is quick; longer, higher-resolution jobs take more time and credits. The five-second preview is near-instant, which is why it's worth checking before committing to a full render.
Is it better to enhance or to re-record the video?
If you can easily re-record in good light at high resolution, that always beats fixing it later. Enhancement is for footage you can't recapture — old clips, one-time moments, downloads — where an AI tool is the only way to make it look meaningfully better.
The Verdict
Enhancing video quality isn't one task — it's matching the right fix to the actual problem: deblur softness, denoise grain, upscale low resolution, and clear compression damage. You can chase these separately in a desktop app or an editor, but for most people the efficient path is a single AI tool that does all four in one pass. VanceAI Video Upscaler handles that in the browser, with no install, no GPU, and free trial credits to prove it on your own footage first — start there, keep the settings restrained, and preview before you commit.


