How to Fix Blurry Pictures in Photoshop Using Unsharp Mask
1. Just like before, you’ll want to make sure that you’re using the photoshop sharpening method on a different layer so repeat step 1 from the previous section.
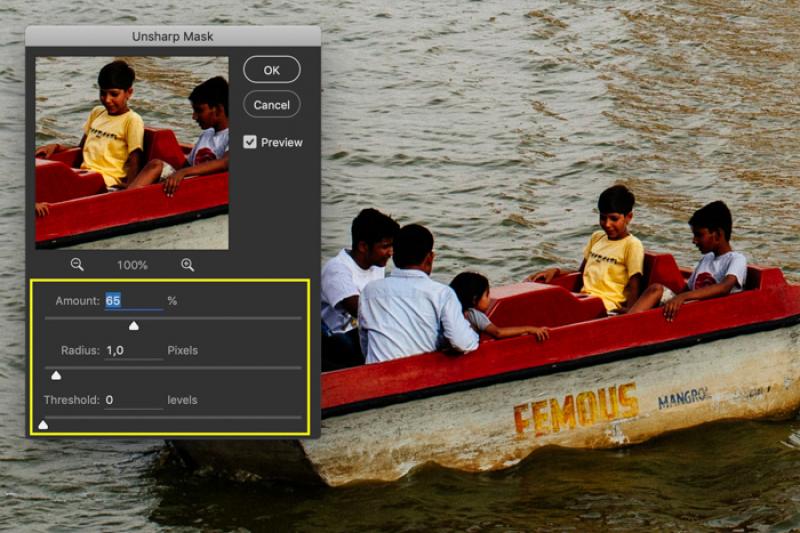
2. The second step is similar as well but when choosing the sharpen in photoshop Filter this time around you’ll want to go with Unsharp Mask instead of Smart Sharpen. A new window will appear that you can resize and move around just like before. Don’t forget to check the Preview box and set the zoom level to 100% while you’re there.

3. You’ll immediately notice that this filter has far fewer options than Smart Sharpen. In this case, you’ll want to start with the sharpen amount at around 60% and gradually work your way up from there while observing the changes. You generally don’t want to go over 200%, though. If you’re going with a very high percentage of sharpening you’ll want to adjust the Threshold levels. Otherwise, you can leave that option at 0. Meanwhile, the Radius should be kept anywhere between 1.0 and 2.0 pixels in this case as well.
We can see sharpen an image in Photoshop can be quite complicated. If you just begin to work with photos, you may go on reading to get the recommended Photoshop alternative from VanceAI.
How to Sharpening tool in Photoshop Using Smart Sharpen
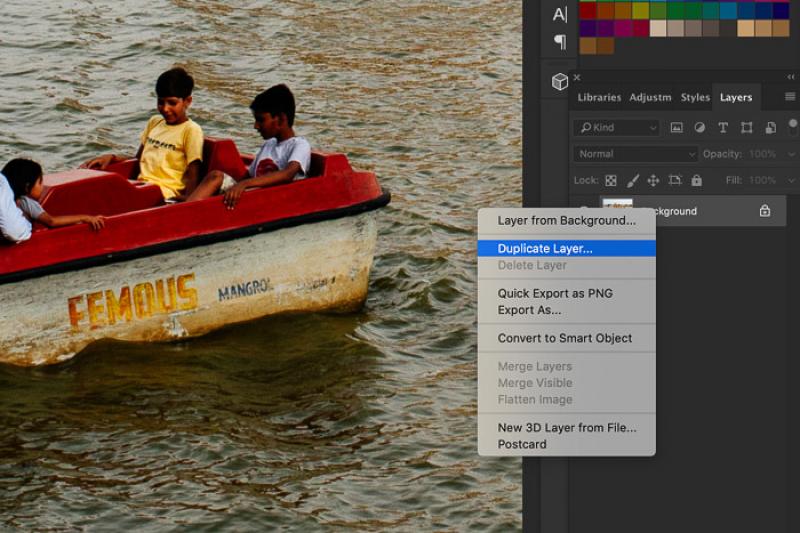
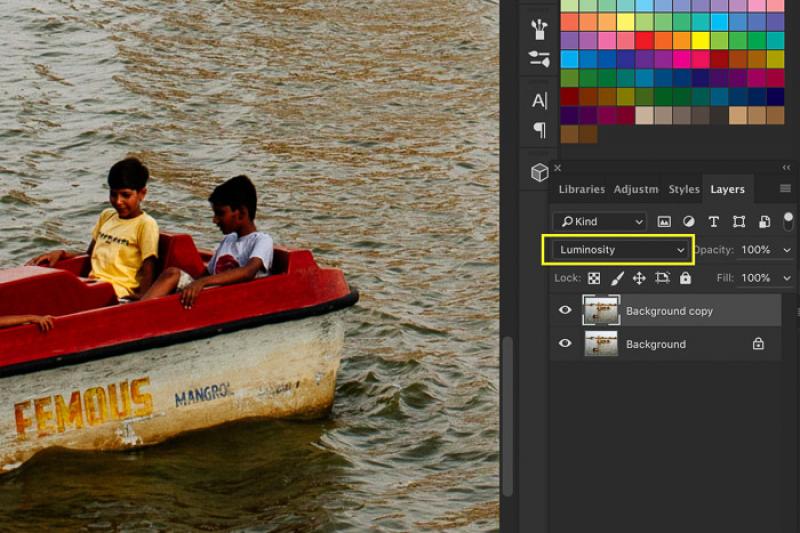
1. How to fix a blurry picture in Photoshop? Your first order of business is to load your image and duplicate its background layer. You can do this by right-clicking the background layer and then choosing the Duplicate Layer option. Also, make sure to change the blend mode to Luminosity to ensure that everything blends smoothly.
2. Next, select Filter -> Sharpen and choose the option labeled Smart Sharpen. You should now be greeted by the Smart Sharpen Window. Here, you’ll first want to check the Preview box and then make sure that the zoom level is set to 100%. Resize the window and feel free to move it around to get a better view of things.
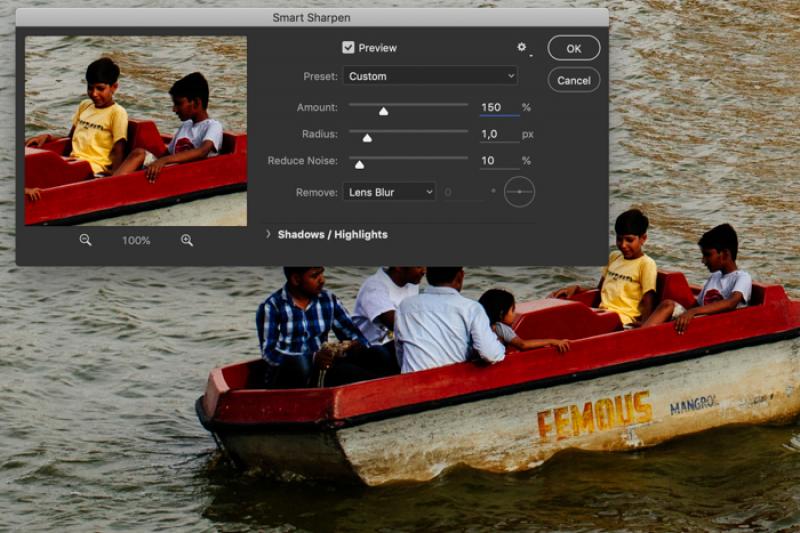
3. The next set of options will require some trial and error depending on the image you want to sharpen. The Amount value is set to 200% by default and works just fine for a lot of images but for others, you’ll want to go with something lower like 150%. You could also go higher but that might lead to an unnatural look. The Radius can stay at 1.0 but in some cases, 2.0 will yield better results. Anything more than that and you’ll start seeing halos. Finally, set the Noise Reduction Slider as per your needs.

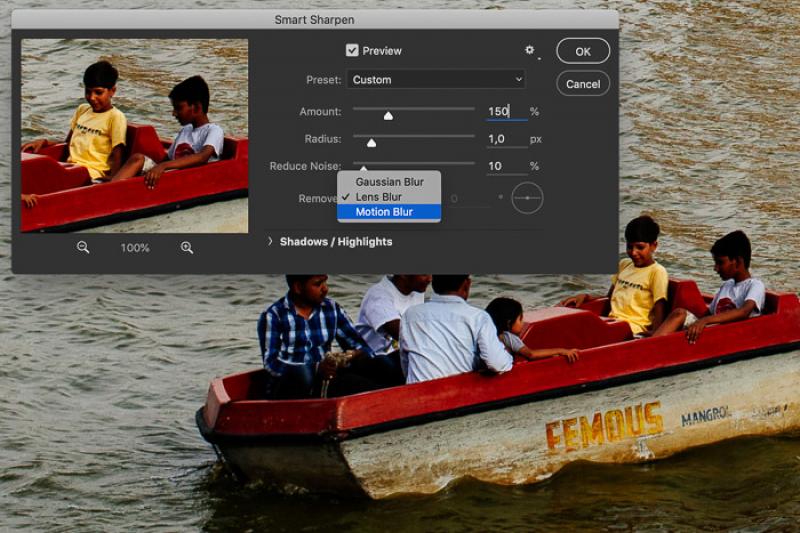
4. The final step is to use the Remove dropdown menu and select one of the three available types of blur you want to eliminate – Gaussian, Motion, or Lens. Each will lead to a different effect depending once again on the image used so don’t be afraid to experiment. While you’re at it, play around with the Shadows and Highlights sliders to try and improve the image even more. Read more about Photoshop.
Also read: How to Sharpen an Image in Photoshop
Best Alternative: How to Sharpen Image Online without Photoshop
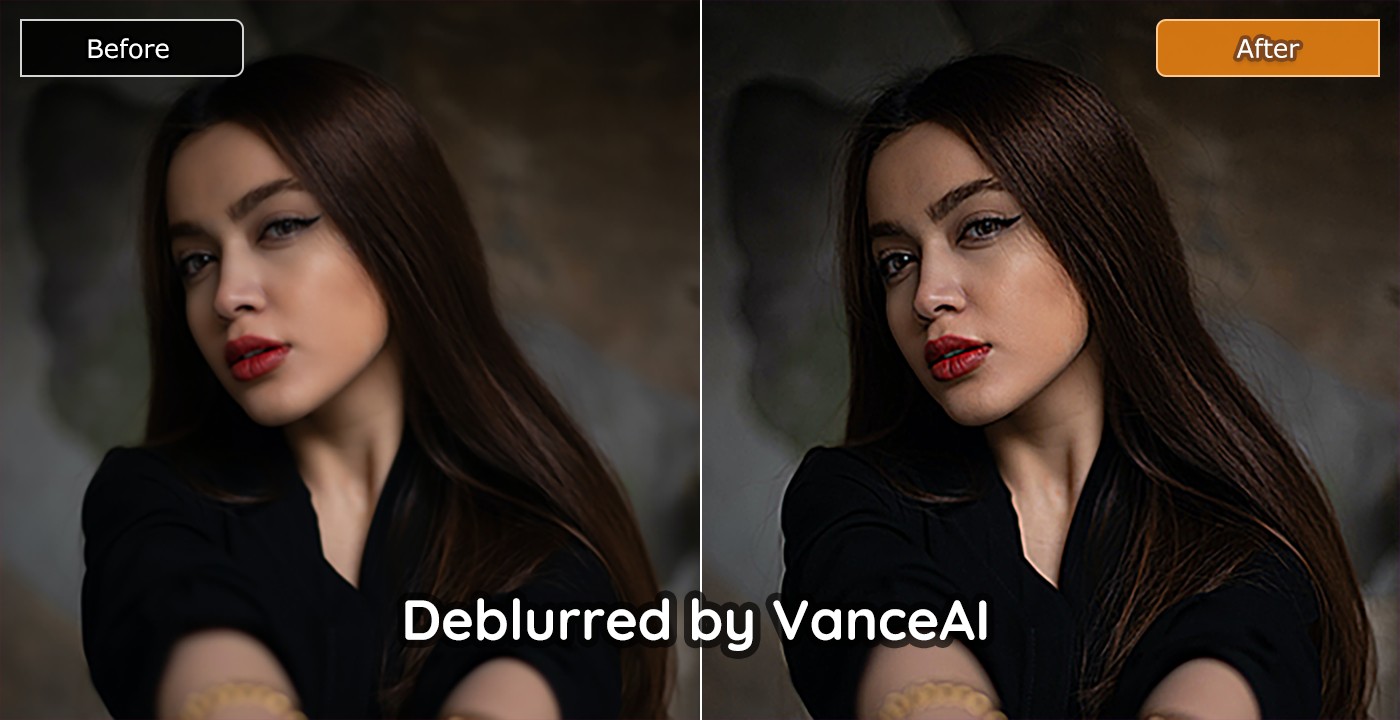
Now you know how to sharpen an image in Photoshop but the question is, should you? While it’s hard to argue with its effectiveness, Photoshop is a fairly expensive software that takes a long time to master. If you’re looking for a cheaper and much simpler alternative we recommend checking out VanceAI's image sharpener. With AI-powered image sharpener, you can easily sharpen general images or portraits online and restore details without causing artifacts or halos. In addition, subscriptions start at only $9.90 per month and you can test it for free, so what’s not to love? Here’s how it works:
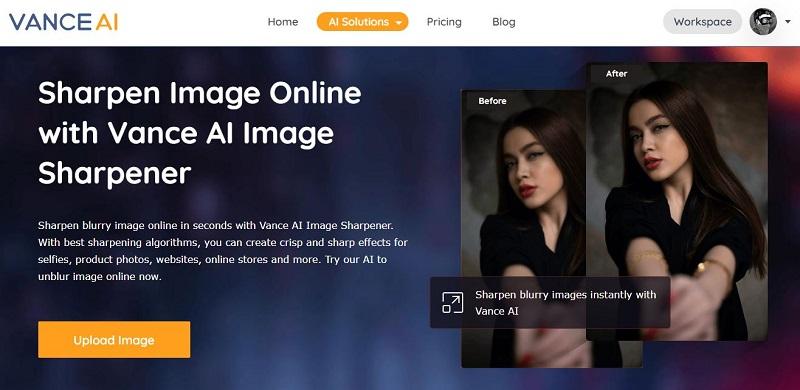
1. Visit VanceAI’s website and select VanceAI Image Sharpener tool from the AI Solutions dropdown menu found at the top of the UI.
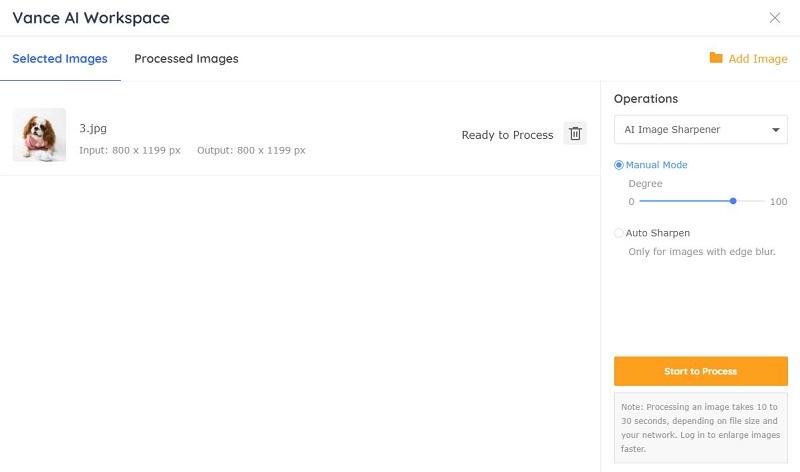
2. Upload your image and click Continue in this image sharpener. Select either Auto Sharpen or adjust the sharpening degree slider in manual mode. Click Start to Process.
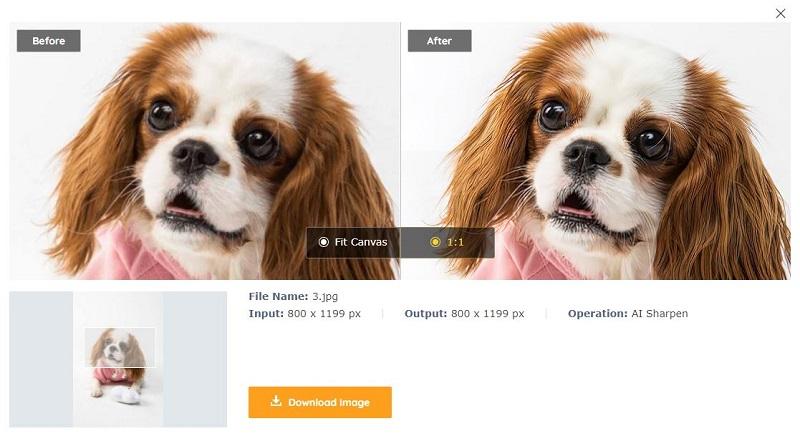
3. From the Processed Images tab, preview the image and then download it if you’re happy with the results. You can also select and download multiple images at once if needed. You can try image enlarger to make your image bigger without quality loss.
If you are interested, you can try to sharpen your image now or download it directly from the pop-up window on the right without leaving this article.
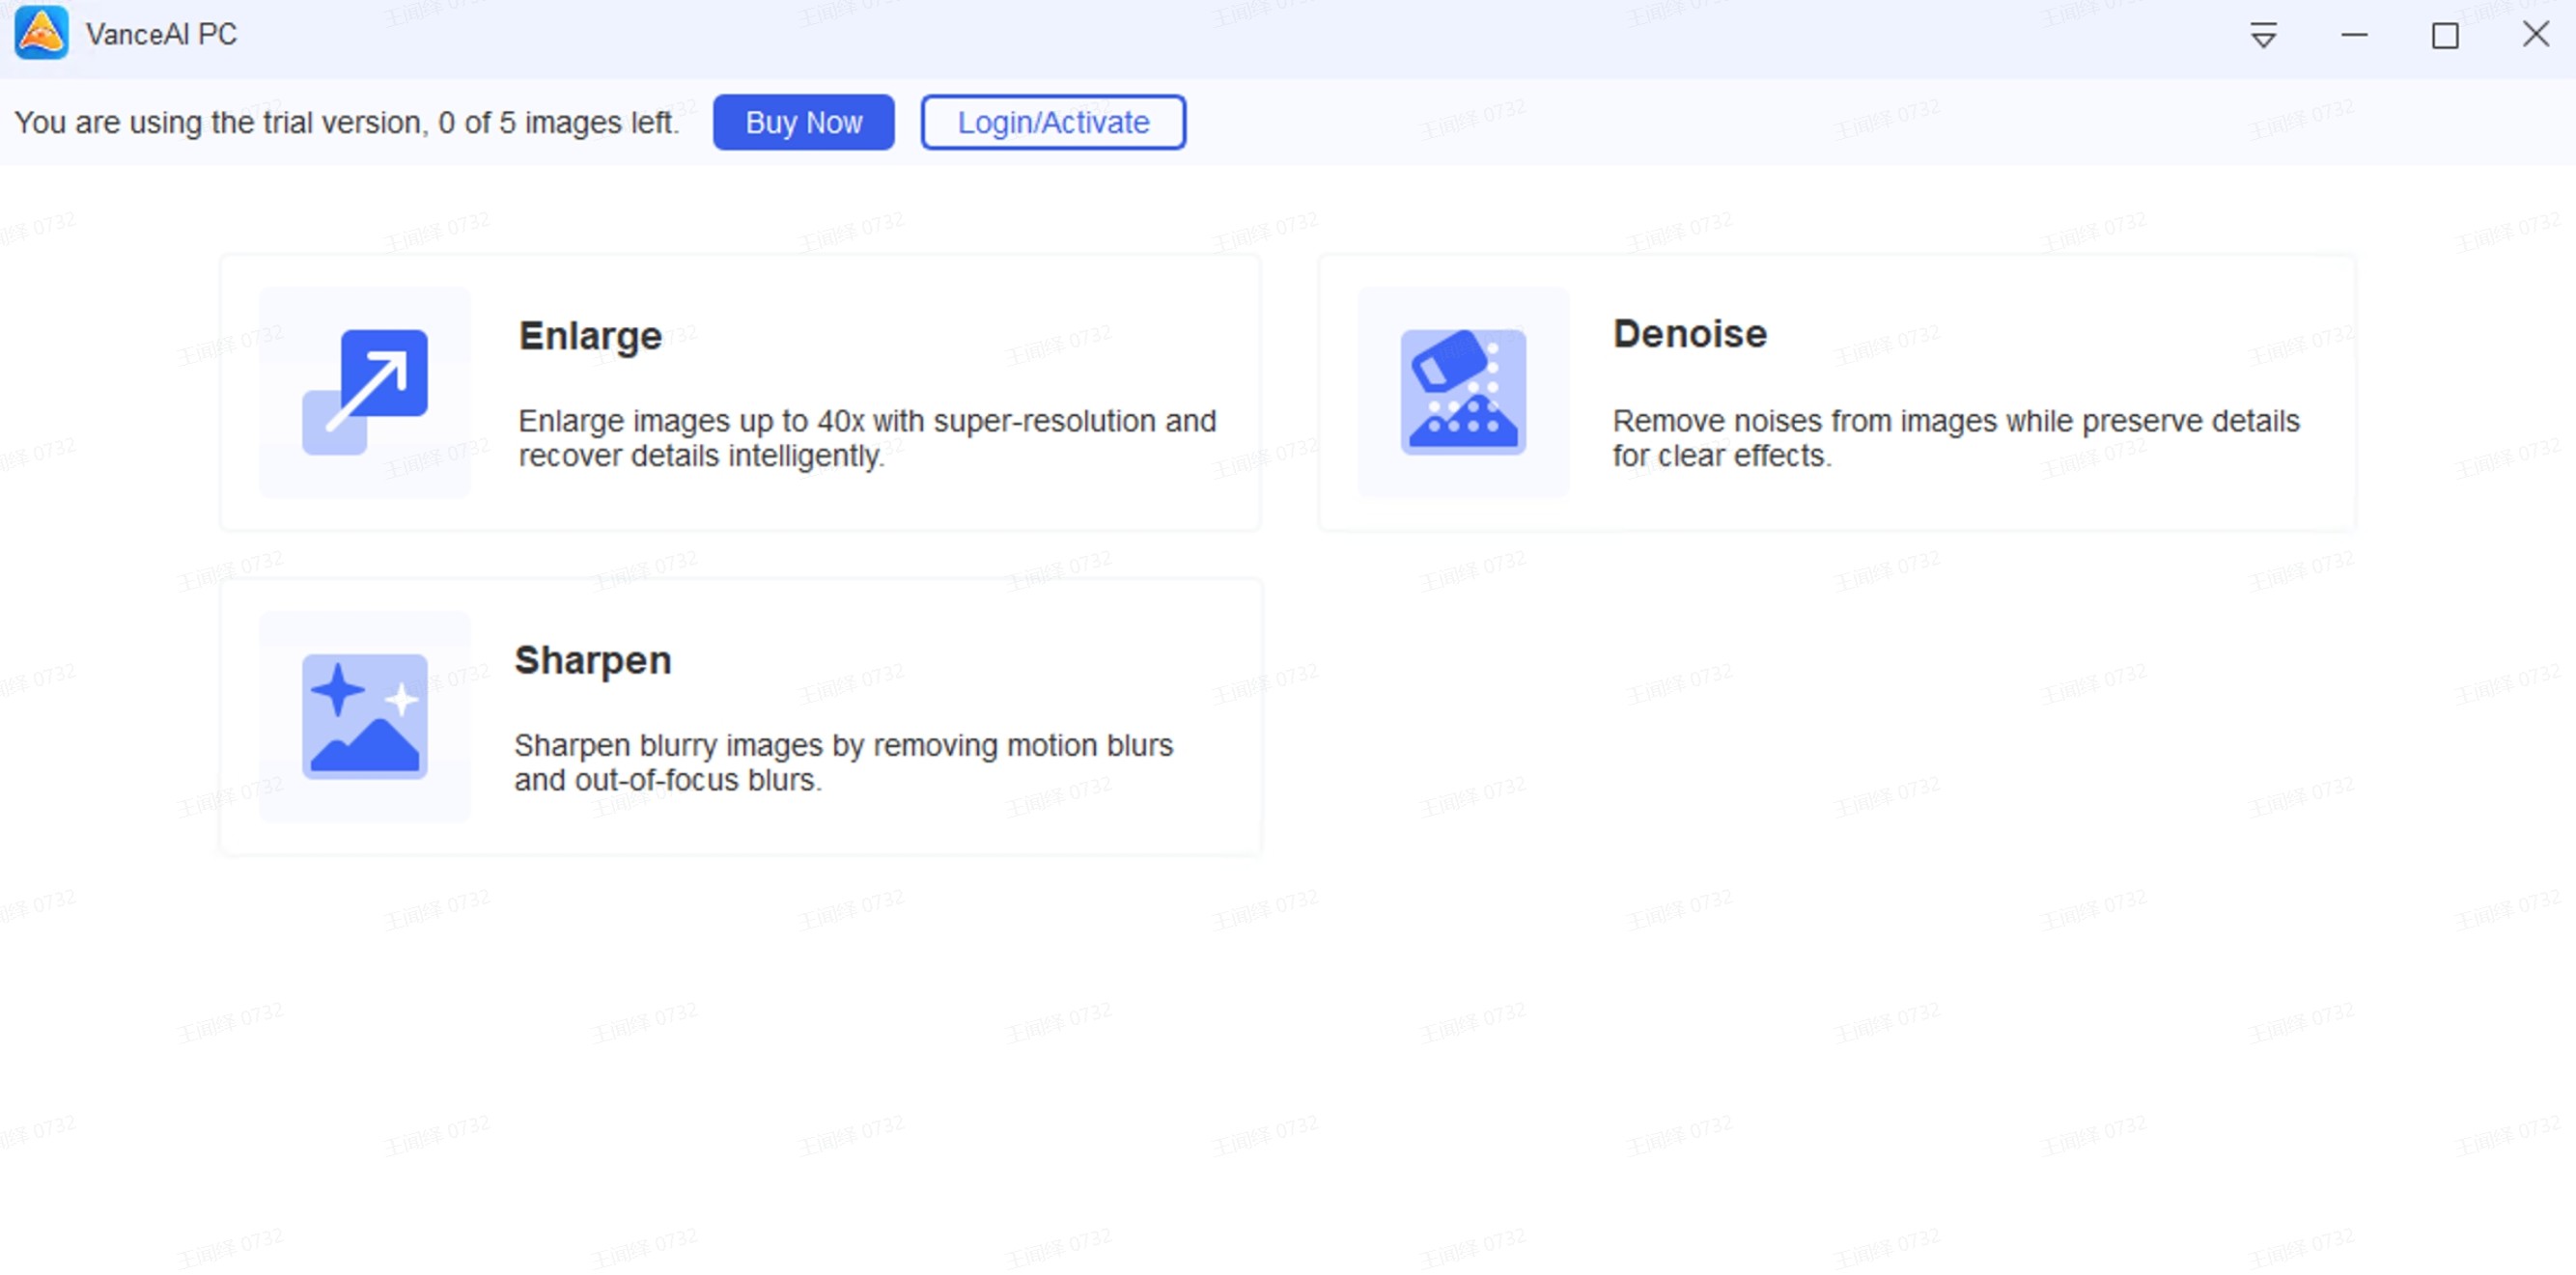
By the way, VanceAI now also launches its software version. VanceAI PC is full-featured desktop software developed by VanceAI that lets you instantly process local photos in bulk with more customization options, which will significantly simplify your workflow and boost your productivity. Free Download
Final Thoughts
You can potentially notice big differences in quality when you sharpen an image using Photoshop but the process usually involves a lot of trial and error. You can achieve similar results with VanceAI Image Sharpener which allows you to get images or portraits with crisp details and no blurring. It can also enhance the details to make images clearer. Granted, the amount of options is more limited but it can still get the job done regardless. Also read: Luminar AI Review.